Ken Burns effect is an effect in which zoom motion is involved in still pictures. It simply pans and zooms into an image which creates a mesmerizing effect.
There are many video editing tools through which you can add this effect to your video. However, this effect is not a preset or default transition of Premiere Pro. You need to create this effect by yourself. For example, in Premiere Pro, you can add this effect to your video with the help of "Effects Control" and keyframes. But you need to do this manually.
We will also share a simple tool that can help you add the Ken Burns effect directly to your videos. Let's begin.
Part 1. How to Make Ken Burns Effect in Premiere Pro
We know that the Ken Burns effect is an effect that you can add to any picture or clip, and it brings motion to a still picture. It will pan and zoom into the image and make it look like a video clip. It is very effective because it helps to focus on a specific part of the image.
Premiere Pro is a professional tool through which you can manage to add the Ken Burns effect to any picture. It is a little complicated, and you should know about keyframes before trying this effect on a picture.
If you don't know about the keyframe, the keyframe is simply an instant or point which is marked on the playhead. By adding a keyframe, you tell Premiere Pro that this is the point where you are going to make changes. At that very instant, you can change the scale, position, and different settings. Keyframes can either be added on the timeline or in "Effects Control". Effect control allows you to make changes to different settings and make your effect, Ken Burns effect in this case.
Let us see how we can create Ken Burns Effect in Premiere Pro with the help of keyframes and different adjustments.
Steps to Add the Ken Burns Effect in Premiere Pro
Step 1: Premiere Pro is not a free tool. You need to pay to enjoy its features and services. Download and install this tool on your PC. It does not matter which PC you own; it is compatible with windows as well as macOS.
Step 2: Once you open Premiere Pro, it will ask you to create a new project. Create a new project by choosing a setting as per your need.
Step 3: Now that a new project is created, it will take you to the editing window. Here you will need to import or browse the picture to which you want to add the Ken Burns effect. Go to the import window and import the picture of your choice.
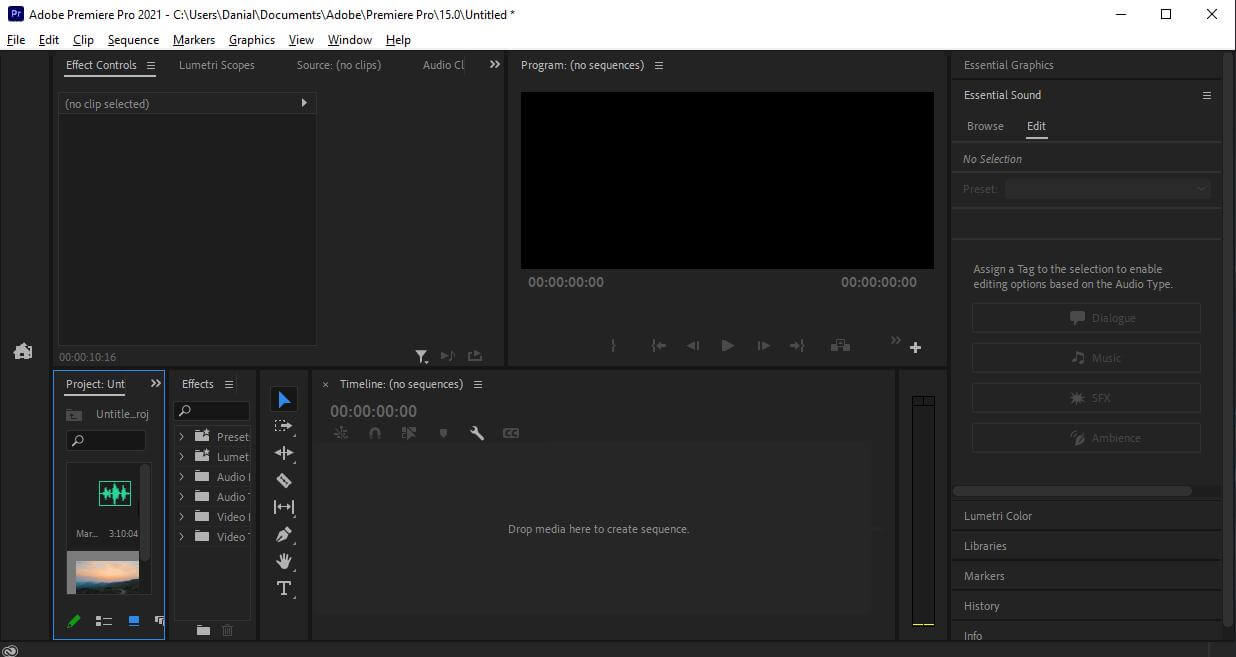
Step 4: Drag the imported picture to the timeline so that we can add effects to it. To add the Ken Burns effect, we need to go to "Effects Control". Here, we can add keyframes and make adjustments to create the effect.
To create Ken Burns effects, you need to adjust "Position" and "Scale" under the section of "Motion" in "Effect Control". As there are two settings (position and scale), you will need to keyframe for each of them.
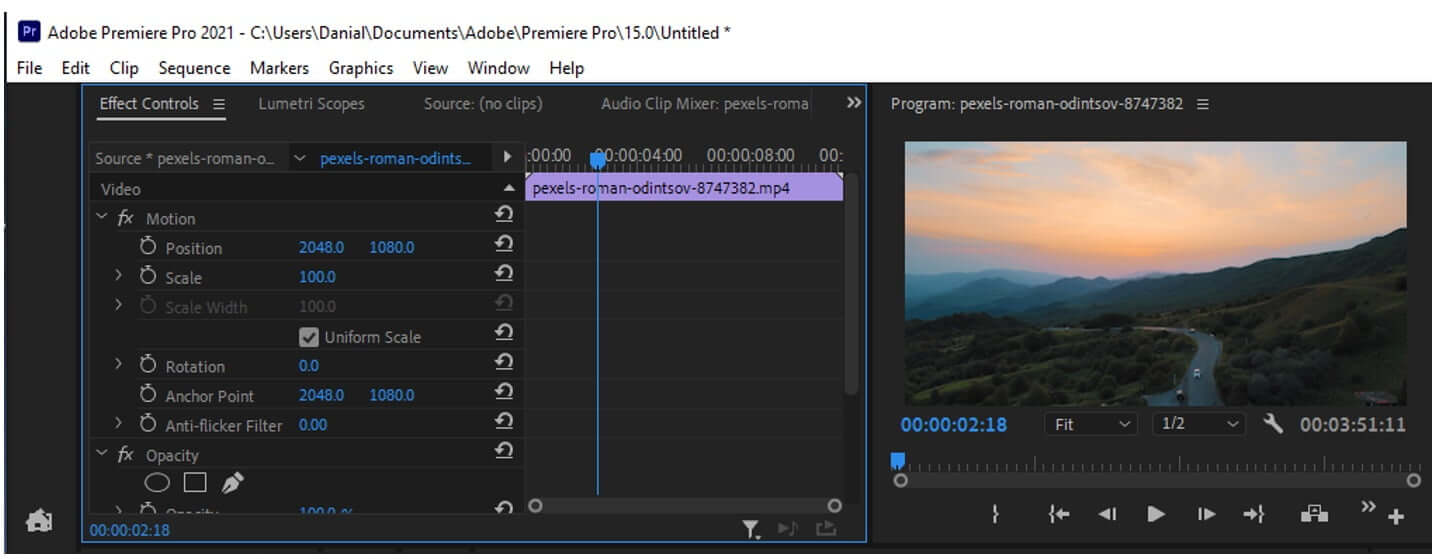
Step 5: Select the frame using the playhead to add a keyframe to pan and zoom. Select the appropriate amount of position and scale and click the "stopwatch" icon to add a keyframe.
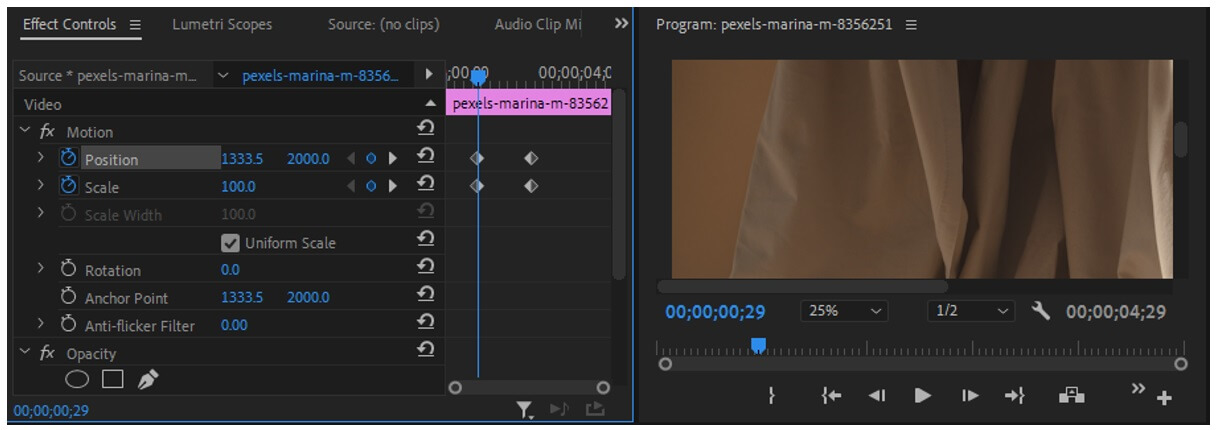
Now go to the previous frame from where you want to start the effect. Press the revert key so that changes can be made to default, and another keyframe will be added.
Now there will be two keyframes of position and scale at the start of motion and two keyframes at the end. Between these keyframes will be the Ken Burns effect that will pan and zoom into the area that you have selected via position and scale setting under Effect Controls.
Step 6: Play the video; you will see a slow and gradual pan and zoom into the still picture. This is what the Ken Burns effect does. Adjust the position and scale it if you want. It creates a motion in the picture. You can also make other adjustments of opacity and color grading if you like.
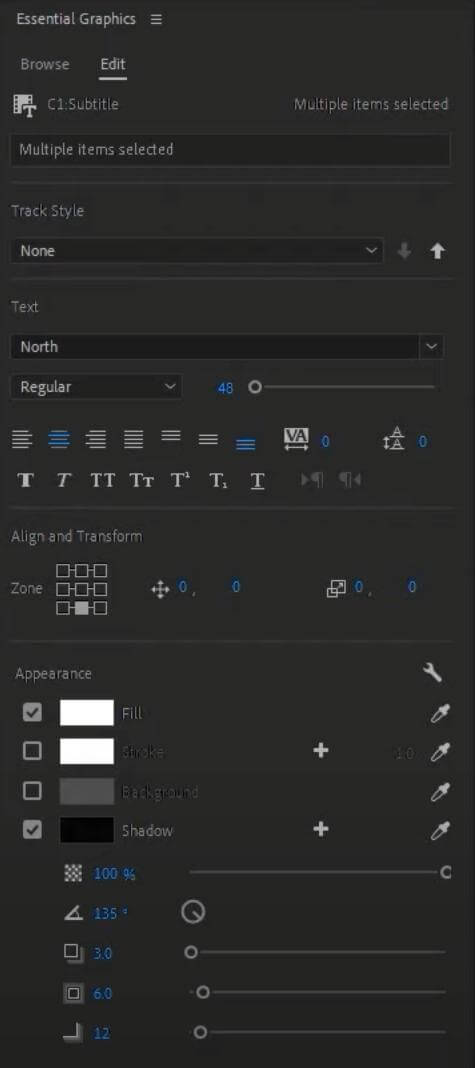
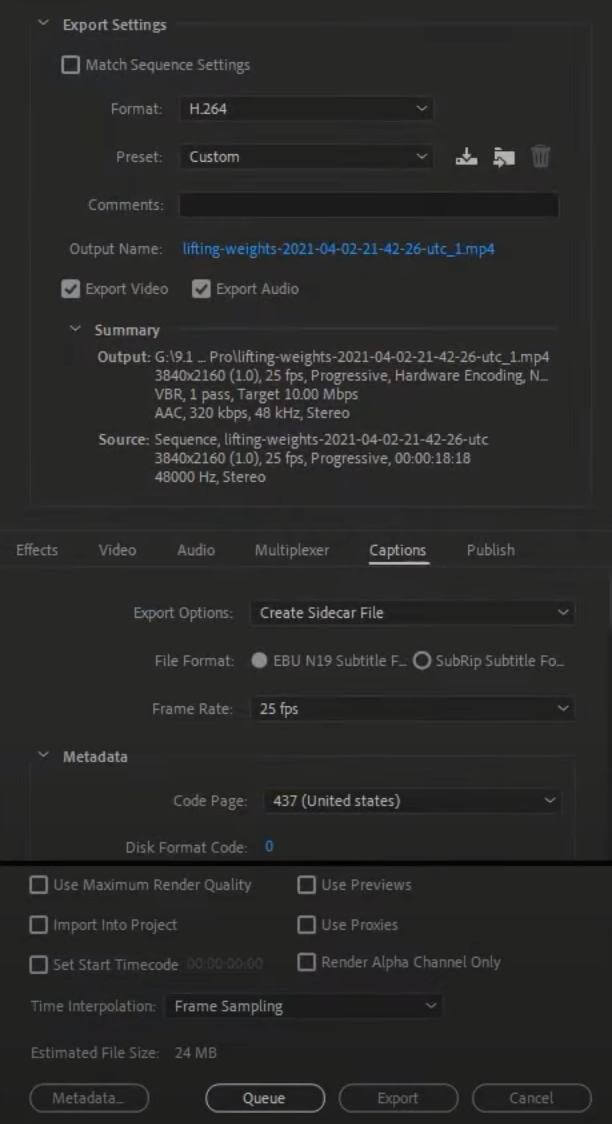
Step 7: If you are satisfied with the Ken Burns effect, then you can export the video. Exporting in Premiere Pro is very easy. You can go to File > Export > Media. Or you can press "Ctrl + M", which is a shortcut key for export.
Here, you will have plenty of options, including format of video and audio, quality of video and audio, file size, and resolution. You can choose the settings you want. It all depends on the requirements of the user. Finally, select the destination where you want the video to be exported.
Part 2. Best Alternative Video Editor to Add Effect - iMyFone Filme
As we saw the complications and complexity Premiere Pro brings to create Ken Burns effect, iMyFone Filme is much easier. iMyFone Filme is not only a tool but is a complete video solution that makes video editing easy for the user. It has multiple complex effects, just one tap away.
iMyFone Filme not only makes video editing easy but also allows the user to fully control the editing. You can edit up to 4K resolution videos with it. Moreover, it has default transitions and effects that you can add to your video.
iMyFone Filme has a unique trait of matching the resolution of a different video. Even if you upload a picture, it will consider it a clip. It is not a picture editor but a professional video editor that you can download and enjoy editing.
The Ken Burns Effect is quite easy with iMyFone Filme. Let us see how we can create this effect with iMyFone Filme and what steps it includes.
Steps to Add the Ken Burns Effect Using Filme
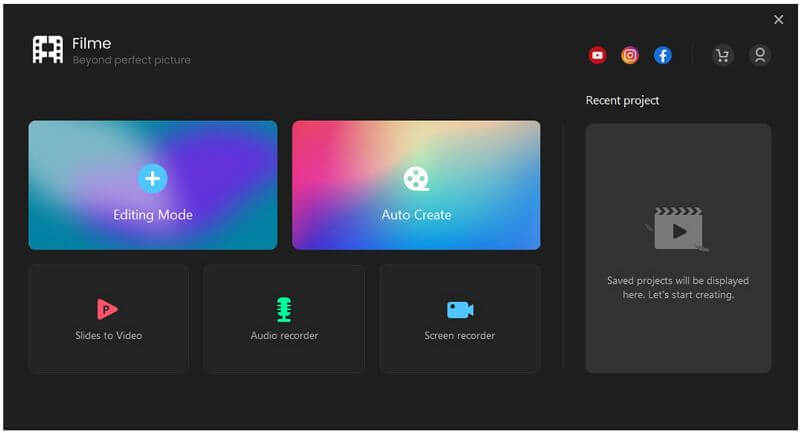
Step 1: First thing first, you can download the trial version of iMyFone Filme easily. Download and install the tool. Open iMyFone Filme. It has plenty of options on the home screen. Click on "Editing Mode".
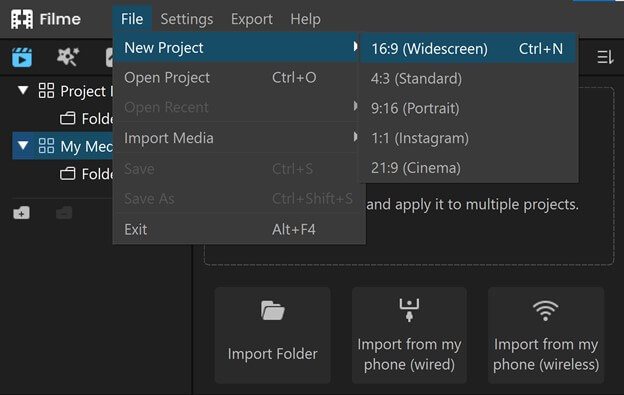
Step 2: Here, you need to create a new project. It will display multiple options of aspect ratio, out of which you need to choose one. Select the aspect ratio according to the video and your requirement.
Step 3: Import the picture to which you want to apply the effect. You can select multiple pictures as well. Then drag the media to the timeline.
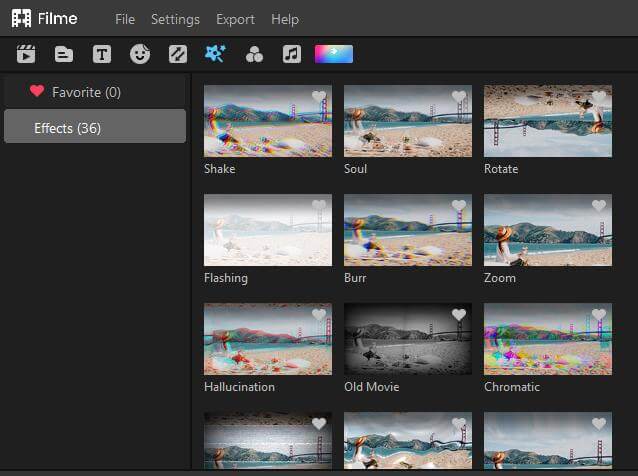
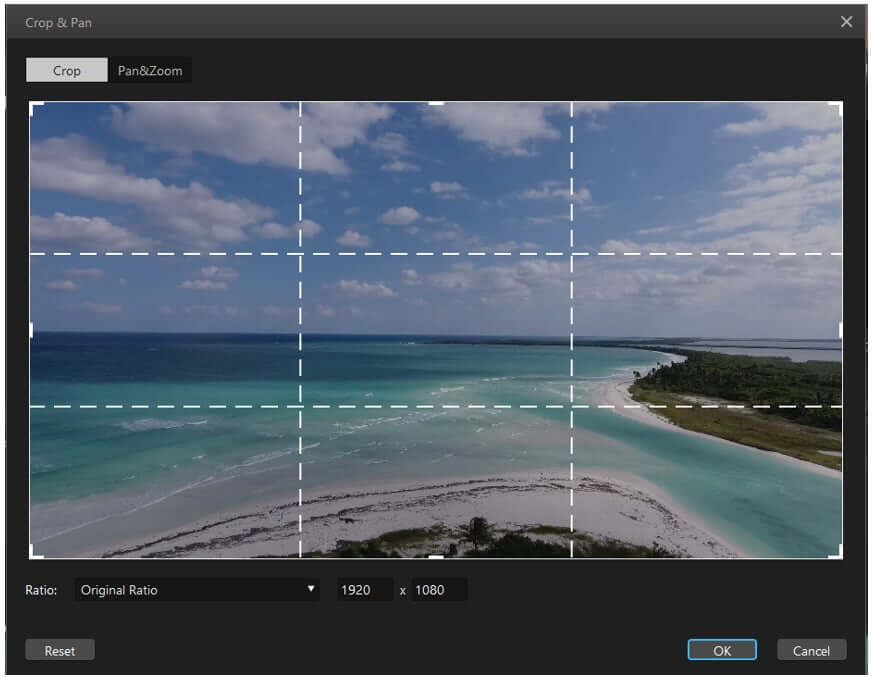
Step 4: Just above the timeline, you will see an option of "Crop & Pan". Select the picture and then click on Crop and Pan. It will display you two options, the first is the crop, and the second is pan and zoom. Go to the pan and zoom.
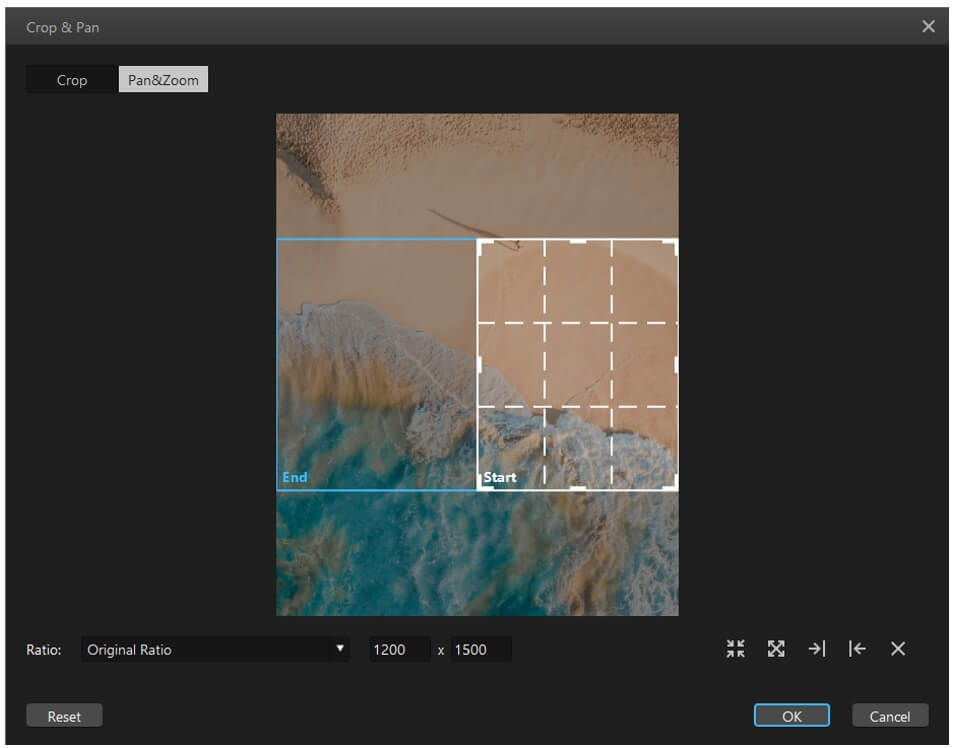
Step 5: Here, you will get two frames, one "Start" and the second "End". It means that the Ken Burns effect will start from the first frame and end on the other. Click on "OK", and the Ken Burns effect will be added to the video. It will smoothly pan and zoom into the video.
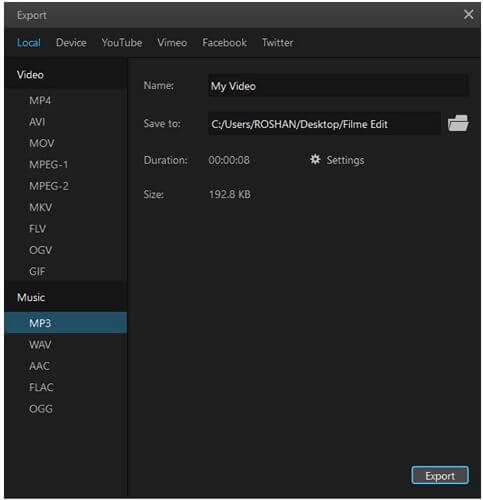
Step 6: Now, you can export the video according to the setting you require.
Part 3. FAQ about Using Ken Burns Effect in Premiere Pro
1- Does Premiere Pro have the Ken Burns effect?
No. Premiere Pro does not have a preset of the Ken Burns effect. You can create your own Ken Burns effect through Effects Control and save this as a preset. In the future, this preset will save you time and add the Ken Burns effect to an image easily.
2- Can you adjust the Ken Burns effect in Premiere Pro?
Yes, you can adjust the Ken Burns effect according to your needs. It is because there is no preset, and you need to apply the effect using keyframes. Thus, you have complete control over the effect, and you can adjust it as you like.
Conclusion
We have seen the complications in creating the Ken Burns effect in Premiere Pro. It involves going to "Effects Control" and adding keyframes to the instant where you want to pan and zoom in. You need to adjust scale and position and then add their specific keyframes. All in all, it is not easy, and a beginner can never do it with Premiere Pro.
On the other hand, iMyFone Filme is the easiest way to add the Ken Burns effect to a still image. It has a feature of "Crop & Pan" through which you can pan and zoom into the image creating a Ken Burns effect—just like that, adding a freeze-frame to the video is much easier with iMyFone Filme. There are many effects and tools that make your videos more appealing and interesting. You can edit your videos without any hassle. It is a great alternative to Premiere Pro, and in some cases, it is easier and better than most video editing tools.


