While using the Adobe Premiere Pro, you may have faced a lot of problems related to speed. At this stage, the user may want to proceed with enabling GPU acceleration. The knowledge of GPU acceleration is particularly important when the premiere Pro shows an error "This effect requires GPU acceleration".
In this article, you will come to know how to get rid of this error and enable GPU acceleration in Premiere Pro.
Part 1. How to fix "this effect requires GPU acceleration premiere pro"

When you use some Premiere Pro features, you will get the error message "this effect requiring GPU acceleration" in the Premiere Pro, it tells that you did not enable GPU acceleration in Premiere Pro. So how to fix "this effect requiring GPU acceleration". Follow below instructions to fix this warning message.
How to Enable GPU Acceleration in Adobe Premiere Pro CC
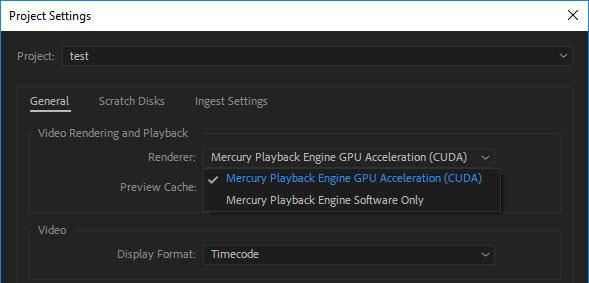
If you want to enable GPU acceleration in Adobe premiere pro CC, you should go to the file and open the project settings.
In the General tab, you will see a Renderer where you can open Mercury playback engine GPU acceleration.
However this solution does not work all the time and there are some other important things to consider as well.

While searching for the GPU acceleration issues in premiere, most of the people proceed with purchase of advanced GPU for their desktops. However, this solution is very expensive and is not recommended for common usage. We can take the example of the GTX 1080 Ti and the GTX 2080. Both are very expensive solutions and for up to $500.
Remember that this solution is only available for the PC and desktop systems and it is not available for the laptop because the laptop is quiet and changeable in GPU and remains constant so it becomes a totally impossible task to proceed with the installation of the new GPU.
So the most authentic solution to fix "this effect requires GPU acceleration", is given below which we have got after extensive research and going through the software deeply. This advanced method which works for almost all the devices involves updating the GPU driver and getting its latest version.
Step 1: First of all you should know which graphic card you have. If you are going to fix this issue for PC you can find your graphic card by going to: Start>Run> and then pasting dxdiag in Display.
If you want to fix this GPU acceleration issue for Mac, go to Apple>About This Mac>Graphics.
Step 2: The next step is a downloading process where you will download AMD drivers for your card by visiting the official websites.
Download current NVIDIA or AMD drives for your card from the official website.
Step 3: Install the current driver.
Step 4: After the successful installation of the current driver, reboot your computer and again use the Adobe Premiere you will notice that it will never show this issue again.
However, this is also a bit of an expensive solution because whenever you proceed with installation of the current drivers, it will cost you money and you are bound to do this in order to meet the system requirement.
Part 2. Best Alternative Video Editor - iMyFone Filme
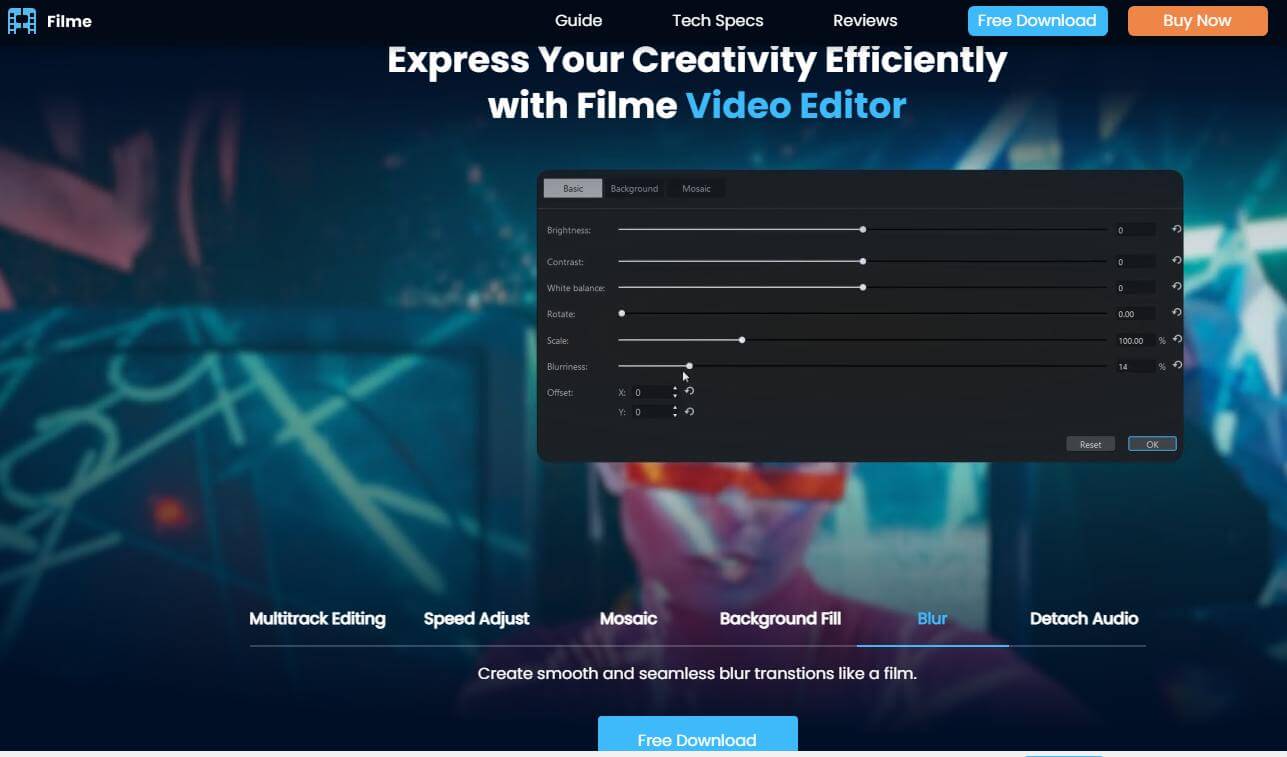
iMyFone Filme is a great video editing tool that will never show any kind of arrows like the GPU acceleration issue and other issues that you may face while proceeding with the video editing in the Adobe Premiere Pro.
Moreover, it also has various video editing features that are available hundred percent free, so whether you want to create slideshows, picture in picture effects or use any kind of a video editing features, like cropping, rotation, and adding transitional effects, you can easily use this tool by clicking the Download option and downloading it onto your PC.
Features of iMyFone Filme
The software has instantly view options so that you can take a preview of every change that you made during the video editing process. This feature is particularly helpful for the beginners who do not have any knowledge and prior experience.
Allows the user to enjoy various advanced features for free, such as video playing, face painting or background remover. Moreover, you can also add a multi layer to the videos and add frames to the photos.
No matter what level of video editing you are doing, you will never face any kind of issues like "this effect requiring GPU acceleration".

Pros :
Beginner-friendly.
Offers free trial.
Allows advanced video editing.
Compatible with Windows 10, 8.1, 8, 7 and Mac.
Allows you to adjust the speed of the videos.
How to Use Filme Video Editor
Here are practical steps if you want to use iMyFone Filme for video editing purposes. Remember that while using this role you will never face the problem of "this effect requiring GPU acceleration".
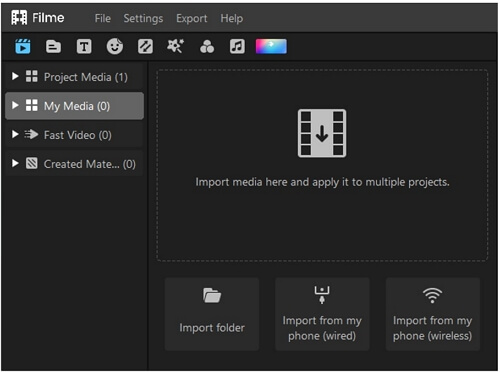
Step 1: The first step is to download this amazing software to your system by clicking on the Download option. The installation process is quite easy and you will be redirected to the .exe file and after that, it will take only a few seconds to get a software in your system for free.
Step 2: Open the application where you will see the New Project option. Here you can upload the video for which you want to do editing. After uploading the video, you will be able to access all the editing features.

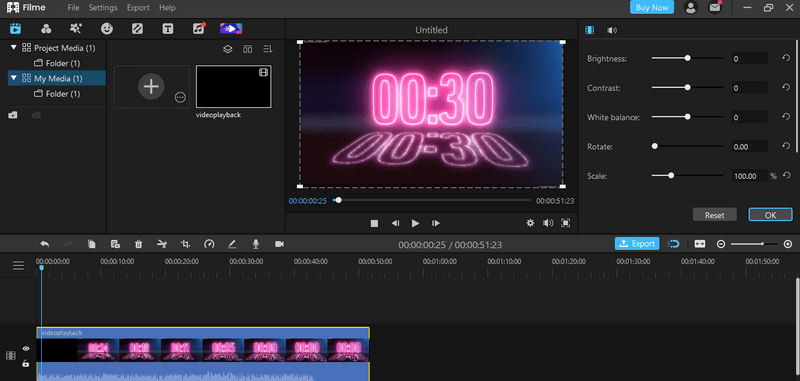
Step 3: So after the addition of the video go to the settings and choose the required editing option. Here you can easily access hundreds of different video editing features that you can directly apply to your videos and preview them immediately.

Step 4: After completing all the editiy, you will be able to click on the Export button. This button basically makes it possible for you to Download and share your video. You can directly share your video to the video-sharing platforms or social media platforms by clicking on the Share option.
However, if you want to directly download the video to your system, the Export option will also enable you for this.
Part 3. FAQ about GPU Acceleration Premiere Pro
Q. How to enable GPU acceleration?
If you want to enable GPU acceleration, go to the settings icon in the premiere Pro and click on the 'System'. Now open the Display tab and go to the graphics settings where you will see multiple displays. Here, you will see the option "Hardware accelerated GPU scheduling", turn it on to enable GPU acceleration.
Q. Why should I enable GPU acceleration? Is it any good?
GPU acceleration is not perfectly good for games but it also enables you to proceed with hardware acceleration and utilise it fully with all the supported applications. GPU hardware acceleration also makes it easy for you to proceed with fast browsing on the Internet and immediate media consumption.
Q. Should I enable GPU scheduling using Adobe Premiere Pro?
There are many reasons why you should enable GPU scheduling using the premiere Pro, such as it improves performance in all cases. Moreover, it also provides a very high resolution of the screen, especially when you are proceeding with the gaming. It provides resolution of up to 2560 x 1440.
Conclusion
If you want to become a video editor using Premiere Pro, you must have an extensive knowledge on how to fix the issues related to GPU acceleration and how to enable it for your system to avoid potential issues while creating the video effects. However, it is a highly expensive, confusing and time-consuming task to handle everything related to GPU acceleration.
We highly recommend you to proceed with easy and simple software iMyFone Filme to avoid the issues related to GPU acceleration while creating the effects for videos.


