We always thought that for you to blend objects with the background in a photo/video, you will require super expensive tools and filters, but the truth is, with adobe premiere pro, you will be able to create a powerful edge blur from nothing. Let’s get some context here – see if your objects’ edges are too sharp against the background in your After Effects projects, then the realism in your composite will be compromised. So, what you need to do is to slightly blur them, both at the front and the back of the object. When you duplicate the object, blur, and expand it slightly, you are able to create an impression that the edge is less sharp. Blurring the object at the front slightly enhances the look even further, but you need to be cautious not to blur the entire image. In this article, we will take a look at how exactly you can create an edge blur effect in adobe.
Part 1. How to Use Edge Blur Plugin in Adobe After Effect
Basically, the edge blur plugin is used much like any other plugin effect in Adobe After Effects, including After Effects CC, Windows, or CS5 or later. You just need to keep in mind the realism that you are after, and that you want to try without using custom effects. How to use edge blur plugin in Adobe After Effects? i would recommend a better alternative iMyFone Filme, you can blur video perfectly in Filme. Download Filme now.
How You Can Use the Edge Blur Plugin in Adobe After Effect
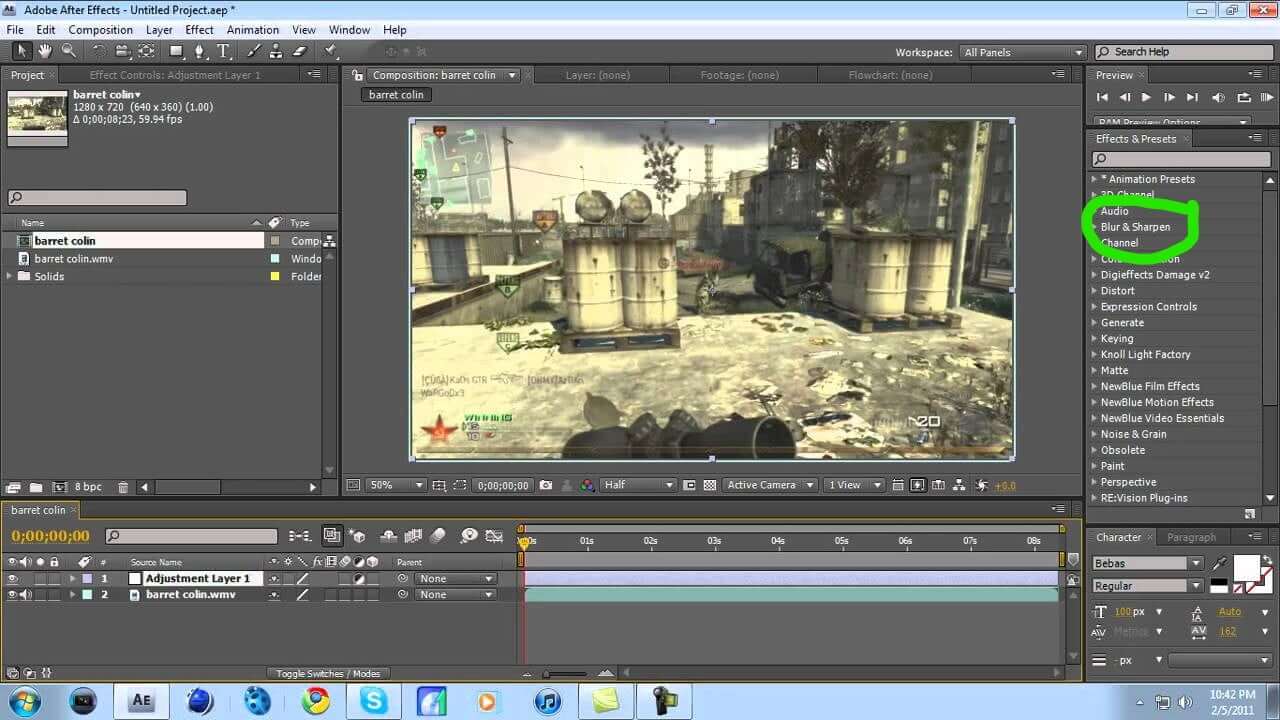
Step 1. You should only use the edge blur plugin as the final touch, after doing everything else so that whatever you create will contain the same look
Step 2. To apply the effect, you just need to drag it to your composition for the Effects & Preset panel. On your Adobe after effects, select Window, the Effects & Presets.
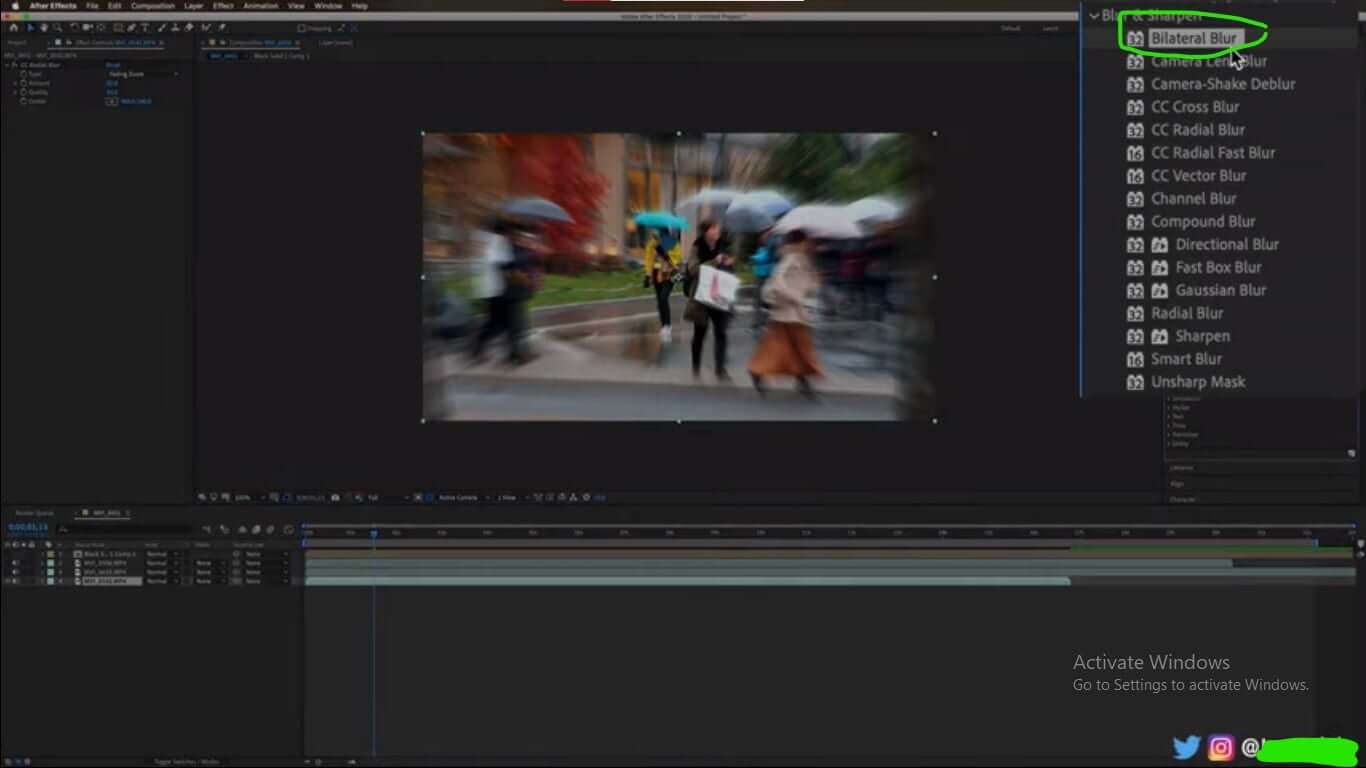
Under the Effects & Presets, you will find effects such as,Bilateral blur effect - You can use the plugin to blur the image selectively so that you preserve the edges plus a few other details. For areas with higher contrast – areas where the pixel difference is large – they are blurred less as compared to areas of low contrast. You can also use motion blur effect on windows/mac.
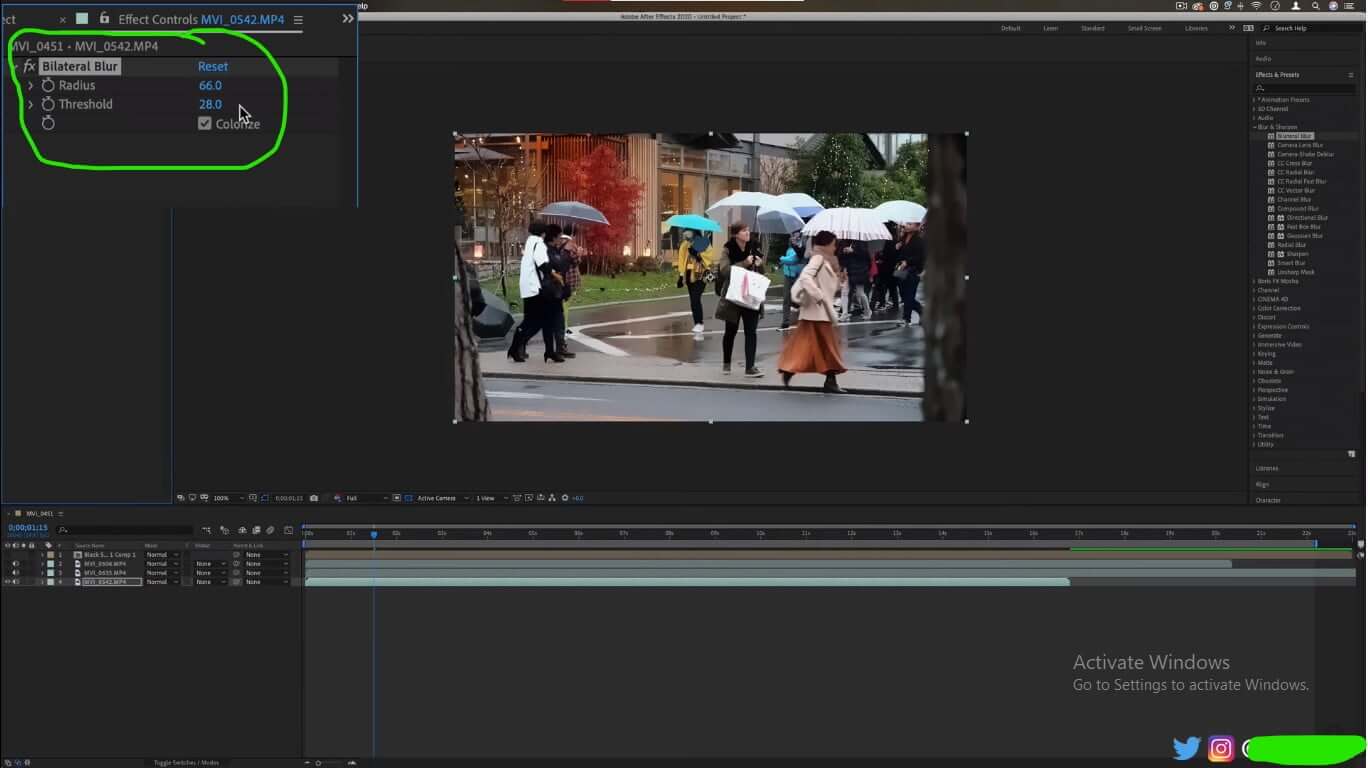
Step 3. In addition, you will find the Threshold settings which allow you to set the value that determines how the blur effect decides the areas to be blurred and the ones to preserve. A higher threshold value leads to a more simplistic result, whereas a lower threshold preserves more details. You will also find a radius, which determines the number of pixels averages thereby determining the level of blurriness.
Step 4. Other effects include the Camera lens blur effect, box blur effect, camera-shake deblur effect, compound blur effect, directional blur effect, Fast box blur effect, Gaussian blur effect, radical blur effect, sharpen effect, and smart blur effect.
Part 2. How to Create Edge Blur Effect in Adobe Premiere Pro
Here is the thing, creating focus-based effects, where certain edges are blurred has been made super easy and straightforward by Premiere pro, thanks to its Edge blur effect. This is a feature that most of us have been looking forward to, and to tell you the truth, other than creating stunning backgrounds, you are also able to cover certain edges on the image, which leaves the images looking appealing as ever. You can also use Lightroom to blur video background.
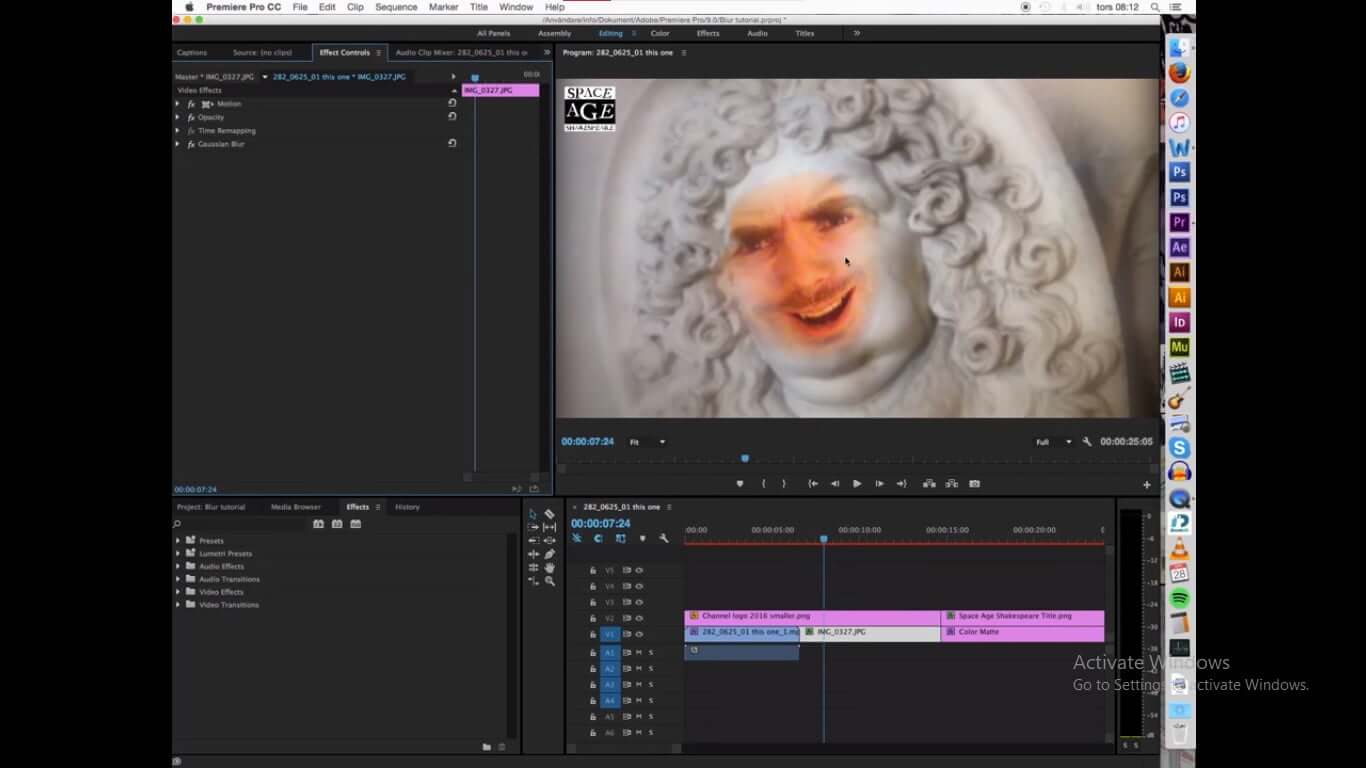
Steps to Create Edge Blur Effect on the Premiere Pro Platform
Step 1. The first thing you do is to download Premiere pro to your Windows or Mac device.
Step 2. Open the tool, and you will need to import the file you wish to make changes on. Then drag and drop it on the timeline.
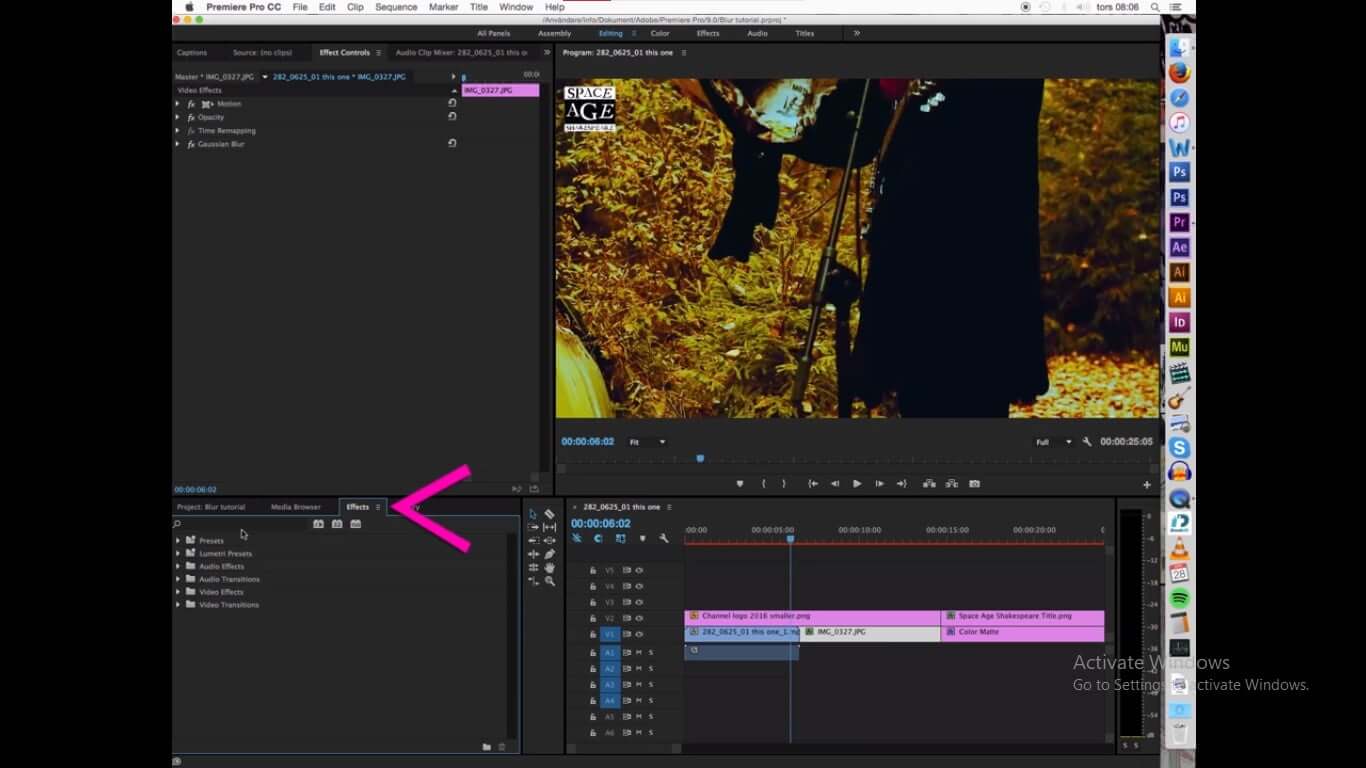
Step 3. Go to the effects menu and search for the blur you wish to apply to your file, and then drag it to the timeline. Remember that you will need to adjust the blur settings. There will be several options, you will select the one you prefer, and as you select, you will see the changes on the video. You will start to see the edges changing based according to the edge blur effect you selected. Remember that you can also set the settings as a template to use on other images.
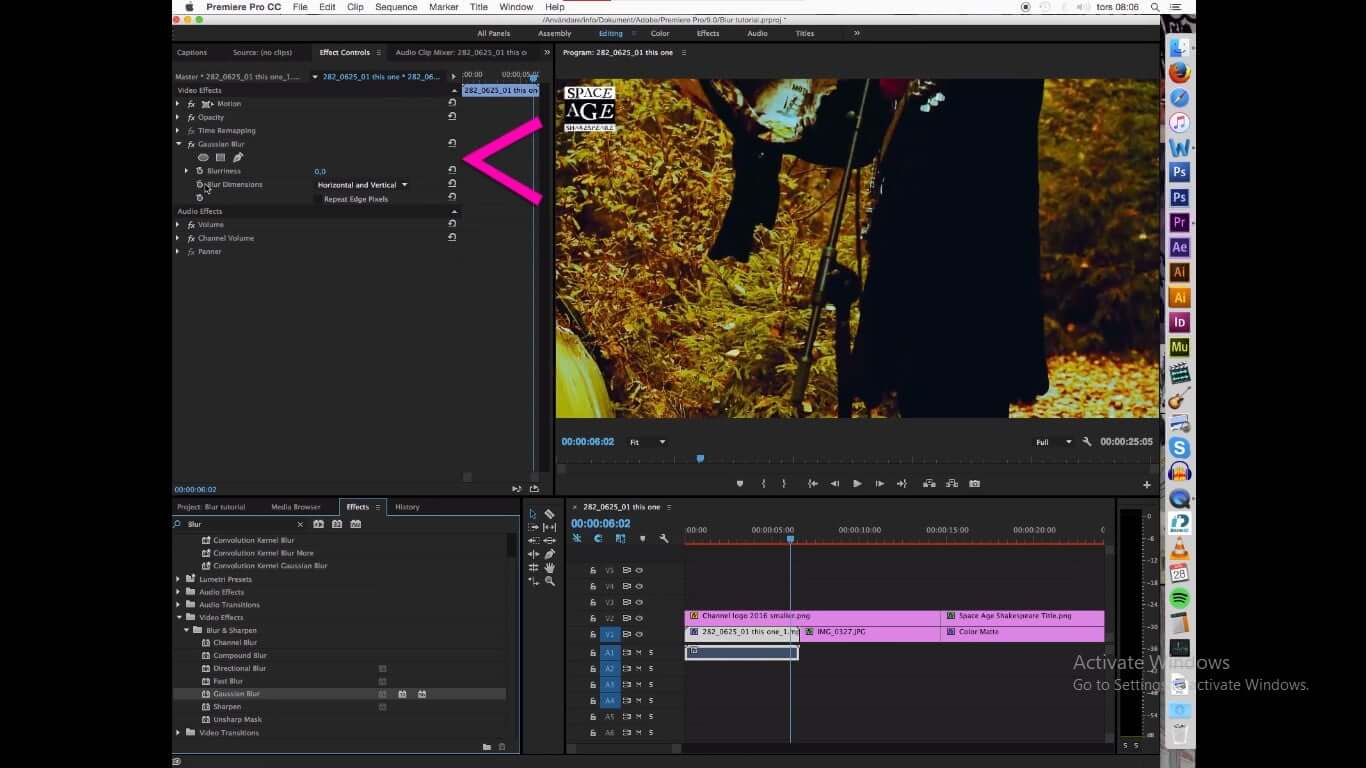
Step 4. Once all is set, you can then export the video/image, by clicking Export to save the file on your device.
Part 3. Best Video Editor to Blur Video-iMyFone Filme
iMyFone Filme is without a doubt the best video editor in the market currently, thanks to its easy-to-use interface. Whether it is removing background music from a video, editing photos for posting, screen recording, adding filters voice changing, blurring photos and videos– just to mention a few – this tool has it all. As you know, blurring videos or photos takes a reliable and easily understandable tool, and with all certainty, we do believe that Filme is the right tool for the job. Remember, this goes for every other video editing activity that you decide to do on the platform.
Some Features that Make this Platform So Exceptional
-
Effects – iMyFone Filme got over a hundred different effects available all of which you can use based on your specific needs. Among the many effects, there is the blur effect, which video editors use to blur videos and images, making them more appealing. Remember, for every editing activity you wish to undertake, there are a couple of effects availed to you through the platform.
-
Editing capabilities – Filme’s editing capabilities allow it to enhance the colors in each photo that’s taken. It also has exceptional file-sharing features that enable you to post you’re your blurred creations on social media in a matter of seconds.
-
iMyFone Filme also allows one to easily blur video while recording, where you choose among different blur options, enabling you to either blur the entire video, or a specific area on the screen, or even use an automatic mosaic effect of a certain face on the video.
How You Can Use iMyFone Filme to Add Edge Blur Effect
Step 1. The very first thing you do is to download the iMyFone Filme to your device. It is compatible with both Windows and Mac devices, which means it will probably work on your device. Once it is downloaded and installed, open it.
Step 2. In this step, you will import the file you are looking to edit. Hit Import and you will be directed to your gallery where you will select the file you are looking for.
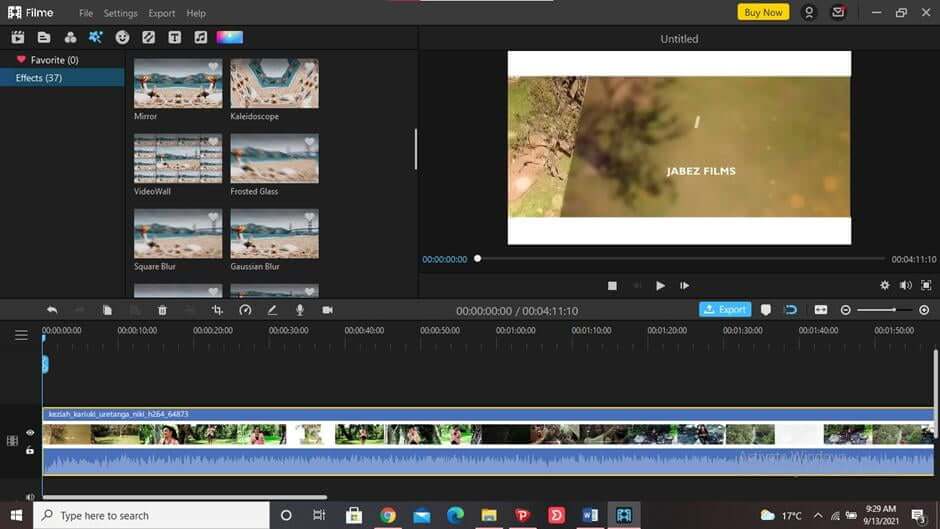
Step 3. Once the file is on the platform, then drag it and drop it on the timeline, which is where you will do all the editing. And by that we mean going to Effects, and then Background or Gaussian Blur
Step 4. After opening the Effects, you will see several blur options. Select your most favourable blur option, and drag it to the timeline. Once that’s done, you can adjust the blur levels if need be, or based on your preferences.
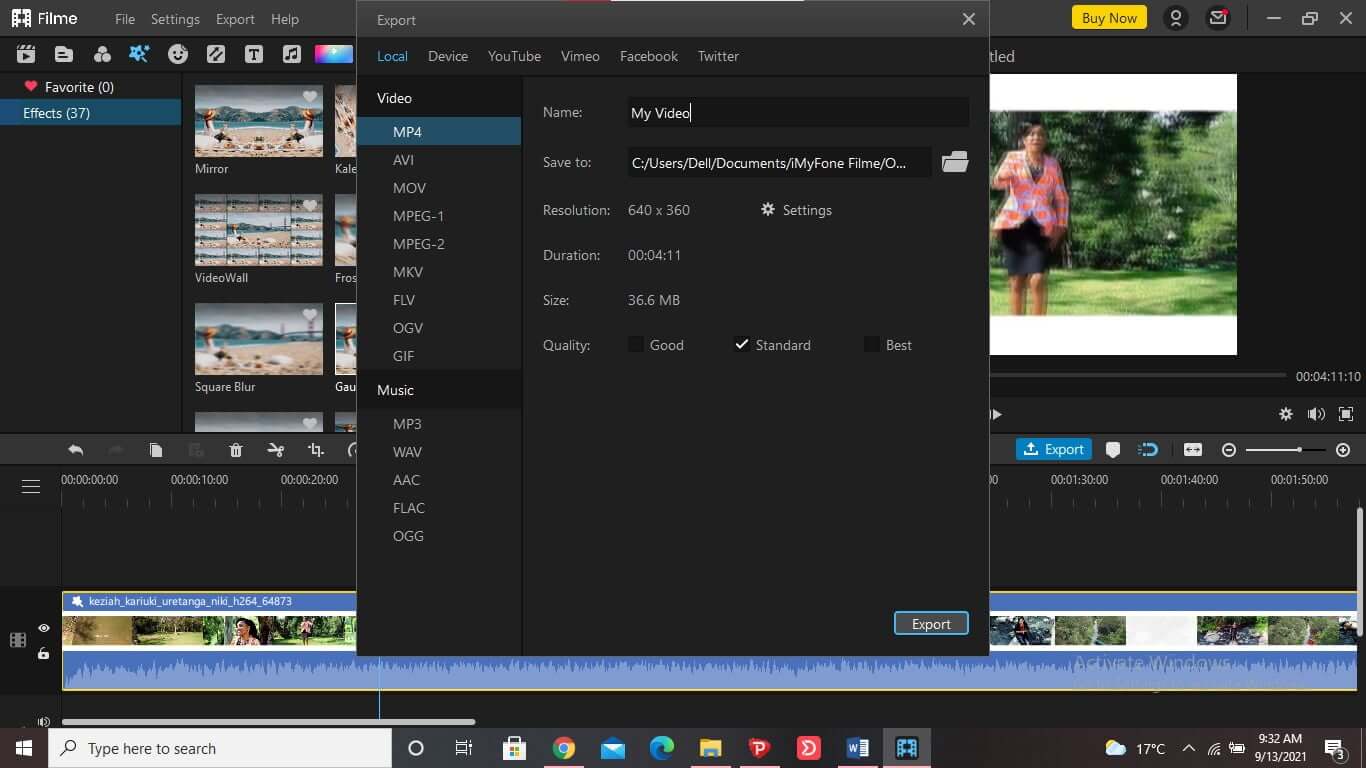
Step 5. Lastly, once you are done, and the background, faces, or edges are blurred, then hit the Export button, which allows you to download the file in whatever form you choose.
Final word
iMyFone Filme is truly a favourable choice to many video editors today, and it’s for a good reason. Other than its video/audio editing abilities, it also helps an editor fine-tune or clean up a video before posting or sharing it. All these are made possible by the countless effects found on the platform. Moreover, to blur videos or pictures, other than Filme, you can also rely on Premiere Pro, which is not great at blurring videos and images but is also good at adding edge blur effect, which isn’t that common in other tools. You need to check them out today.


