When we' re making presentations, we have to insert images, make the image background transparent, and make part of the image transparent. It’s hard to switch between tools and applications for making images transparent or removing image backgrounds. Therefore, we need a method to save time and get flawless results.
This article is all about making part of an image transparent using different tools. Besides, we will also look into controlling the transparency of images.
Tips
Hunting for a tool to make part of an image transparent for free? Why not try a professional bg remover iMyFone MagicPic to remove backgrounds with single click. Juts try it out free below!Best Tool to Make Part of an Image Transparent
Most software has a downside: the transparency controls are not as precise as they should be. For instance, if you want to make a part of an image transparent, that functionality is not available in the software. You can manage the transparency of the image as a whole. There is no alternative method for it.
However, there are other tools you can capitalize on when looking to remove only a part of your image. Let’s get into it.
iMyFone MagicPic
iMyFone MagicPic is our favorite tool when it comes to removing backgrounds, change image background, making ID photos, bulk background editing. It’s an artificial-intelligence-powered tool by iMyFone that lets you do a lot of work without losing the picture quality.
Several modes in background removal help in the precise removal of the background. In other words, iMyFone MagicPic is the perfect tool to be your go-to background eraser tool.
We will share the complete method to accurately remove the image backgrounds from your pictures effortlessly.
Step 1: Installation and Launch
You can download the MagicPic setup on your device from the official website. Once downloaded, install the application, complete the signup process, and log in. Once entered into the interface, you’ve to choose the Background Remover, or any other modes according to your needs to move forward.

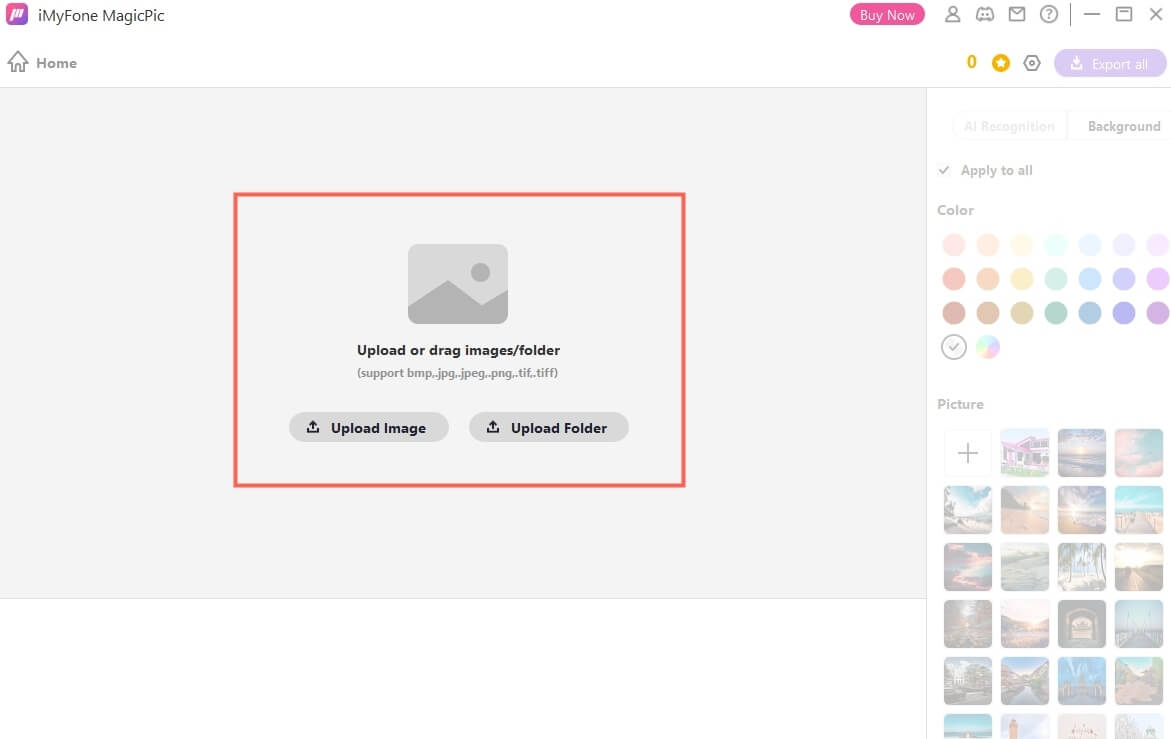
Step 2: Upload the image you want to edit
You can add one or more images for editing as you enter the software. Click on the ‘+’ button to add the image. Once you've done, the AI removal feature will automatically erase the background.
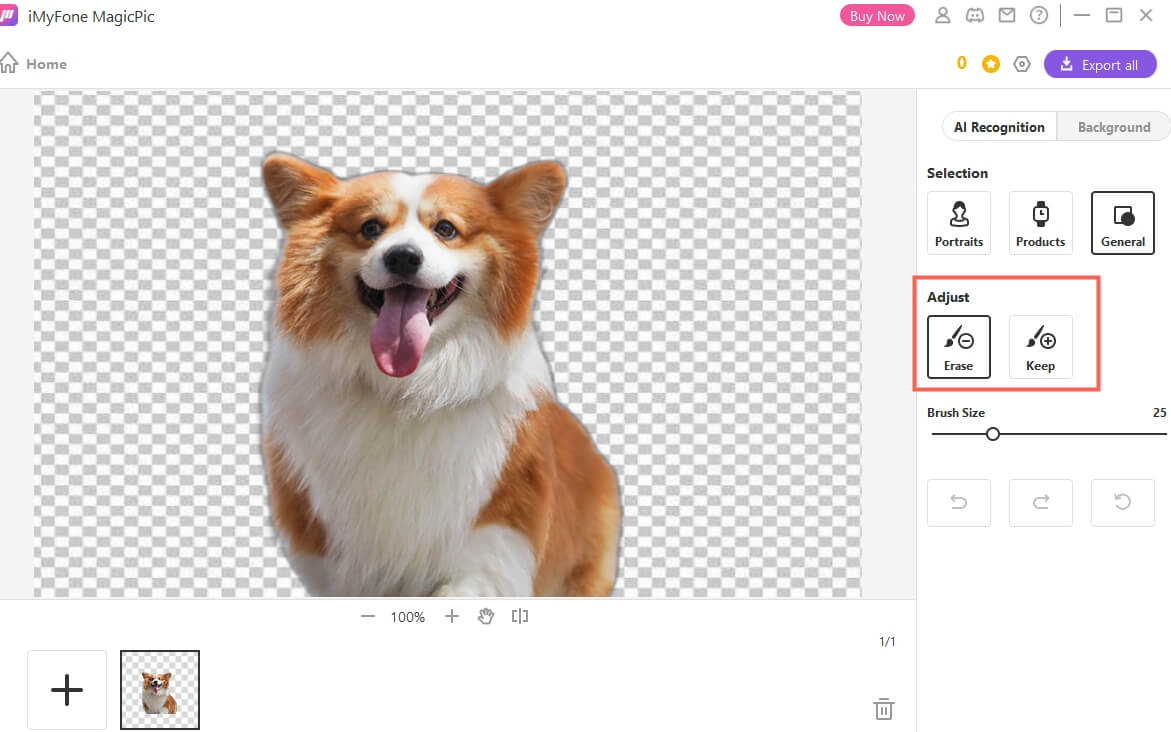
Step 3: Manual Removal: Select The Part You Want To Make Transparent
Select the areas to make part of the image transparent. You can see the cut out results in real time.
Step 4: Export All
Once done, you can export the results by clicking "Export all".
How to Make an Image Transparent on Word
Microsoft Word is also a powerful document creating and editing tool. It also lets you remove the image background, play with transparency and make parts of the image transparent. Here is a step-by-step guide for removing the complete background, making the image transparent, or removing a part of the image.
Step 1: Add the Image to Microsoft Word
Open the Microsoft Word app and insert the image by simple drag and drop function. You can also copy/paste the image or manually insert the image from the menu in Microsoft Word.
Step 2: Double Click on The Image
Double-click on the image activates the controls of the image. You can control transparency, contrast, size, dimensions, background removal, and more. We will discuss both methods one by one.
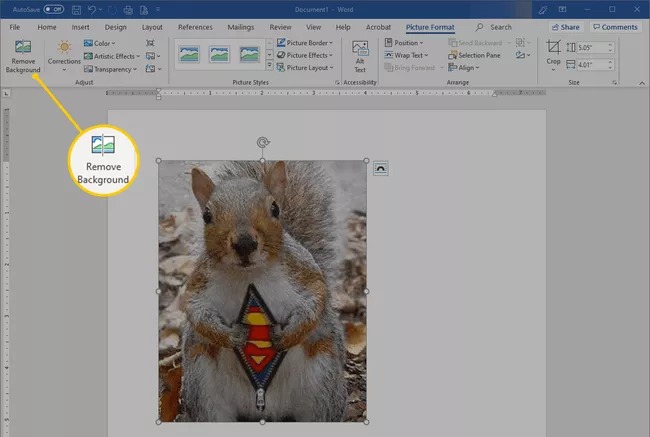
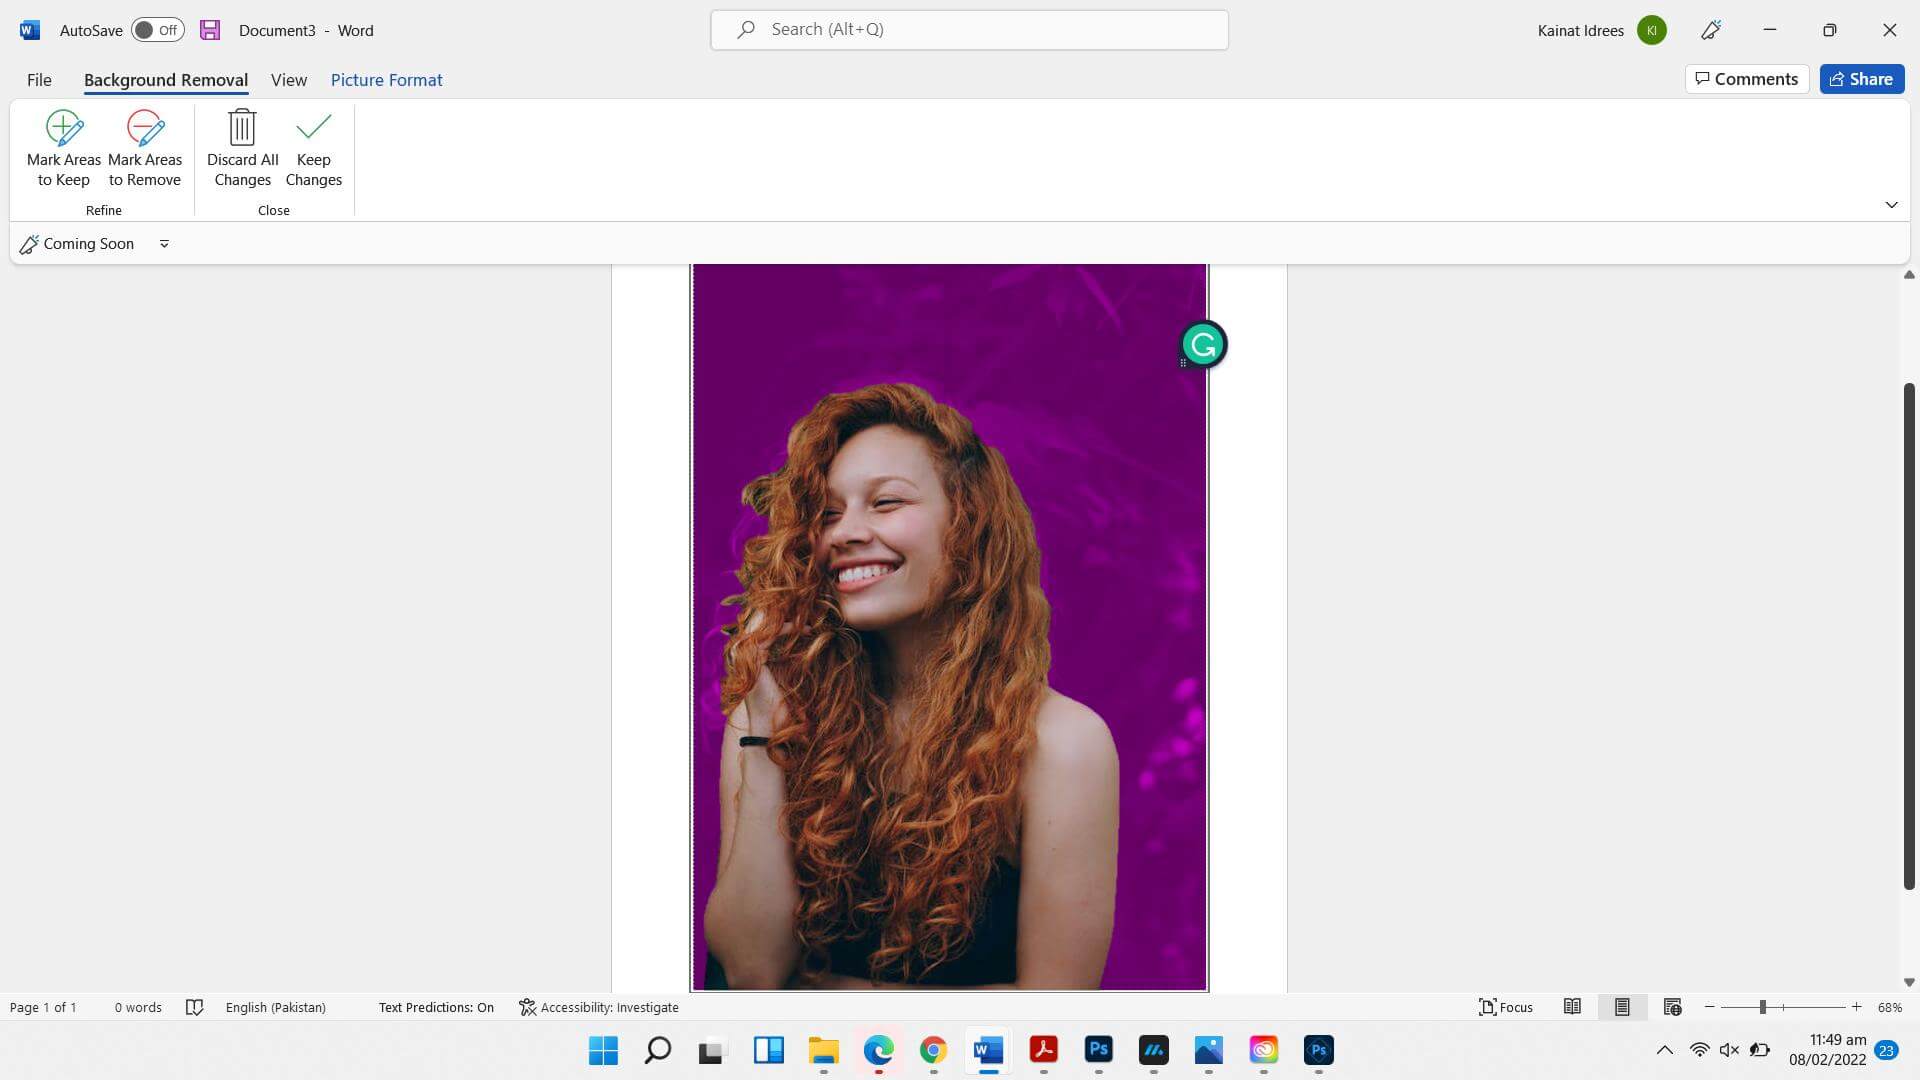
Step 3: Choose ‘Remove Background’
If you want to make a part of the image transparent in Word, you must click on the Remove Background tab.
Step 4: Remove Background or Make Part Of Image Transparent
Once there, you can select or deselect areas for removal. Once done, tap the enter button to get an image as desired.
Step 5: Change Transparency of The Image
If you want to make the whole image transparent, it’s also possible in Microsoft Word. Hit the Transparency tab in the controls of the image. Once there, you can increase or decrease the image transparency.
Step 6: Save File As Image
Once done, right-click the image to open the menu. Choose ‘Save as Image’ and save it to your device.
How to make an image transparent on Google Slides
Google Slides is a presentation-making software and online platform powered by Google that lets you create, edit, share and present your slides and presentations. Let’s discover how you make an image transparent and how you can make an image transparent on Google Slides.
Google Slides software is an open-source platform, and internet connectivity is necessary to create, edit, or change PPT files. Therefore, this is a great method for people who don’t want to carry heavy Powerpoint software on their laptops. While making presentations, you can make an image completely transparent by using the method we’re going to share.
Here is a step-by-step guide to making an image transparent on Google Slides.
Step 1: Log on to Google Slides and Sign In
Google Slides can be downloaded on your Android, Mac, or Desktop. Besides, you can also directly create the presentation by logging on to the platform from your browser. Once you have logged on to the official website, log in to your Google account.
Step 2: Create New Presentation
Click on ‘+’ for creating a new presentation. It will open a new presentation with slides. You can choose a slide to be just-text, just-image, or a mix of both.
You can add more slides and choose the slide mode according to your requirement.
Step 3: Add Image You Want To Make Transparent
Simply drag and drop the image you want to insert in your presentation. Alternatively, you can click on the Insert tab and add an image of your choice.
Step 4: Adjust The Transparency Of Image
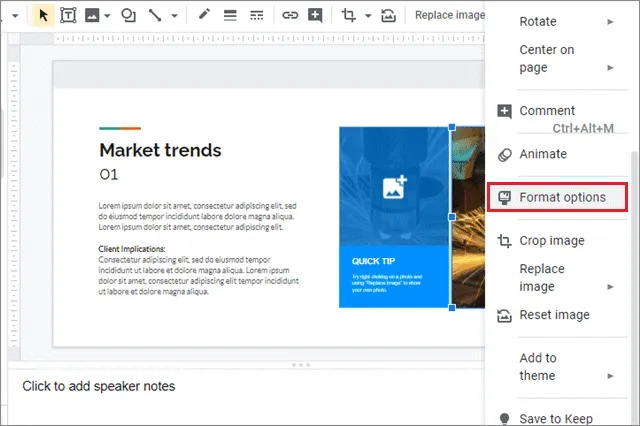
Double-click on the image opens the control bar above it. You have to choose Format for making adjustments. Alternatively, right-clicking on the image also opens up the Format menu.
Once there, you’ve to go to the Adjustments section and manage the image’s transparency in the software.
How to Make Image Transparent in Canva
Canva, a widely-used graphic design platform, provides a diverse array of tools for crafting impressive designs. Among its notable features is the background removal tool, which enables users to eliminate the background from an image and replace it with a transparent background, solid color, or a new image of their choice.
Now Let's directly go to the step-by-step tutorial.

How to remove background with Canva
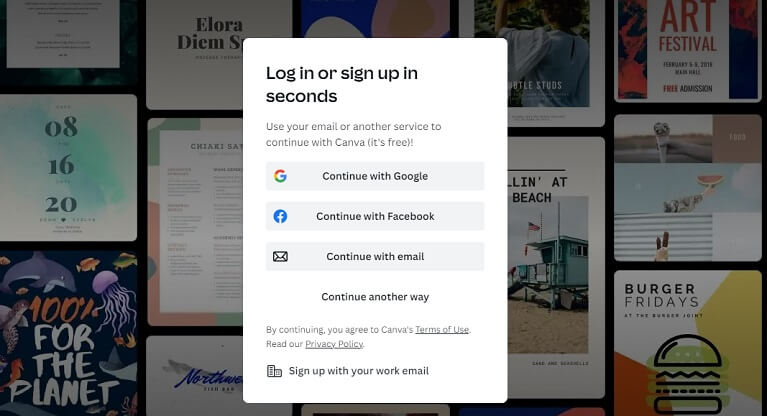
Step #1: Open the website & Log in.
Step #2: Upload your image.
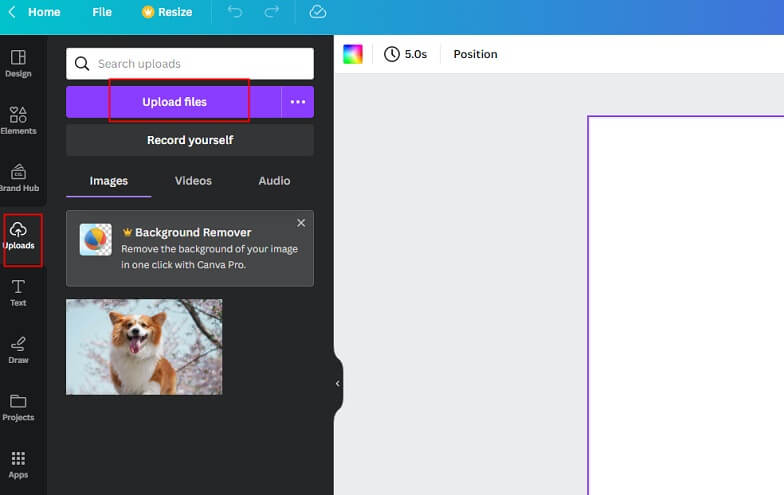
Upload the image that you want to make its background transparent. You can do this by clicking on the "Uploads" button on the left-hand side of the screen and selecting your image. Once you have uploaded your image, drag it onto the canvas.
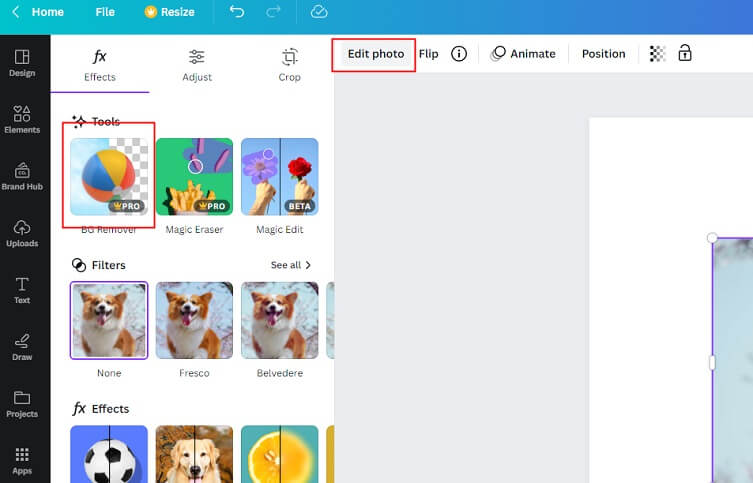
Step #3: Select the background remover tool to auto-remove the background
You can do this by clicking on the "Effects" button on the left-hand side of the screen and selecting "Background Remover". The tool will automatically start detecting your image background and get rid of it.
Step #4: Save your image.
Conclusion
If you want to make the image transparent free, online or offline, we have shared many methods for doing so. Besides, another software you can use to control the transparency of images, is Canva. How to make an image transparent is not any more difficult with MarkGo. Whether you want to make the whole image transparent or parts of image transparent, MarkGo is the best tool. It lets you add/remove objects, watermarks, and a lot more. The software is powered with Artificial intelligence for effortless editing. You can download the app for Windows or Mac devices by following links:


