Are you planning your next travel abroad? One of the essential requirements for international travel is a passport, and you will need a passport photo as well. The good news is that you don't have to spend a lot of money or time visiting a photo studio to get your passport photos. You can diy passport photo at home with the right equipment and tips.
In this ultimate guide, we will show you how to make your passport photos at home using your phone. You will also learn tips for posing and taking the photo, as well as FAQs about passport photo makers.
Part 1: Best Tools for Changing Photo Backgrounds
Before we jump into the process of making your passport photos at home, let's first understand what is a passport photo maker and what are the requirements for a passport photo.
A passport photo maker is a software or an app that allows you to create passport photos by uploading your picture and adjusting it to the required dimensions and background color. The software or app will also ensure that your photo meets the requirements of the passport office in terms of lighting, pose, and size.
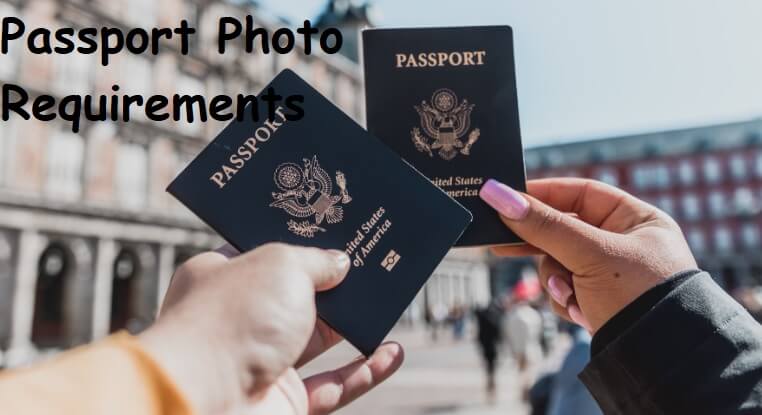
The requirements for a passport photo vary by country and by the passport office. However, some of the common requirements include:
-
A white or off-white background
-
A neutral facial expression, with both eyes open and looking directly at the camera
-
No glasses or sunglasses
-
No headwear, unless it is for religious or medical reasons
-
No shadows or reflections on the face or background
-
The photo should be in color, with high resolution and sharpness
-
The size of the photo should be 2 x 2 inches (or 35 x 45 mm)
Before you start making your passport photo, check the requirements for your country to avoid any delays or rejections. For complete and specific passport photo requirements, please refer to the official website!
Part 2: How to Take Passport Photo with Phone at Home
Now that you understand the requirements for a passport photo let's move to the process of making your own passport photos at home. You will need a smartphone with a high-resolution camera, a tripod or a stand to hold the phone, and good lighting.
Step 1: Choose the Right Room and Background
Choose a room that has good lighting and a plain white or beige wall (no visible chair). You can also use a white sheet or a white cardboard as a background. Make sure that the background is well-lit and there are no shadows or reflections.
Step 2: Set up Your Phone and Tripod
Set up your phone on a tripod or a stand, so that it is at eye level. Make sure that the phone is stable and not shaking. You can use the timer or a remote shutter to take the photo.You should not use any filters on your camera. Don’t zoom in or use the portrait mode.
Step 3: Pose for the Photo.
Stand in front of the white background, facing the camera. Make sure that your face is well-lit and there are no shadows on your face or background. Keep a neutral facial expression, with both eyes open and looking directly at the camera. Do not smile or frown, and keep your mouth closed.
Step 4: Take the Photo
Use the timer or a remote shutter to take the photo. Make sure that your face is in the center of the photo, and there is enough space around your head. Check the photo to make sure that it meets the requirements for a passport photo.
Step 5: Edit and Adjust the Photo
Once you’ve chosen the most satisfied one, you can use your phone’s native editing feature to resize it to the required size of your country. Save the photo in JPEG format.
However, the passport photo background may be mom-standard since it’s not easy to get a professional monochrome background, therefore, a background-remover is needed here to assist in removing the background and replace it with sheer white, for which we highly recommend iMyFone MagicPic —an AI powered background remover.

It doesn’t need any photo editing skills to get what you want. AI algorithm allows you to get transparent background with single click, replace existing background with white background. The intuitive interface and simple operation are perfect for you to get professional passport photos!
How to Remove Background for Passport Photo:
Step #1: Download and install the MagicPic software.
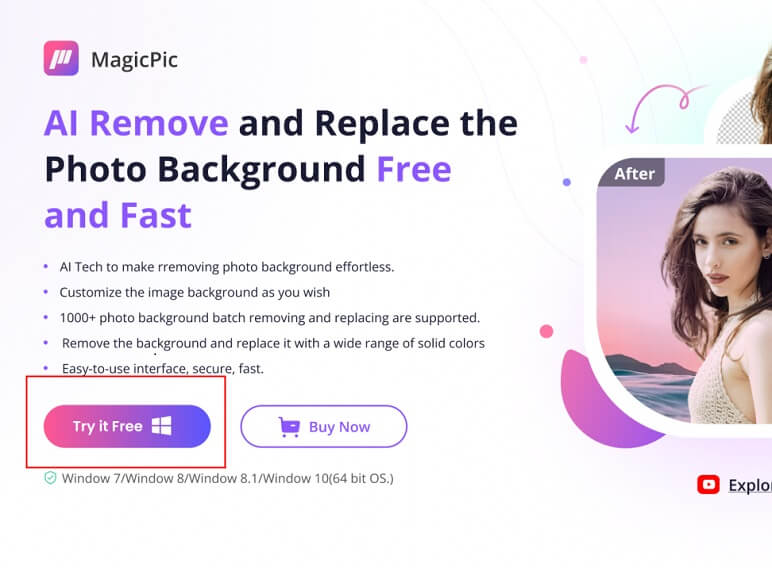
Step #2: Click on One Function Based on Your Needs.
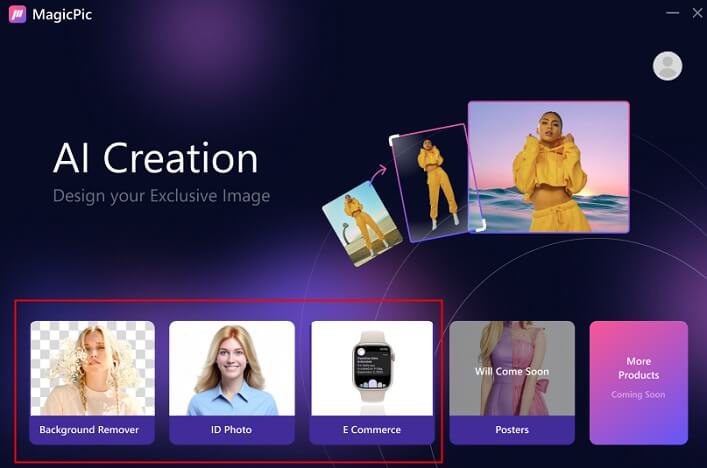
Step #3: AI Auto-Remove Background Instantly.

Part 3: FAQs About Background Changer
How much does it cost to make passport photos at home?
The cost of making passport photos at home depends on the equipment and materials you need. You will need a smartphone with a high-resolution camera, a tripod or a stand, a white background, and good lighting.
How long does it take to make passport photos at home?
Making passport photos at home can take as little as 15 minutes, depending on how many photos you need to make and how quickly you can set up the equipment.
Can I use a selfie for my passport photo?
Most passport offices do not allow selfies for passport photos. You need to have someone else take the photo for you, or use a tripod or a stand to hold the phone.
Conclusion: Save time and money with DIY passport photos at home
Making your own passport photos at home is easy and affordable. With the right equipment and tips, you can create passport photos that meet the requirements of the passport office. You can save time and money by avoiding the hassle of visiting a photo studio. Follow the steps in this ultimate guide,download MagicPic to further edit the photo and you will have high-quality passport photos in no time. Bon voyage!
iMyFone MagicPic
Start to Remove and Change Background Now.
