


Capture One is a brilliant photo editing tool for beginners and professional photographers alike. You can edit a photo with a single swipe using the Magic Brush feature or enhance the quality of your photos using the basic and advanced color editing feature in Capture One. But what about adding a watermark? Is there a chance you can make watermark in capture one?
Whether you want to add a text-based watermark or a logo that defines your unique photography skills, adding a watermark in Capture One will help you design a distinct watermark for your hard work. You can mark your clips with your name or create a distinguished copyright picture logo for a fantastic look.
If you have no idea how to use the watermark feature in Capture One, this post will walk you through different ways to add watermark in Capture One.

Part 1. Best Software to Watermark Videos and Images- iMyFone MarkGo
iMyFone MarkGo has been used for nearly all the purposes related to editing, so if you want to add watermarks to your photo/video, you can easily use iMyFone MarkGo for better results. You don't have to worry about how to use it, as all the steps are mentioned down below.
iMyFone MarkGo Guide:
Watch the video tutorial to learn more about MarkGo
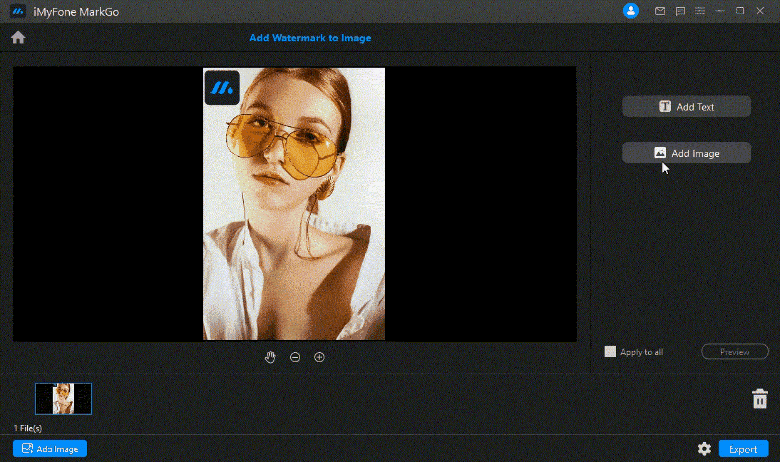
Step 1: Upload the image or video
Click the Upload button and pick the image or video you plan to remove a watermark from.

Step 2: Use add text/add image tool to add watermark area
click the add text/add image button to add watermark area,then you can drag the watermark area,you can also edit the text you want.

Step 3: Click the preview button
Now you have added the watermark successfully! Look into the details of your images and do slight adjustment.
Step 4: Export the video/image
After you already add the image/video watermark successfully,you can export it now.

iMyFone MarkGo
Start to Remove Watermarks from Videos and Images Now.

Part 2. Different Ways for Adding Watermark in Capture One
Capture One is a highly famous photo editing software developed by Phase One. Supporting image editing for both Android and Mac OS, the software helps you create a masterpiece with impressive editing tools.
The software also supports image editing for raw files taken from any digital camera. It then further facilitates users by allowing them to add watermark on TIFF, PSD, PNG, and JPEG variants. Adding a watermark makes you the sole owner of any images giving you the copyrights on the images, which you can do easily with the Process Recipe feature of Capture One.

What Is The Process Recipe Tool?
In simpler terms, The Process Recipe is another name for exporting the edited image that also contains a watermark. But this Process Recipe option takes the meaning of "Export" a bit further as it allows you to process images into multiple formats simultaneously, which is not possible with the simple "Export" option.
The Process Recipe enables you to create a parameter using the tools such as basic file adjustments, metadata, and finally, watermark. This tool is an option in the Capture One software where users can create their unique watermark using the various fonts, tokens, or ready-made graphics files having a transparent background.
You can adjust the settings in the entire Recipe tab creating a recipe of your own to get a perfect image of your choice, from basic settings to watermarking your images. By using a pre-set watermark in the Recipe tool, you can use it in batches making the process quicker than before. Watermarks only appear on the processed images, whereas exported images will not contain a watermark.
Note:
When you chose a PSD file format within the Basic tab in the recipe tool, it will produce an image containing a watermark in a separate layer that users can further edit in Photoshop.
The software does not support adding watermarks on DNG file variants.

Way 1: Adding Graphic-Based Watermark
To add a graphic-based watermark to your images in capture one, use this step-by-step guide.
Step 1: Click on the "Export" icon.
Step 2: Go to the "Watermark" option within the export icon.
Step 3: From the "Kind" option, choose the "Image" option.
Step 4: Now, you have two options to upload the file in the drop-down menu. You can either drag and drop the files using the "Drag Image Here" field or go to File and then search for the image you want to add a watermark on.
Step 5: Select the Opacity and Scale as per your preferences before moving on.
Step 6: Position your watermark using the hand cursor tool or with the help of horizontal and vertical sliders, and you are done.

Way 2: Create Text Watermark Using Capture One
To add a text-based watermark to your images in capture one, go through the simple steps mentioned below:
Step 1: Go to the "Settings" option.
Step 2: Open the "Output" tool tab.
Step 3: Within the "Process Recipe" tool, move towards the Watermark tab.
Step 4: Within the "Kind" option, select the "Text" field.
Step 5: Using the "Font," adjust the font and color of your text before adding a watermark to your image.
Step 6: Now, adjust the "Opacity" and "Scale" in the next option using the sliders.
Step 7: Finally, you need to position the watermark using the vertical and horizontal adjustment options. Use the sliders or move the text using the cursor.

Way 3: Add Text Watermark Using Token
Along with the text option, users can also use the "Tokens" feature of Capture One to add a high-quality text-based watermark to images. The name of the photographer is added in the Creator field in the IPTC address. By choosing the Creator Token, the watermark will instantly appear on the image eliminating the need for creating a watermark from scratch.
Tokens significantly reduce the amount of work while creating a text watermark for images belonging to different photographers. Capture One will keep changing the watermark in the Creator field according to the name of the photographer name.
So, to use the Token option in Capture One, go through the following options:
Step 1: Open the "Output" tab in Capture One.
Step 2: Within the Process Recipe, go to the Watermark option.
Step 3: From the Kind menu, choose the Text option.
Step 4: Click on the adjacent (..) icon, and it will lead you to the Watermark Tokens Manager.
Step 5: From the pre-set drop-down menu, select a token or group of tokens or use a combination of token and text. Then, press Okay.
Step 6: The watermark will appear on the image.

Conclusion
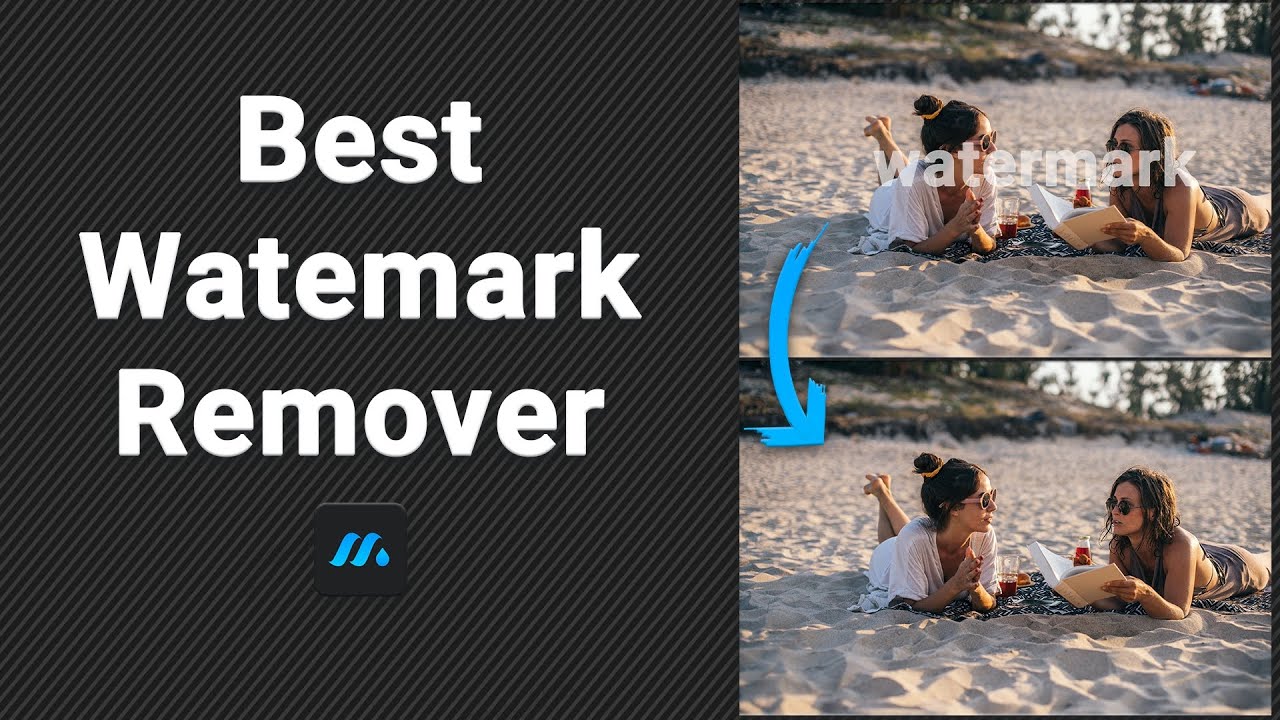
If Capture One sounds a bit confusing to you and you need a much simpler tool to edit your videos, iMyFone MarkGo is the first best option to choose. Simple interface, intuitive features, and a vast array of editing tools make this software highly recommended to all. You can also use iMyFone MarkGo to remove watermark from photo.
You can add cool effects to your images, prepare a slideshow using handy tools and play around with all the basic and advanced editing tools as Filme has an extensive collection for both beginners and professionals. All you have to do is simply drag and drop your images into the timeline, and the software will do the rest for you.
iMyFone MarkGo
Start to Remove Watermarks from Videos and Images Now.


