In this article, we will explain three methods to freeze-frame in Premiere Pro step by step. Moreover, we will also introduce a user-friendly tool iMyFone Filme that can freeze a frame with 1 click.
Easily Freeze Frame in Premiere Pro
Basically, Premiere Pro allows users to use this effect in different ways, but firstly, we are going to share the most useful and easy way to perform freeze-framing. This method is called Insert Frame Hold Segment in Clip. Now, let's have a look at the steps of the method.
Use Insert Frame Hold Segment in Clips:
Step 1: First of all, open the latest version of Premiere Pro on your device and click on New Project.
Step 2: Go to the Project panel and double-click there to choose media from your device. Import media pop-up will appear on the screen. Select the media file and click on Open. Click on the file and drag it to the timeline to create a new sequence.
Step 3: Now, right-click on the part of the video from where you want to get the desired frame. A drop-down menu will appear. Select and click on the Insert Frame Hold Segment option.
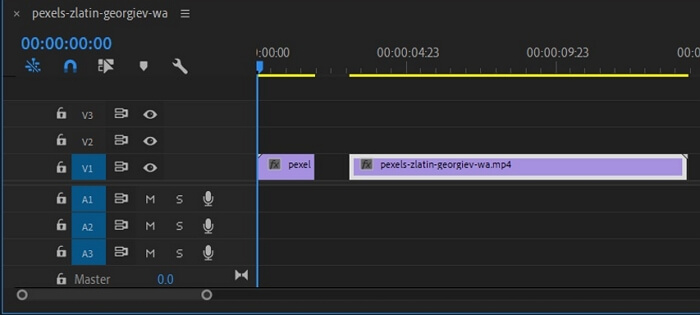
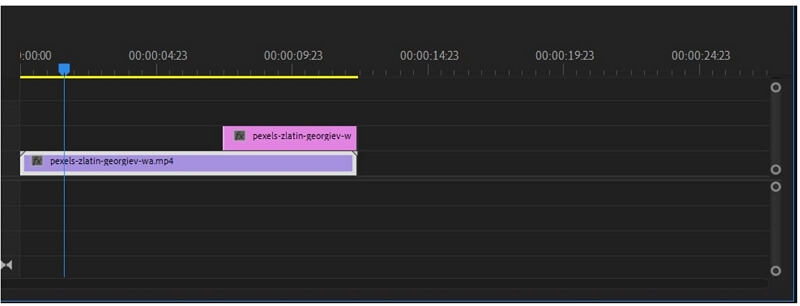
Step 4: This method will automatically clip the frame of the video at the time marker position for two seconds. If you want to increase the time, just drag the edge of the frame and set it according to your desire.
Another Easy Way to Freeze Frame – Filme
iMyFone Filme is an exceptional video editor that has tons of advanced features, but it is still beginner-friendly. Even if you are a beginner, you can easily edit your videos using it. The interface of the software is simple, self-explanatory, and easy to deal with.
Filme has everything you need for video editing. It has all the basic tools for video editing and advanced tools for making the video more than amazing. Other than that, you can change your PPT files to videos, make slideshows with visual effects, use the voice changer to change voice, record the computer screen, and do much more. It is a versatile and all-in-one video editor for all purposes.
You can also freeze the frame using Filme. It is super easy, and you can do it with one click only. Let's have a look at the steps.
Steps to Freeze Frame Using Filme
Step 1: Open Filme on your computer. Cclick on Editing Mode.
Step 2: Click on File>New Project and select an aspect ratio. Import the video to freeze its frame via Media menu.
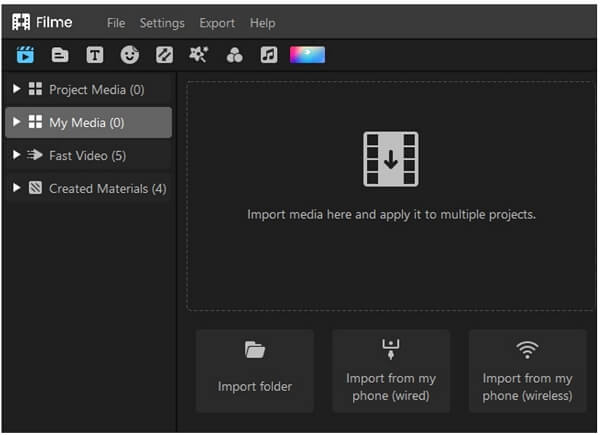
Step 3: Drag the video to the timeline. Now, you only need to move the playhead to the frame that you want to freeze.
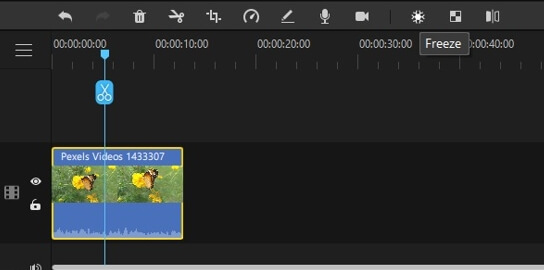
Step 4: After selecting the frame, click on the freeze-frame button. It is the ice icon above the timeline. Once you click it, the frame freezes instantly. Now, you can adjust its duration on the timeline by dragging its ends.
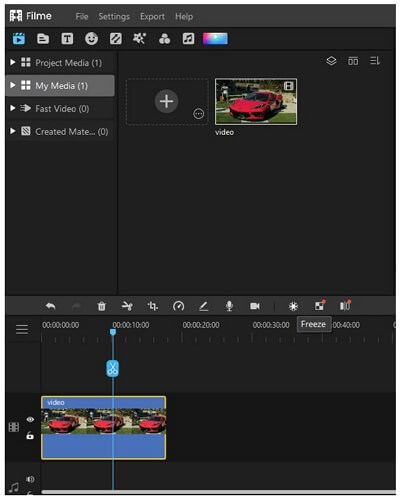
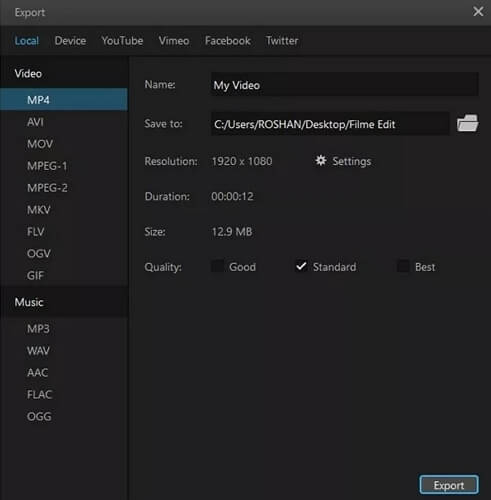
Step 5: You can make other changes to the video. You can add effects, filters, stickers, music, text, or anything you like. Finally, click on the Export button and export the video in the desired format.
Also Read:
Remove Watermark with DaVinci Resolve >>
Speed up Video on DaVinci Resolve >>
2 More Ways to Freeze Frame in Premiere Pro
We have discussed one method above. Now, let's have a look at more methods to freeze frames using Premiere Pro. Let's get into the methods one by one.
1) Add Frame Hold Method
This method is useful to extend a particular part of a video clip to set the rest of the video as a freeze-frame. Here are the easy steps to follow this method.
Step 1: First of all, open the latest version of Premiere Pro and import your media file to it by following the same method we have discussed in the above Part 1.
Step 2: Now, select the part of the video from the timeline and right-click there. From the menu, select and click on the Add Frame Hold option.

Step 3: This option will cut the selected part of the video and add it as a freeze-frame to the rest of the video. It can be a great option for ending part of the video where people usually do not want to add extra segments.
2) Exporting Frame Method
Exporting Frame method means creating a single and still frame from your selected video clip and then placing it to the desired location.
Step 1: Import the media file from your device to Premiere Pro's latest version and then drag it to the timeline. Set the time marker from where you want to take the still shot of the video clip.
Step 2: Now, click the Export Frame button; it will be a camera icon below the video preview. The other way is to click Shift+E to get this option.

Step 3: Export Frame button will open a dialogue box on the screen where you can select the format of the image. You can also select the directory for your export and can also directly import the selected frame to your current project.
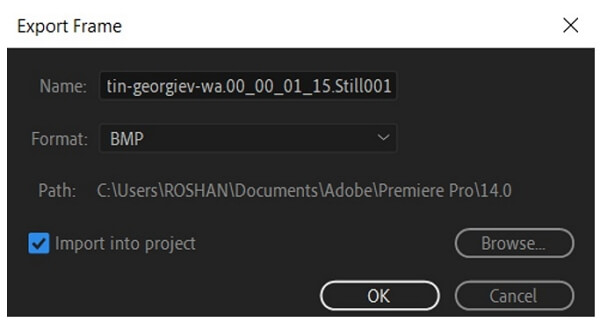
Step 4: Click on OK, and the image will be added to the project tab to the left side of the timeline. Now, you can easily add or fix the created image or screenshot to any part of the video.
Final Words
We have explained three step-by-step methods of freezing a frame in Premiere Pro. If you want to know more about Premiere Pro, you can check on this article Adobe Premiere Elements Review. You can use any method to perform the task. If you want an easy way to free frame and edit videos, we recommend you Filme. It is an amazing and user-friendly tool that has tons of exceptional features and tools. You can make your videos stunning without any hassle.


