Zoom recordings are automatically converted to MP4 and saved to your computer. But sometimes, the conversion fails, and you have the .zoom files for your recordings. In such a case, you need to convert zoom recording to MP4. In this article, we will share some simple methods to convert zoom to MP4 and discuss where recorded zoom meetings go.
Part 1: Convert Zoom Recording to MP4 within Zoom Client App
If your recording is not saved to your computer in the MP4 format, you can easily convert it into MP4 using the Zoom Desktop Client. It is the simplest way to do that, and you just need one click to convert the file. Follow the steps below and convert your .zoom file into MP4.
Bonus Tips:
Record the Zoom Meeting with Faster Tools -iMyFone Filme.
Special offer that can free try the resoureces for paid. Download it for trying it out!
Step 1: Open the Zoom Desktop Client App
Open the Zoom app on your computer. If you have recorded any meetings, you will find them in the app.
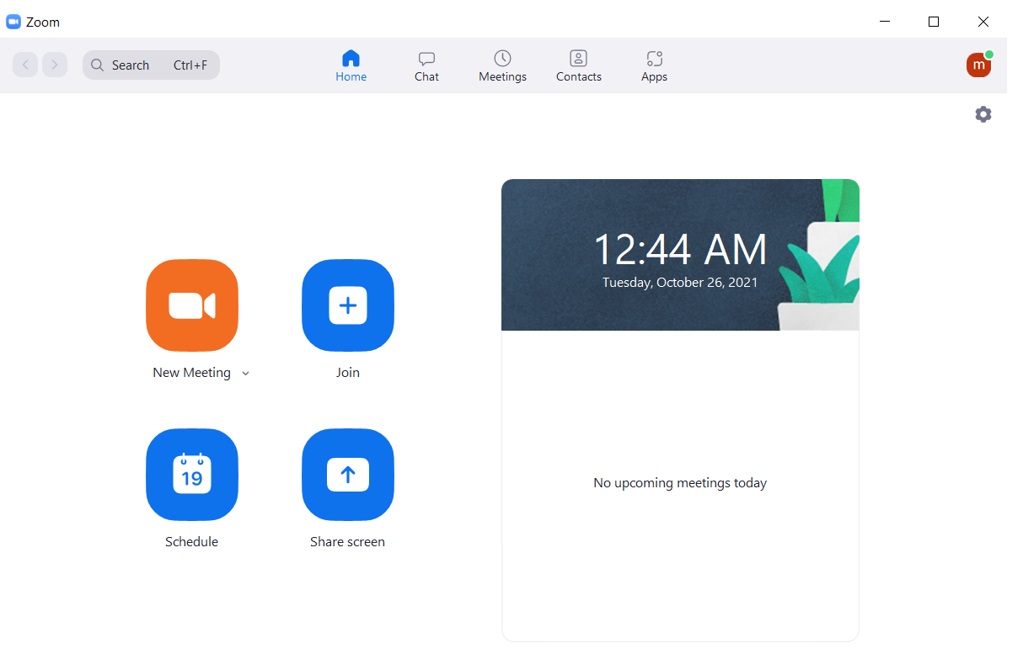
Step 2: Go to Meetings
On the top of the window, you will see a few tabs. Click on Meetings. On the Meetings page, you will see two tabs: Upcoming and Recorded. You need to click on Recorded.
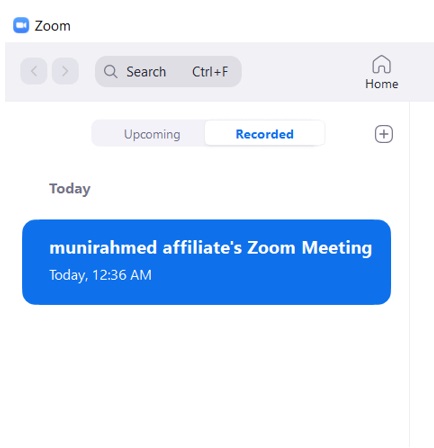
Step 3: Convert the File
On the left, you will see the meetings you have recorded. Click on the recording you like to convert. If the recording is in the .zoom format, you will see the Convert button. Otherwise, you will have the Play button.
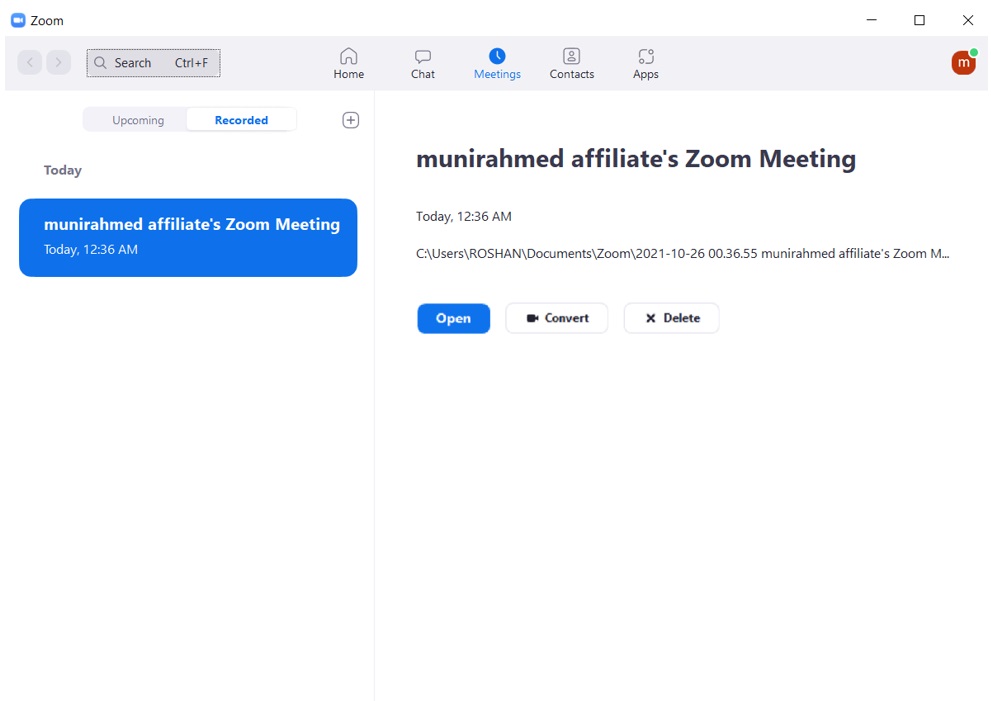
Click on the Convert button, and your recorded file will be converted quickly. Now, you can play the video.
Advantages:
 It is the simplest method to convert a zoom file to MP4.
 You do not need any third-party tool.
 It converts the file quickly with one click.
Disadvantages:
![]() It might not work in every condition.
It might not work in every condition.
![]() You might not see the file in the recordings.
You might not see the file in the recordings.
People Who Liked this Content Also Liked
How to Create and Find the Recorded Zoom Meetings File >>
How to Record Yourself and Screen on Zoom-Don't Need to Be the Host >>
How to Convert Zoom Recording to MP4 Quickly >>
Part 2: Record the Zoom Meeting with Filme
Zoom has a built-in recording feature, but you can only record the meeting if you are the host or you have permission to record the meeting. Therefore, you cannot record your meetings whenever you like. The best solution to these problems is a third-party screen recording tool, such as Filme.
Filme is quite simple and easy to use. You just need to follow a few simple steps.
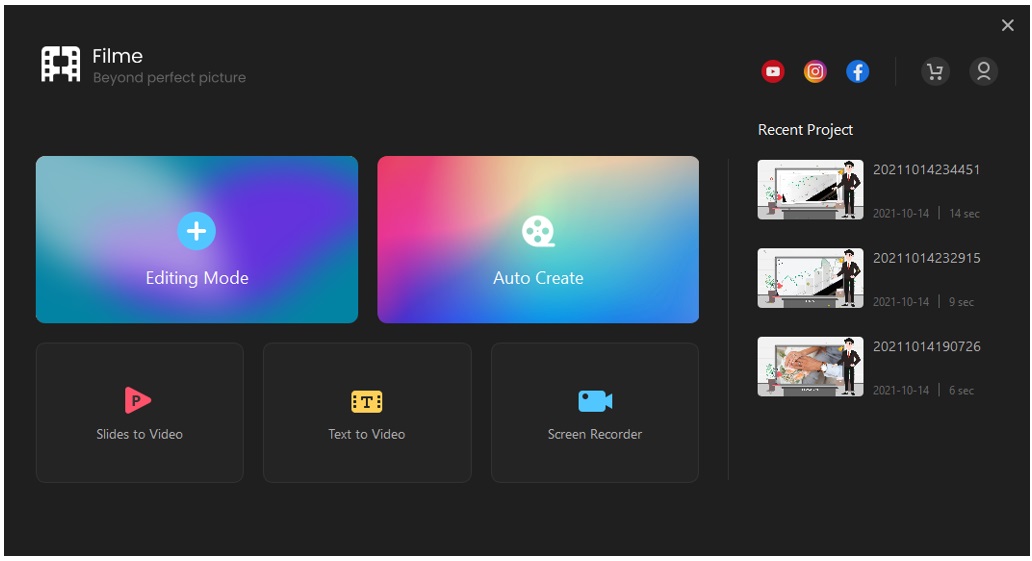
Step 1: Launch Filme
After installation, open Filme on your computer. You will see a few options. Click on Screen Recorder.
Step 2: Adjust the Screen
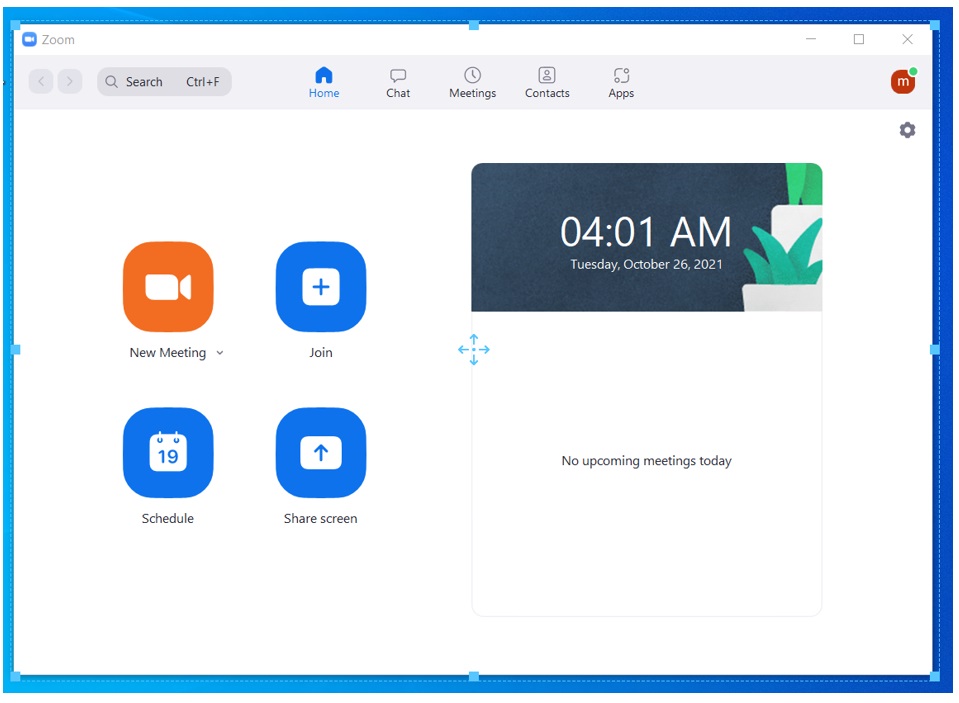
Now, you will see a big rectangle on the screen. This rectangle is the recording area. You need to adjust the rectangle according to your needs.
Step 3: Start the Recording
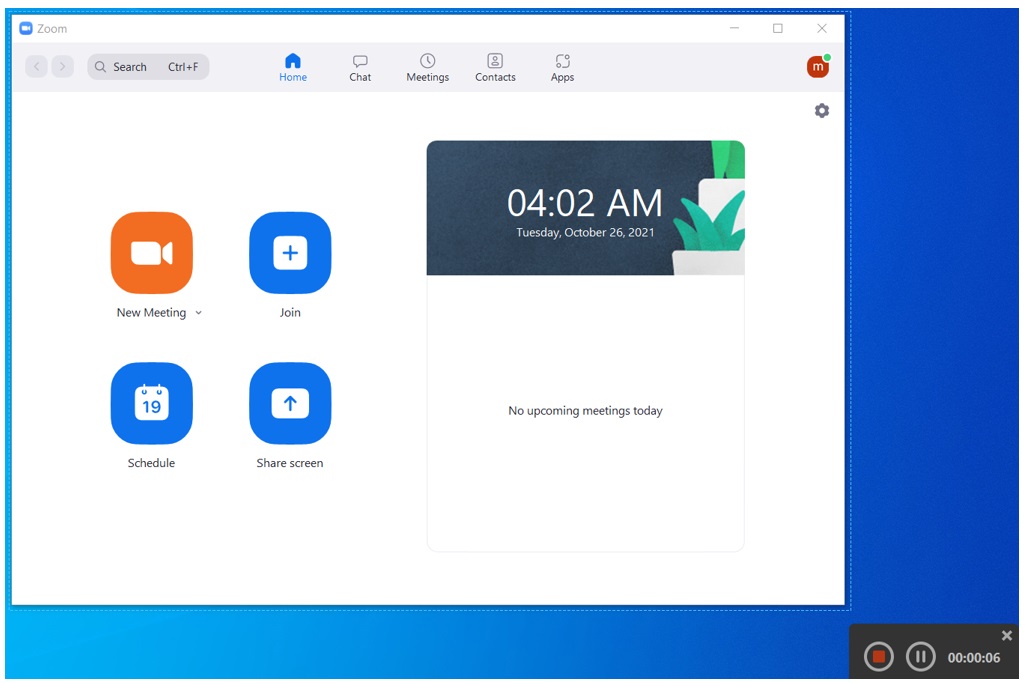
At the bottom right corner of the screen, you will see two buttons and a timer. Click on the red button to start recording. Your recording will start instantly. You can also pause it whenever you want.
Step 4: Stop the Recording
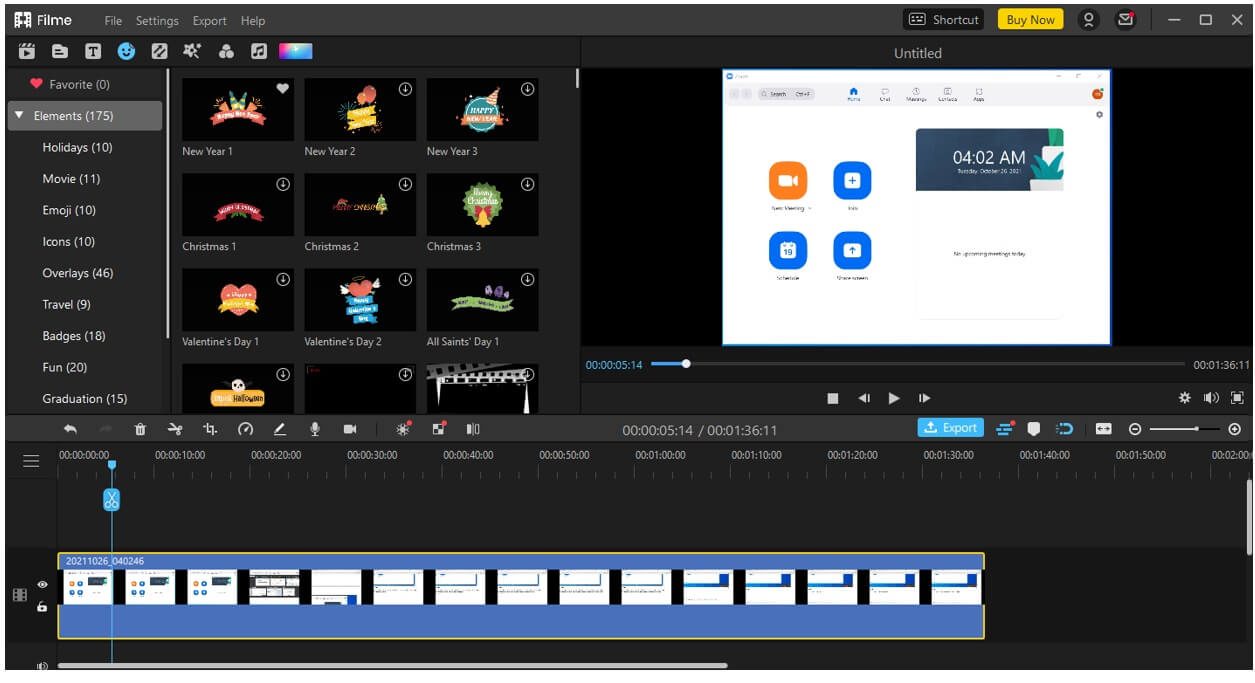
When you are done, click on the red button again to stop the recording. The video will appear on the timeline of the video editor.
Step 5: Edit the Video
Filme is a complete video editor, so you can edit your zoom recording. You might need to cut certain parts and adjust the duration. You can apply filters, text, images, transitions, stickers, or anything you like.
Step 6: Export the Video
After all, click on the Export button. Select MP4 or any other format as well as other settings and save the video.
Advantages:
 You can record the meeting without permission.
 It is quite simple to record the screen; you just need one click.
 You can edit the video after recording it.
Disadvantages:
![]() The screen recording feature does not record the voice.
The screen recording feature does not record the voice.
Part 3: Convert .zoom Files to MP4 by Switching with New .zoom Files
This method is a hack that can work in some cases. You can try it for converting zoom files to MP4. It works on the fact that Zoom converts the recording to MP4 when the meeting ends. We can take advantage of this fact by creating a new meeting and recording it, and we will replace the newly created zoom recording file with the previous non-converted files so that they can be converted to MP4 once the meeting ends.
Let's have a look at the steps.
Step 1: Copy the Zoom Files
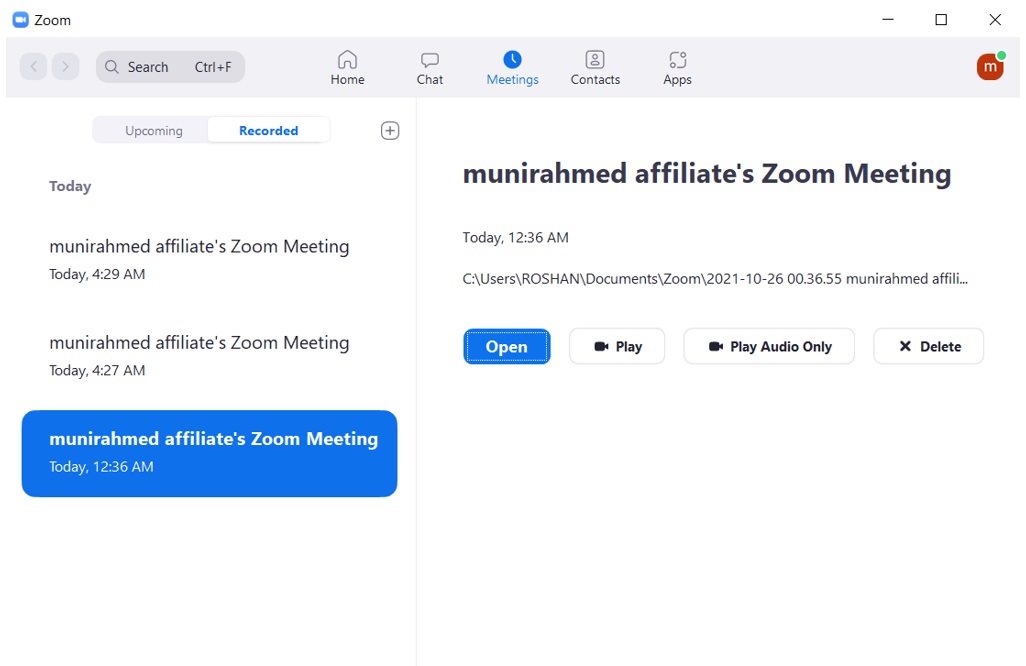
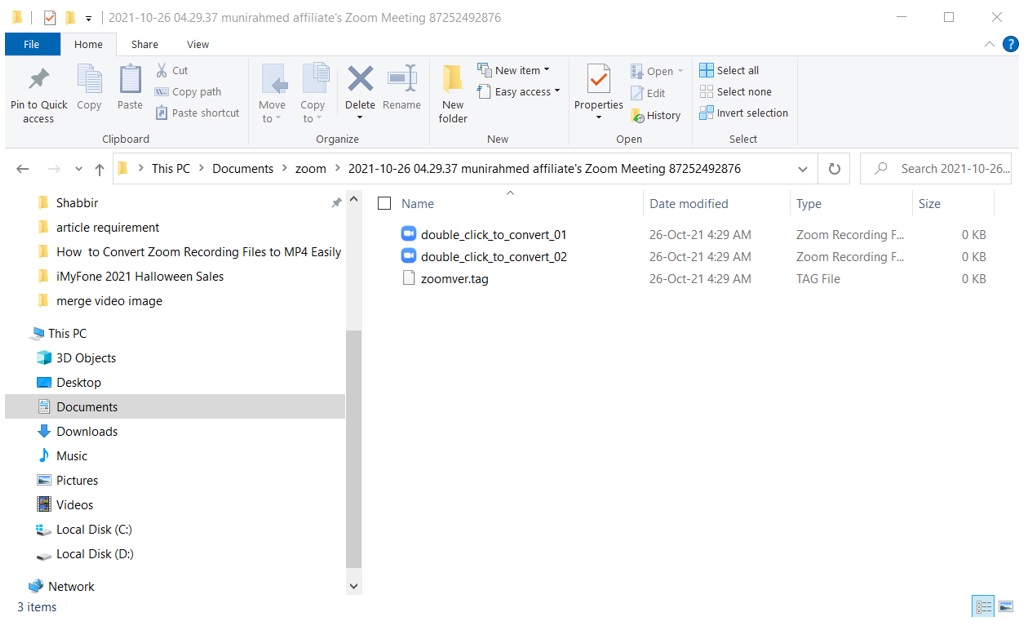
First, you need to find the non-converted zoom files. The easiest way is to open the Zoom app. Go to Meetings>Recordings. You will find the recordings there. Even if you do not find your recording there, click on any recording. Click on Open. This will open a folder. All Zoom files are stored in this directory, and you can find the zoom files you need to convert. Once you find the files, copy them.
Step 2: Start a New Meeting and Recording
Open the Zoom app and start a new meeting. Start the recording and after a few seconds, stop it. Now, go to the same directory where zoom files are stored. You will see the newly created recording folder. Open the folder and replace the files with the files you copied in the last step.
Step 3: End the Meeting
Now, stop recording and end the meeting. The Zoom app will convert the file to MP4, and after conversion, you can go to the same folder and see your recording.
Advantages:
 Works in many cases
 It does not require a third-party tool.
Disadvantages:
![]() It is a bit difficult and confusing.
It is a bit difficult and confusing.
![]() It might not work in your case.
It might not work in your case.
Part 4: Where Do Recorded Zoom Meetings Go
Zoom recordings are automatically saved in a folder. You will find all recordings at one location.
(1) Find All Recordings in Zoom Desktop (Mac/Windows)
In Windows, you will find the directory in the Documents folder. Go to the Documents folder and find the Zoom folder. All your recordings will be here. There will be a separate folder for each recording.
If you cannot find the location, you can follow this,
Go to C> Users > [Username] > Documents > Zoom
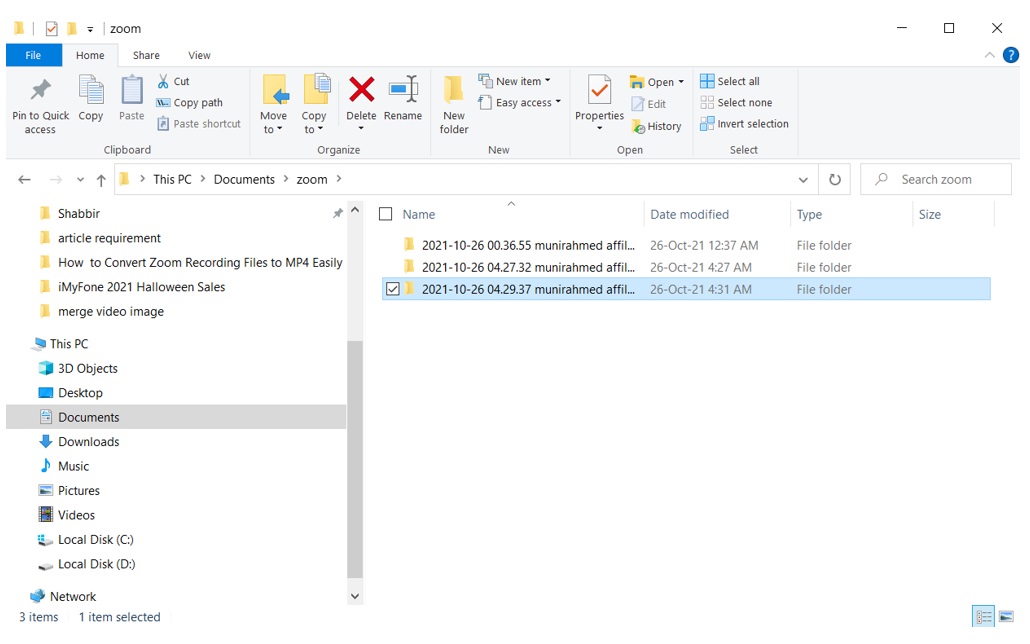
On a Mac, there is also a separate Zoom folder for recordings, and it is inside the Documents folder. Go to Users > [Username] > Documents > Zoom. You will have the folders of all the recordings.
(2) Find All Recordings in Zoom on the Web
If you are using the web application of Zoom, then your recordings will be saved in the cloud. It is quite easy to access these recordings.
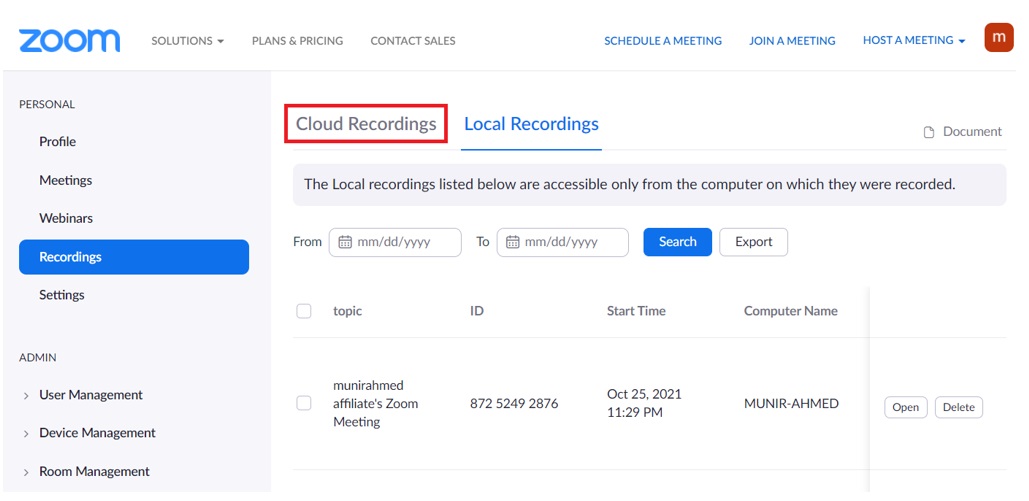
Open your profile on the Zoom web app. You will see the Recordings tab on the left. Click on it, and you will find the Cloud Recordings there. Click on it and see your recordings.
Final Words
We have seen how to convert zoom recording to MP4, and we have shared two methods to do that. The zoom files are automatically saved on your computer, and you can find them and convert them.
The best method to record a Zoom meeting is by using a screen recording tool, such as Filme. You won't need any permission, and you can edit your recorded video and save it as you like.


