Online learning or meeting on Zoom Meeting is very popular and how to use Zoom is also very simple. On Zoom, we can record the whole lesson or meeting to review when necessary, for the purpose of adjusting the content or for other work later.
Online room host on Zoom is allowed to record content with other members. But how to record yourself on Zoom? You can use screen recorder - a feature from a video editor. Let's check it out.
Part 1:Record Your Screen and Yourself at the Same Time Using Zoom
Zoom Meeting software supports recording online lessons/meetings for everyone to review when needed. While the Zoom video conferencing app offers the option to record all meetings, you can only access this feature if the meeting host grants you permission to do so. The Record button will not be available when the host has disabled this option as a meeting setting. Thus, to record a meeting, you have to be the host or be given permission to do it.
Using screen recording software or application is the best alternative if you want to record Zoom meetings without the host's permission. Let's see how to record yourself on Zoom by Zoom Meeting and another alternative.
Bonus Tips:
Record the Zoom Meeting with Faster Tools -iMyFone Filme.
Special offer that can free try the resoureces for paid. Download it for trying it out!
Method 1:Record Yourself by Zoom
If you are the host, or the host of a meeting on Zoom allows meeting recording, you can use Zoom to record meeting content in less than 5 steps:
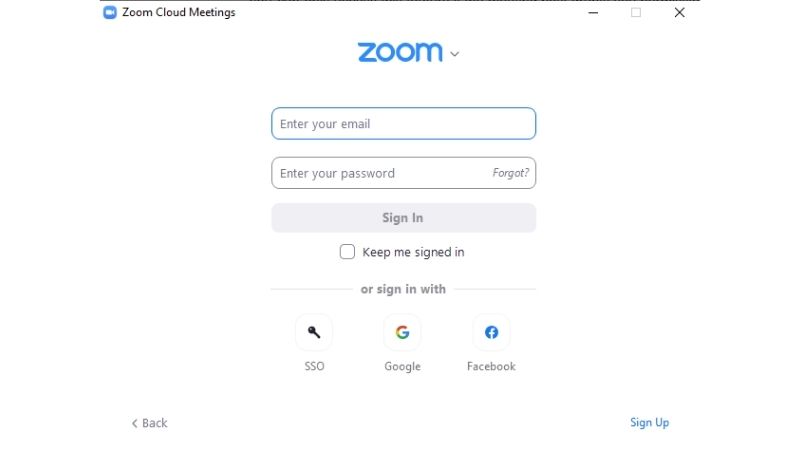
Step 1: Launch Zoom and sign in to your Zoom account.
Step 2: Click on New Meeting to create a new meeting.
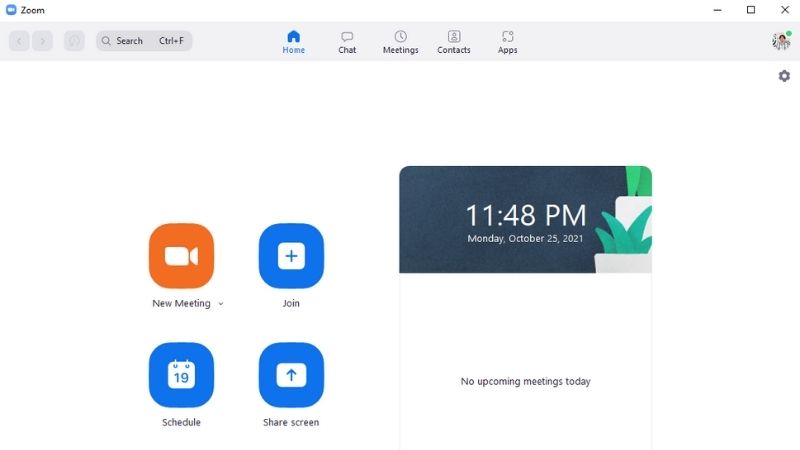
Step 3: You have created your Zoom Meeting and start recording yourself. If you want to use Zoom to record your screen and yourself at the same time, click on Share Screen and choose the window or opening application that you want to share on screen.
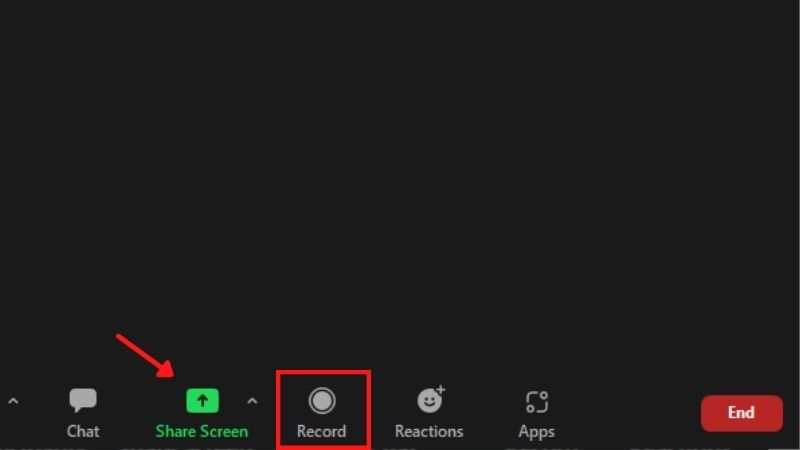
Step 4: After successfully creating a Zoom classroom with participants, click on the Record icon at the bottom of the interface or press Alt + R to proceed with recording.
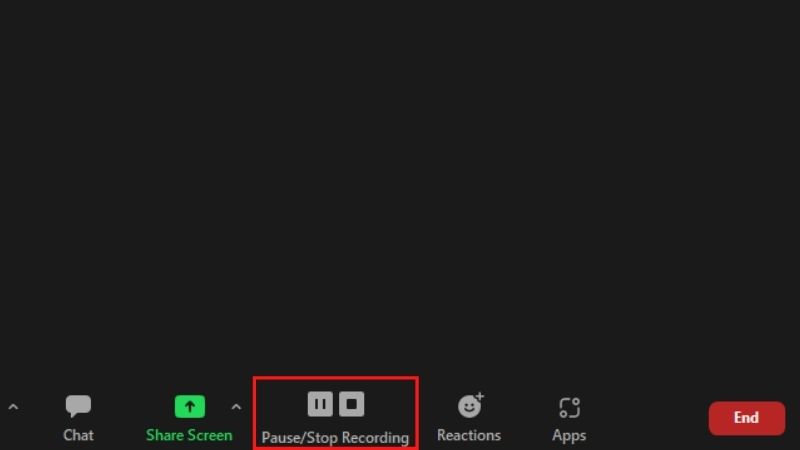
Step 5: Immediately after that, the recording process takes place and you have the option to Pause or Stop the video recording of the lesson at the bottom of the screen.
Method 2:Record your screen and yourself by the Third-party Screen Recorder - Filme
Finding a screen recorder you can use on your Mac or PC shouldn't be too difficult as there are so many options. Furthermore, the screen recorder software products are easy to use and you won't need much experience if you want to use them to record a Zoom meeting.
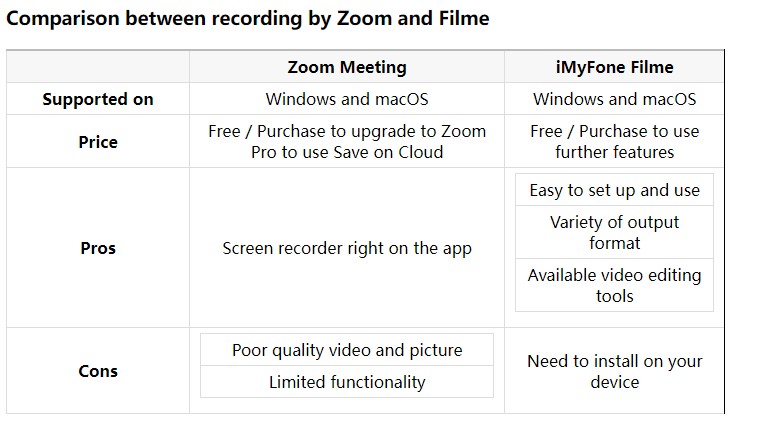
Let's take a closer look at the free recorder for Zoom meetings that you can use on Windows or macOS - iMyFone Filme. Filme not only has a screen recording function but also has all video editing tools for you to edit your recording in case you need it.
Here are the steps to record the Zoom meeting by Filme:
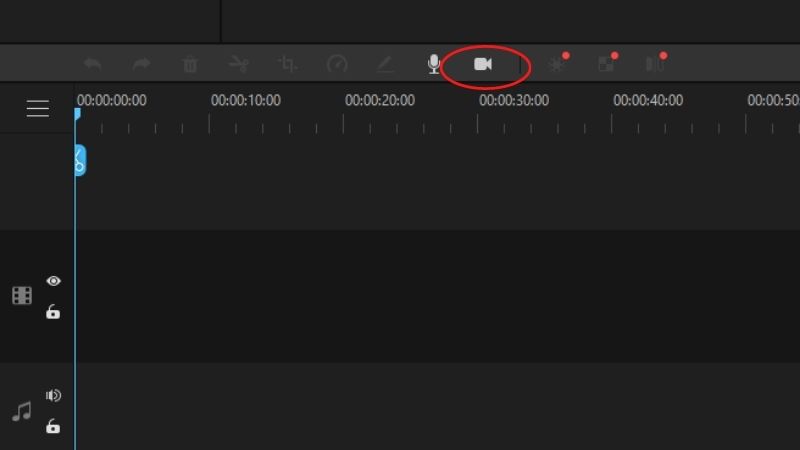
Step 1: Launch Filme and choose Screen Recorder. Or you can open screen recorder by choosing Editing Mode > click on the Recorder button on the timeline.
Step 2: Create Zoom Meeting or join a Zoom Meeting as the normal way.
Step 3: Adjust the frame of the Screen Recorder by dragging and adjusting by mouse to fit the frame that you want to record.
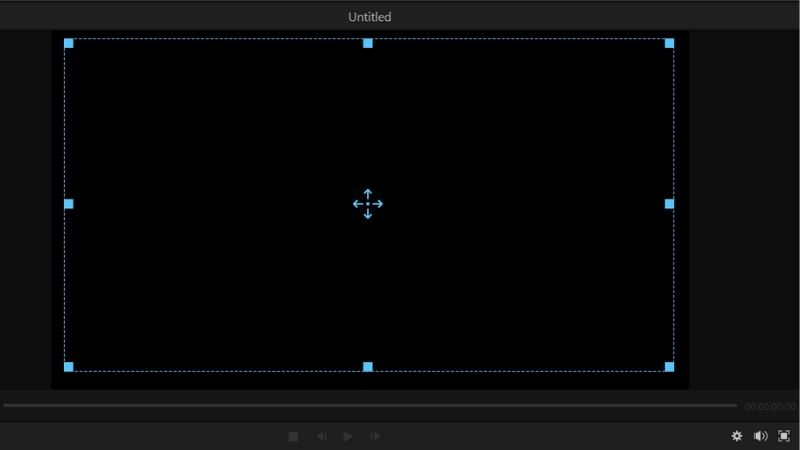
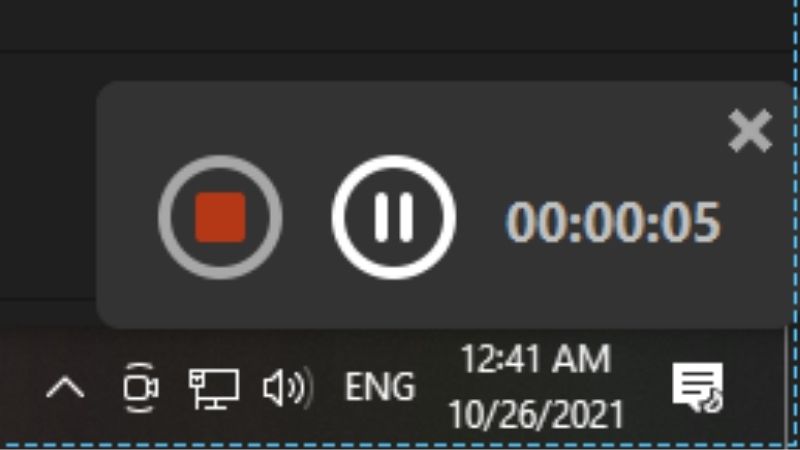
Step 4: Click on the Start button. When finishing the meeting, click on Stop button or press F7.
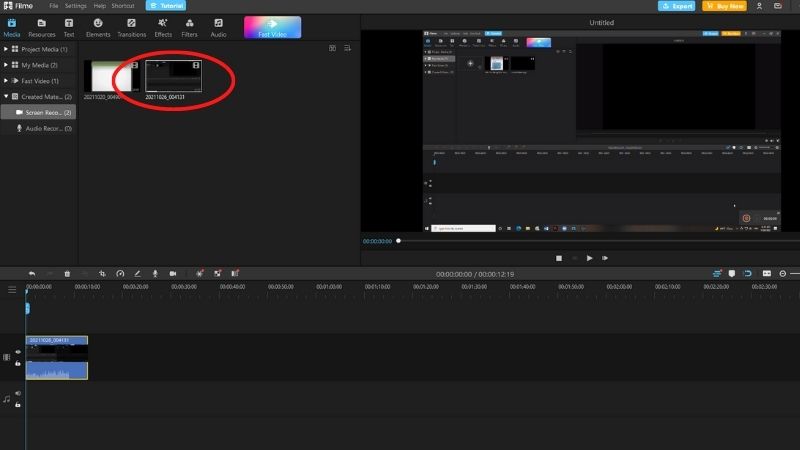
Step 5: Then, your recordings will automatically import to Filme, and you can use many tools here to edit your Zoom recording.
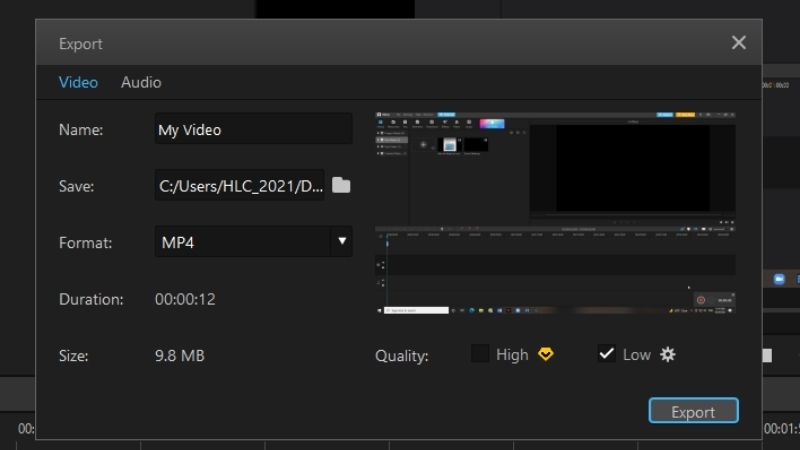
Step 6: Preview and export your edited Zoom recording. Click on Export > Choose the settings for the output video > Click on Export.
Part 2: How to Save and Convert the Zoom Recording
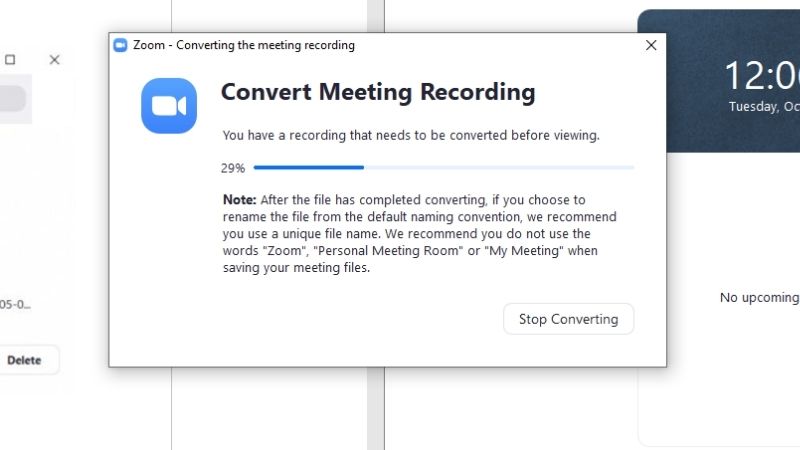
After recording Zoom Meeting, you need to save or convert the Zoom recording for convenience in case you need to find it again later. You can save Zoom recording right in-app or choose to convert the Zoom recording with Zoom.
Method 1:Save Zoom Recording
You can save your Zoom recording by the following steps:
Step 1: After you have finished recording Zoom, clicking End Meeting, the online lesson is saved and converted into a video.
Step 2: To open the video recording the lesson, click on the Meetings icon at the top of the screen, then click on the Record to find the video again.
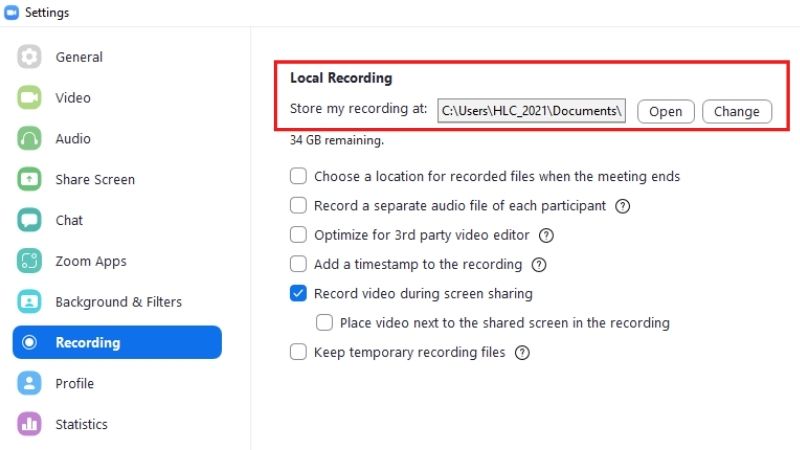
The video is saved by default in the Zoom folder on drive C and is saved according to the time, date, and classroom created for you to easily find again.
Step 3: In case we want to change the folder to save the video recorded in the lesson, click on the gear icon and select Record. Then you change the folder to save the video recording the lesson and some settings below.
Method 2: Convert the Zoom Recording with Zoom
If If the conversion process on the local recording was halted, don't worry! It's still possible to convert it afterward. You can convert your Zoom recordings in 2 following ways:
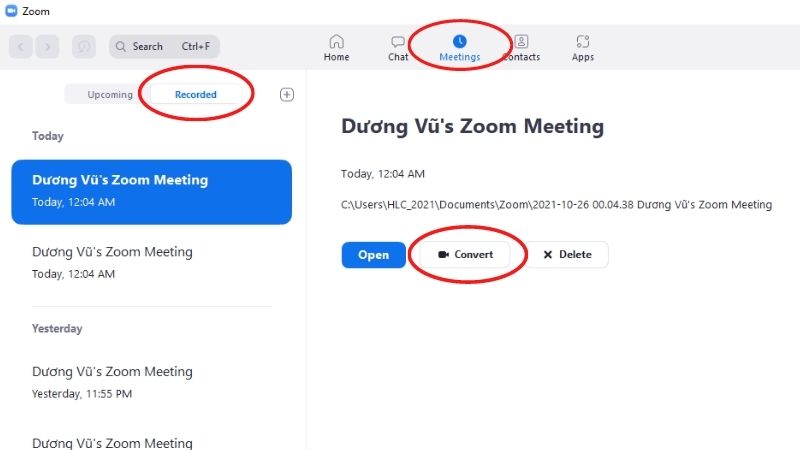
Open your Zoom App > Choose Meetings > Choose Recorded. If the Recorded tab is available, then there will be a Convert button and this will allow you to convert your recording.
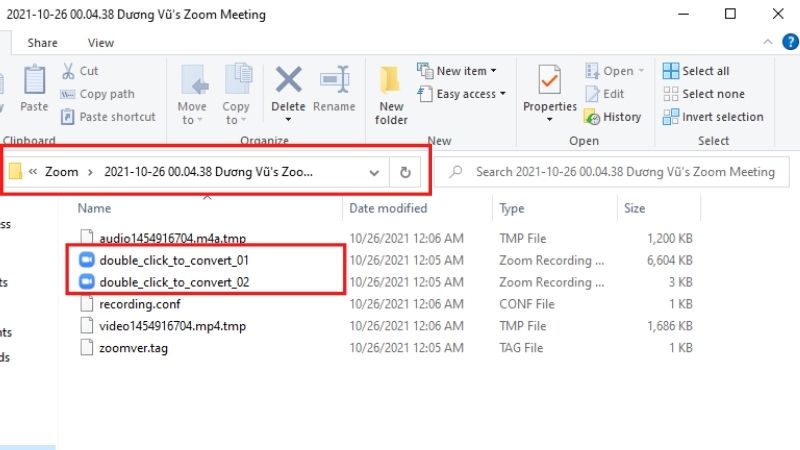
You can find conversion files on your PC. Typically it will be located under Documents > Zoom > [Date-Time-Name of your recording]. Then double click on any of the files which say "double_click_to_convert_0X.zoom".
People Who Liked this Content Also Liked
The Definitive Solution for Where to Find Zoom Recording >>
How to Record Yourself and Screen on Zoom-Don't Need to Be the Host >>
How to Convert Zoom Recording to MP4 Quickly >>
Part 3: FAQs about the Record Your Screen on Zoom
There are frequently asked questions about how to record yourself on Zoom. Let's check out some of these questions:
1. First thing first: can you record a Zoom meeting?
The Zoom meeting host can record the meeting from within the Zoom app. Participants can also record the meeting as long as the host has given them permission to do so.
The host can grant record permission by going to the settings menu of its Zoom app, then recording and then enabling Cloud Recordings and Local Recordings. PC users can record meetings by clicking the Record button at the bottom of their screen. For mobile users, must first tap on the three-dotted button and then tap on the Record to the Cloud button. You can learn more details about how to record a Zoom Meeting.
2. Can you record a zoom meeting if you are not the host?
Although Zoom has a built-in recording feature, you cannot record the meeting if the host does not allow recording. If you can not use Zoom to share screen and video at same time, records without permission can be done using separate record tools. There are many free and paid screen recorders available for Linux, Mac & Windows. iMyFone Filme is one of the best screen recorders for recording Zoom meetings. There are also many apps for recording on iOS (built-in recorder, record, etc.) …) and Android (AZ, DU, Mobizen,…) devices. Simply install a suitable record app and hit the record.
3. What is 'local recording'?
Local recording means saving Zoom recordings to local storage on your PC. If you use the free version of Zoom, you must know this and know where your local recordings are saved on your computer.
To sum up, it's possible to record yourself on Zoom without the permission of the host. Among them, iMyFone Filme is recommended as the best screen recorder to record your Zoom meetings. Hope this article has helped you understand how to record your screen on Zoom.


