Adobe Premiere Pro is a very famous video editor for editing your videos, but sometimes, it may disappoint you. People usually report that Premiere Pro is lagging and keeps crashing on their computers. As it has a huge file size and the requirements to install Adobe Premiere Pro are quite high, it lags a lot.
The lagging and crashing issues are due to the low performance of your computers, which causes frame drops in Premiere Pro. Sometimes, you will also face difficulties in adding effects to your videos, and sometimes, it will crash when you run it. But don't worry, this article will help you to solve your problems and find a better solution for them.
Part 1. Why is Premiere Pro So Slow and How to Reduce Playback Lag?
Premiere Pro demands high requirements, and it will run slow if your computer's specifications do not match with it. It is a greedy editing tool for your storage and ram space as it takes a lot of time to import your media and also takes time to add effects. Consequently, it makes the editor irritated and annoyed.
People also face playback lags due to many issues, and they cannot resolve them without any authentic suggestion. Playback lags can be situated anywhere between the video; maybe the lag is due to effects, or it can be due to high resolution.
There are different ways to reduce lag, but we will only discuss the effective ones that can solve your issues.
1. Render Your Lagged Area:
Usually, the areas that contain transitions, audio effects, and other kinds of effects are the reasons behind the lag. To reduce lag, we should render the selected area. Rendering a video or selected area means Premiere Pro will export the clip or selected area. It exports the part to playback in the background to reduce lag.
The steps to render your selected area or whole timeline are,
First, you have to select the workspace you want to render. Place your Playeheadat the start of the selected area and press "I "and then place your Playehead at the end and press "O ". Now, your workplace is selected.
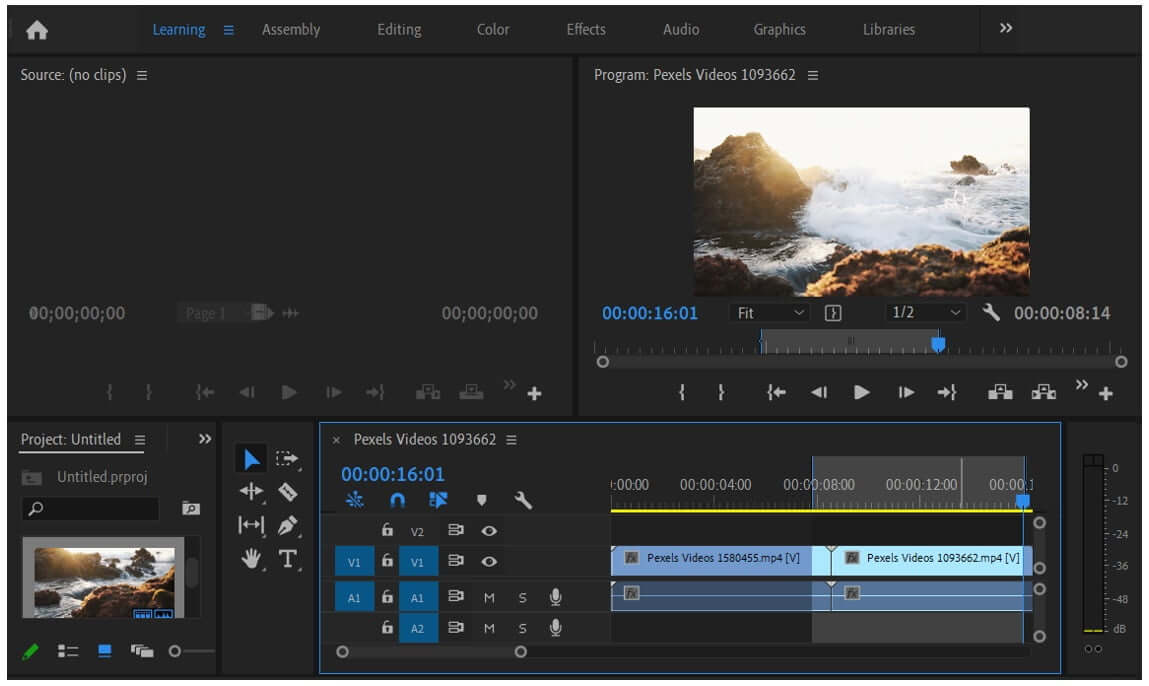
Now go to Clip > Render & Replace > Click OK. It will take a few minutes to render your project.
2. Create Your Proxies
You can create your proxies to compress a high-quality or 4k video to your desired resolution. This will help a lot to eliminate lag problems. The simple steps to create a proxy are given below.
Go to File > New > Project. A window will appear, then go to Ingest settings and tick on Ingest. From the drop-down menu, select Create Proxiesand in Preset, select your aspect ratio and resolution that you have to set and click
Import the media, and do not forget to tick the Ingest option and drag your media to the Timeline.
Now, go to the Button Editorat the right corner and then drag Toggle Proxies to the toolbar above the Timeline.
3. Lower Playback Resolution
This is a quick method to prevent lags in Premiere Pro. You just need to lower the playback resolution. Even if you are working on a 4K video, you can see its playback in a lower quality. You can reduce the resolution to a fraction of the real resolution, and it helps a lot in making video editing smooth.
Part 2. Why Does Premiere Pro Keep Crashing and How to Stop Crashing?
When your Premiere Pro crashes, it is because of your computer's low specification, such as old audio drivers, old video drivers, less RAM, and less storage. It occupies a large amount of storage on your computer. Many users are complaining that Premiere Pro is crashing; it's just because of your computer's low specs, as the demands of Premiere Pro are quite high.
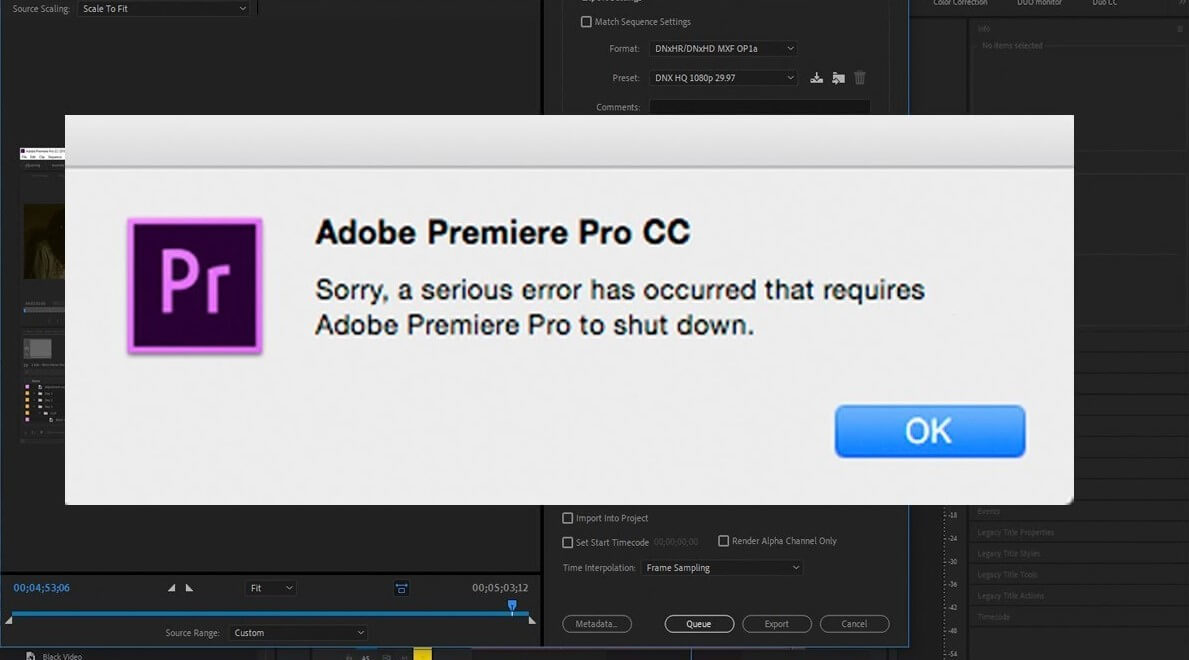
There are a few ways to control Premiere Pro from crashing.
1. Update to the Latest Version
If you have an older version of Premiere Pro, then update it to the latest version because the older version may be affected by bugs, and they will be fixed in the latest version. Try to update it; if it does not work properly, then uninstall it and download the latest version of it.
2. Delete Media Cache Files
It will help a lot to speed up Premiere Pro and fix the crashing issue. To delete the cache memory, open Premiere Pro and start a new project. Go to Preferences > Media Cache, then delete all the media cache. It will help to boost up the running power of Premiere Pro.
3. Use Moderate Quality Videos
Do not use high-quality video files; try to use moderate or low-quality files because high-quality videos require high GPU usage. You can also fix it by using proxies, and in this case, you can also edit high-resolution videos. We have discussed how to create proxies in your videos. It will prevent crashing as well as from lagging.
4. Update Your System
If the above fixes do not work, then you have to update your system. You need to prefer a high-quality graphics card to maintain the video quality, extend your RAM and ROM, and update your drivers to the newest.
Part 3. Best Alternative Video Editor That Never Lagging/Crashing - iMyFone Filme
To avoid lag and crashing problems of Premiere Pro, try to use its best alternative video editor, iMyFone Filme. It is very easy to use and compatible with almost any type of computer. It does not have high requirements; that's why it does not cause any lag issues.
iMyFone Filme is compatible with Windows and Mac. Instead of having many features, it never disappoints you. It has simple editing tools which beginners also can use without having any difficulty. It has hundreds of transitions, effects, filters, texts, and many editing tools by default.
Filme Low System Requirements
Supported OS : Windows 7/Windows 8.1/Windows 10 (32 & 64 bit OS).
Processor : Intel i3 or better multicore processor, 2GHz or above. (Intel 6th Gen or newer CPU recommended for HD).
RAM : 4 GB RAM (8GB required for HD).
Graphics : Intel HD Graphics 5000 or later; NVIDIA GeForce GTX 700 or later; AMD Radeon R5 or later. 2 GB vRAM (4GB required for HD).
Disk : At least 10GB free hard-disk space for installation (SSD-Solid State Disk recommended for editing HD).
Internet : Internet connection is necessary for software registration and access to online services.
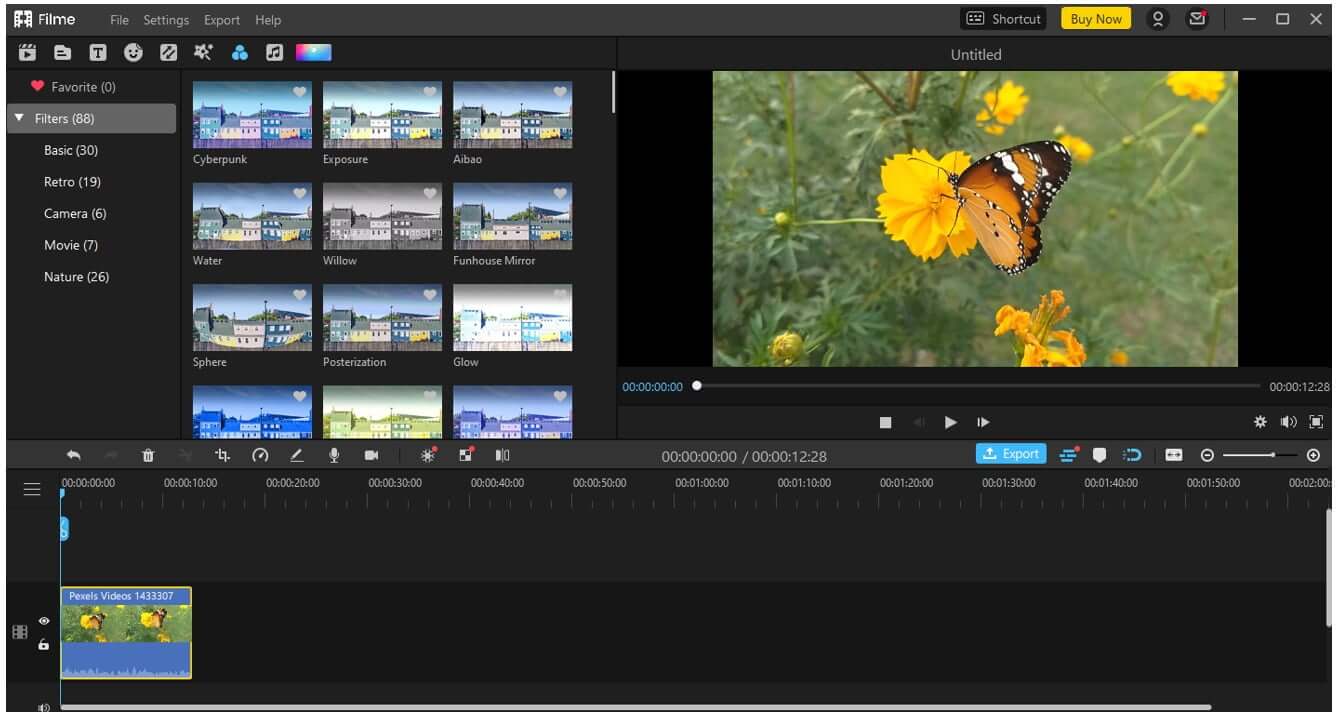
The following steps will tell you how iMyFone Filme looks and how to use it for editing.
Step By Step Guide with Filme
Step 1: Install and Open Filme
Firstly, download and install it. Once it gets installed, open it. You will see an attractive interface containing a few options, but you have to go with "Editing Mode".
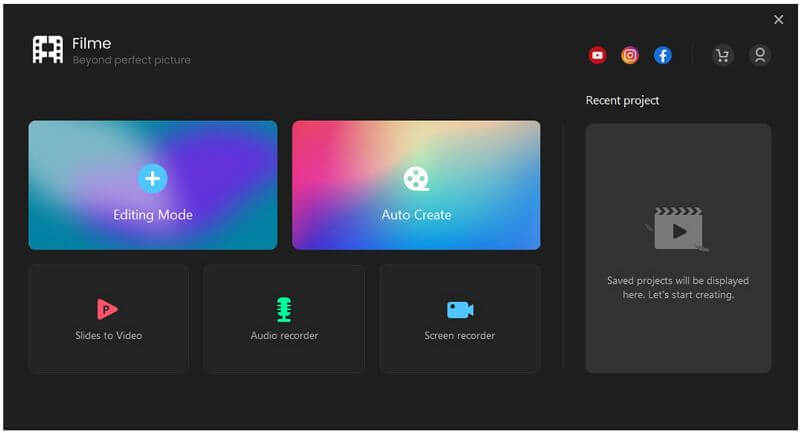
Step 2: New Project
You need to create a new project on Filme. Go to File > New Project and click on the aspect ratio you like.
Step 3: Import Media
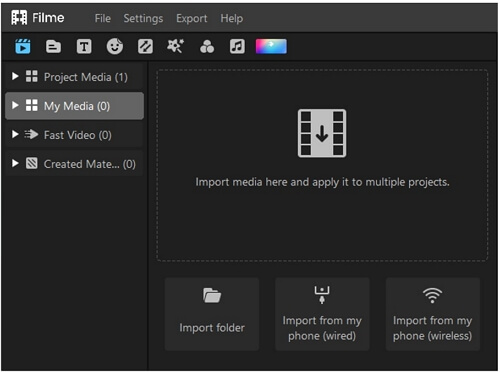
The video editing screen will appear. On the upper left corner of the screen, you will see Import Media. Click on it and browse your desired video or photo.
Step 4: Edit Your Video
Now, you are ready to edit your videos. Drag the imported media to the timeline. Above the timeline, you will see some tools that you can use to edit your videos. Moreover, you will find many transitions, effects, filters, sound effects, music, text, background, stickers, and templates in Filme. You can use them to make your videos more engaging.
Step 5: Export Your Video
You need to export your video after all edits. Click on the Export button and export the video as you like.
Part 4. FAQs about Why Is Premiere Pro Lagging/Slow/Keep Crashing
1. Why is Premiere Pro lagging so much?
Premiere Pro is lagging so much because your system requirements do not match with the required criteria of Premiere Pro. It does not run on a low-end computer; you have to keep your computer upgraded in terms of graphics and RAM & ROM storage. You can use the methods we have shared. Moreover, try to use it separately; make sure that you do not open excess applications. Use Premiere Pro in a short window, do not use maximized window. This will help to boost up the speed of Premiere Pro.
2. Why is Premiere Pro showing a black screen?
Sometimes Premiere Pro just shows the black screen, and you cannot proceed. One hack to resolve it is to restart your computer and then open it. If it does not work, then reinstall Premiere Pro to resolve the issue. If again it does not work, then you have to upgrade system requirements to meet the requirements of Premiere Pro.
Conclusion
Lagging makes the editor annoyed and frustrated because it wastes a lot of time in a single task. The slow working of an application also disappoints the user. Premiere Pro is a professional editing application, but due to some reasons of lagging, slowing down, and crashing, it may disappoint you. We have shared a few solutions that you can try, but the optimal solution is upgrading your PC.
Try to use iMyFone Filme as it is the best alternative and a smoothly running tool that can never lag. It can save your time and provide you with quality work within a few minutes.
The reason to choose iMyFone Filme is that it is much easier to use than any other application. It will never disappoint you by lagging or working slow. It has many default editing tools which make your video look cool and enchanting. Download Filme and enjoy its exciting features.


