While recording audios or podcasting is largely accessible to anyone, not everyone has a professional studio to record in. So, having to record just about anywhere, it will be hard to avoid issues such as echoes or background noises, which occur basically from sound reflection off walls, ceilings, and floors. But regardless of this, you still have to record, right?
Well, how about we tell you that there is a way you can remove the echo from your audio with echo remover? You see, there are tools that you can use to remove background noises from audio, leaving you with high-quality audio for your listeners. Tools like audacity, Logic Pro X, Premiere Pro, or IMyFone Filme makes it easy to remove echo from audio without any hassle, and they are actually quite easy to use and understand. In this article, we will take a look at some of these tools, including a step-by-step process on how to go about when removing echo from audio.
Part 1. Remove Echo from Audio/Video with iMyFone Filme
iMyFone Filme is the latest video editing software of iMyFone. It’s an beginner-friendly video editor that offers basic to high level video editing tasks. It is suitable for editing video for family and friends, for sharing on social media and for business.You can use Filme echo remover to remove the echo from any audio/video easily.
Steps to Remove Echo from Video with iMyFone Filme
Here check out the few minor and quick steps to extract audio from video using Filme.
Step 1: Once you are done downloading and installing the setup of iMyFone Filme, go to the file and select a new project. If you have already worked with Filme, you have to open the project or open a recent one.
Step 2: After opening the new project, you can see the friendly user interface and other options. There is a side menu bar under project media; click media and import your desired video from your device.
Step 3: Drag the video to Filme timeline and start editing your video. Now you can easily select the specific audio or entire audio to remove it from the video. Filme has the best feature of editing the audio as per our requirements.
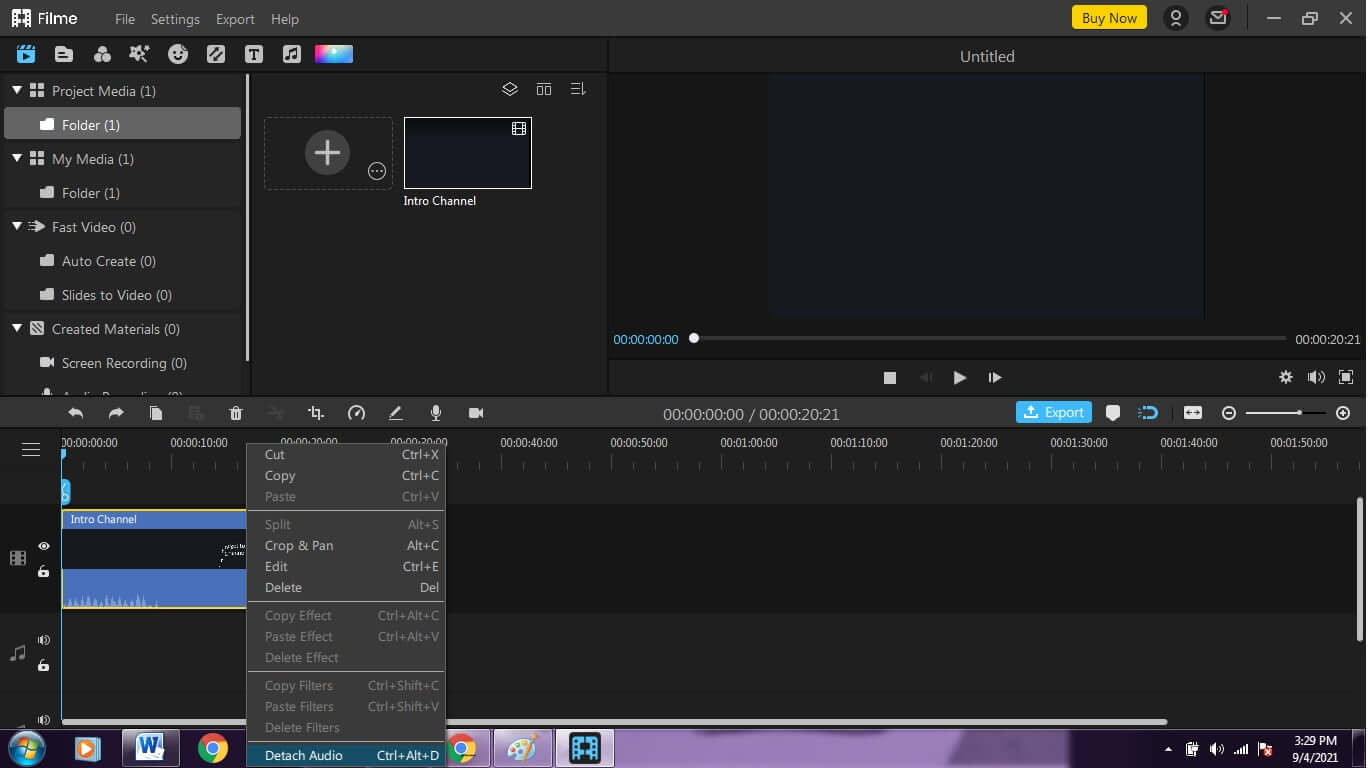
Step 4: Right click on the video and click on Detach Audio.
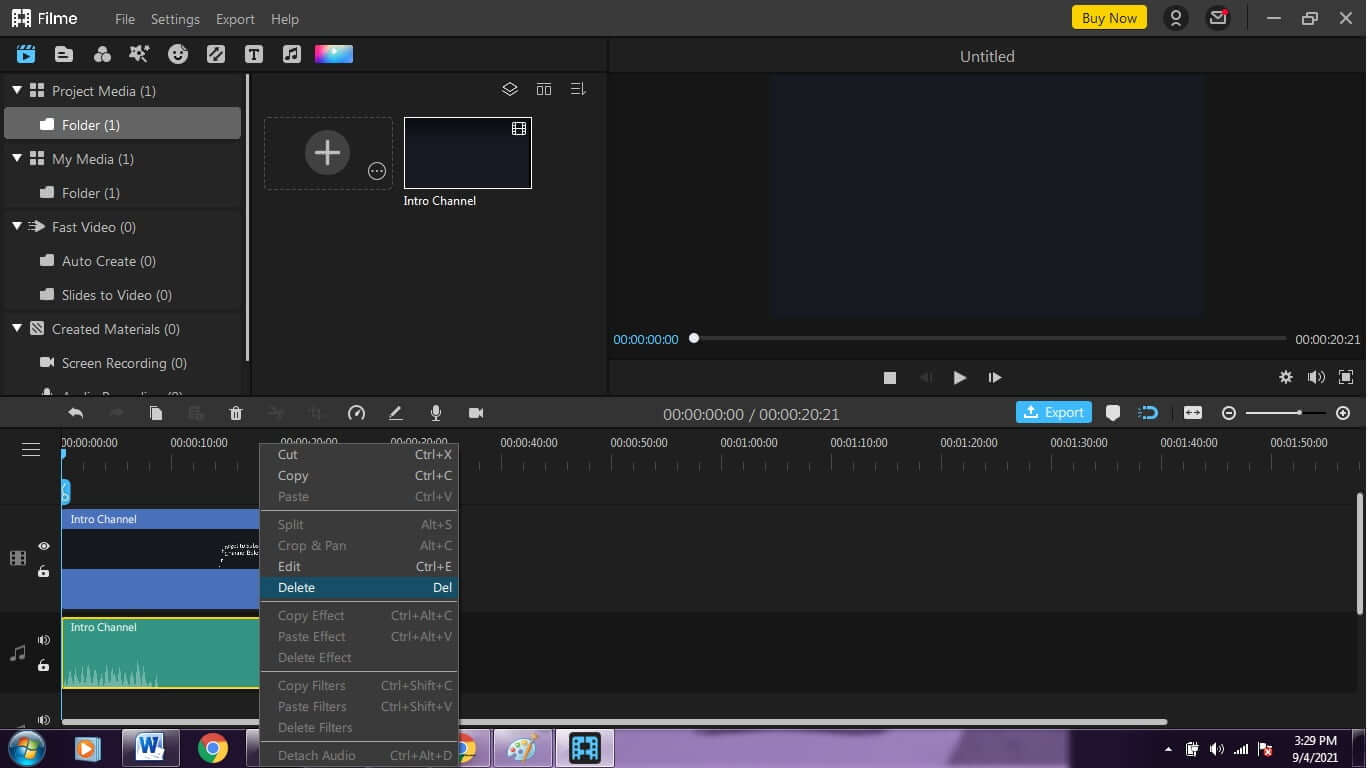
Step 5: Right Click on the Audio and click on Delete.
Step 6: Save the video on your device by pressing the export button and enjoy the audio-free video. It's Cool!
Part 2. Remove Echo from Audio with Audacity
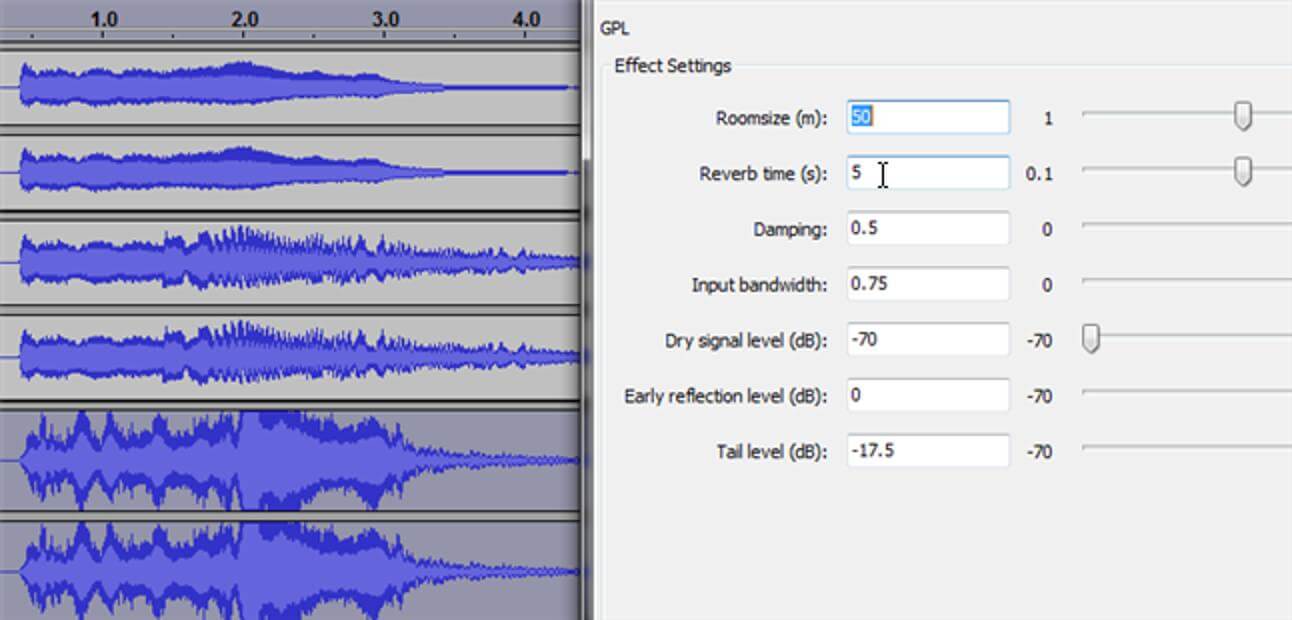
No one wants to listen to an audio file and hear an annoying echo or reverb in the background, and trust us when we tell you that it happens more often than not as you won’t always record in a professional studio. But the good news is, you can now remove the echo/reverb with audacity, which is a video/audio editor that has proven effective when it comes to reducing the effects of sound reflection. Audacity has a tool known as a noise gate that allows you to control echo and reverb and any other background noises between the audio segments.
Step By Step Process on How to Remove Echo/Reverb with Audacity
Step 1: First and foremost, you need to download and install the Audacity app on your device. You can get it from the Audacity website.
Step 2: Launch the app on your device. Under the Effect Menu, you should see the ‘Noise Gate’ function. If you don’t, you will need to restart Audacity app.
Step 3: Then, see that audio you are looking to remove echo/reverb from, well, you need to open it. Then go to the Effect menu on the toolbar, and click Noise Gate. Being an offline effect, the Noise Gate window will process your audio before playing it back to you so that you can hear the echo.
Step 4: In this step, you will need to set the controls on the Noise Gate window so as to remove the unwanted content from your audio. First, set “Level reduction” at 100, then ‘Gate threshold’ at 30, and lastly, ‘Attack/Decay’ at 75. Basically, The Level Reduction tells the noise gate how much to reduce the unwanted echo, the Gate Threshold sets the volume at which the reduction of the sound should start, and the Attack/decay function affects how quickly the entire process starts and stops. Now, once you set everything, click OK to start the process.
Step 5: After the removal process is done, play the audio to evaluate the noise gate process. If there are no changes to the echo, you can adjust the settings, probably by increasing the threshold setting, until the echo/reverb is significantly reduced. And if part of the audio is cut off, reduce the threshold setting. Of course, this process may take several attempts but it’s easy, overall– click Edit, then Undo in order to restore the audio to its original state.
To make the Noise Gate effect sound more natural, consider adjusting the level reduction as well as the Attack/decay settings. By increasing Level reduction, you add some echo, but it is possible to control the level you wish to adjust to. And by increasing Attack/Decay time, you smoothen out how the Noise gate Process starts and ends.
Part 3. Remove Echo Using Premiere Pro Echo Remover Plugin
In a nutshell, Adobe Premiere Pro is a video/audio editing software that is widely used both on Mac OS and Windows computers. Other than removing echo/reverb from your video, Premiere Pro also helps you add other effects to it, to make it better for your listeners. The tool has multiple audio enhancements, which allows you to improve your audio without having to jump to another program, particularly the DeReverb function that allows you to remove echo within your audio. Don’t let that echo/reverb ruin your audios when you can do something about it, or better yet, Premiere Pro offers you an opportunity to remove the echo/reverb from your audio with echo remover plugin.
Here is How to Remove Echo in Premiere Pro
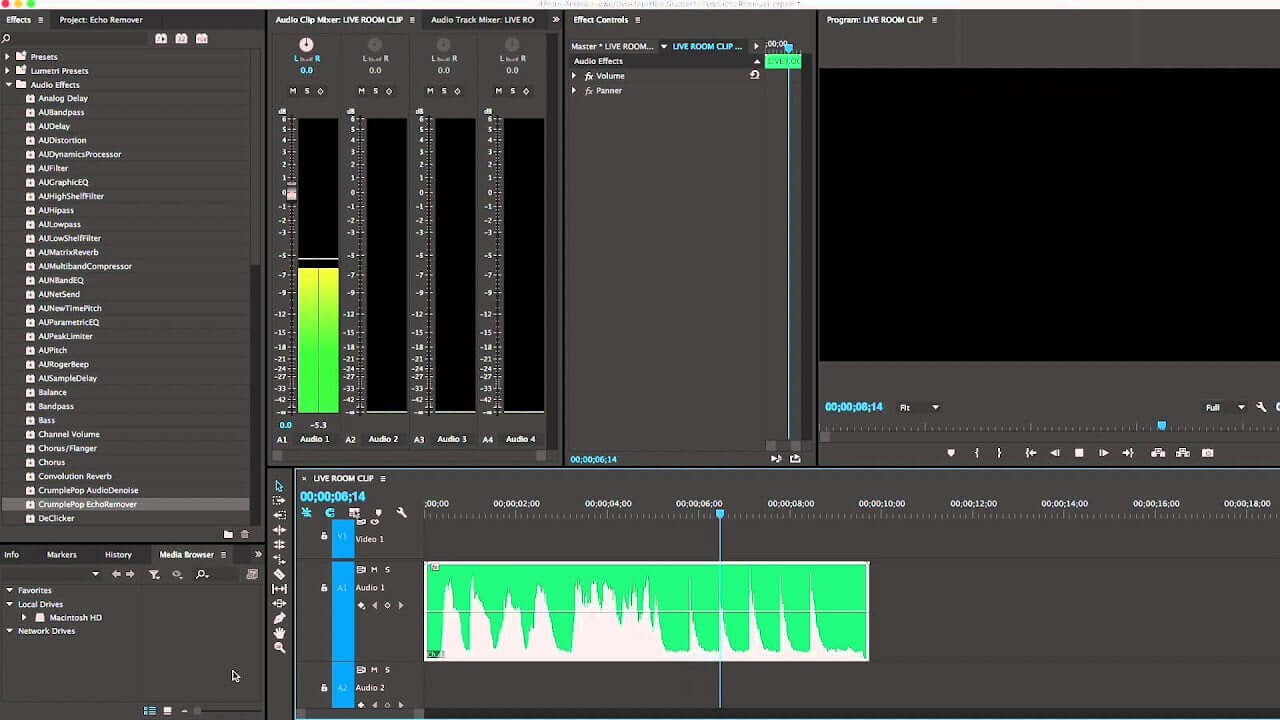
Step 1: First, open the Adobe Premiere Pro tool on your device. And then select the audio from which you want to remove the echo/reverb. The audio file will appear of the tool’s timeline.
Step 2: After that, go to Windows, then Effects, then Noise Reduction/Restorations, and then DeReverb.
Step 3: Then drag the DeReverb effect to the audio file in the timeline
Step 4: After that, select the Edit button on the DeReverb function and adjust the ‘Amount’ parameter to the level you would like. The optimal level is 40%.
Basically, the ‘Amount’ parameter determines the amount of echo you want to remove from your audio. But it is always recommended that you be careful when setting the parameters to avoid reducing the audio quality – which is why we have recommended 40%. But if the reverb is too much, you can go higher. Something else about using the DeReverb effect is that it reduces volume, but when you mark the Auto Gain checkbox, the tool does make up for the volume loss.
Part 4. Remove Echo/Reverb from Audio Logic Pro X
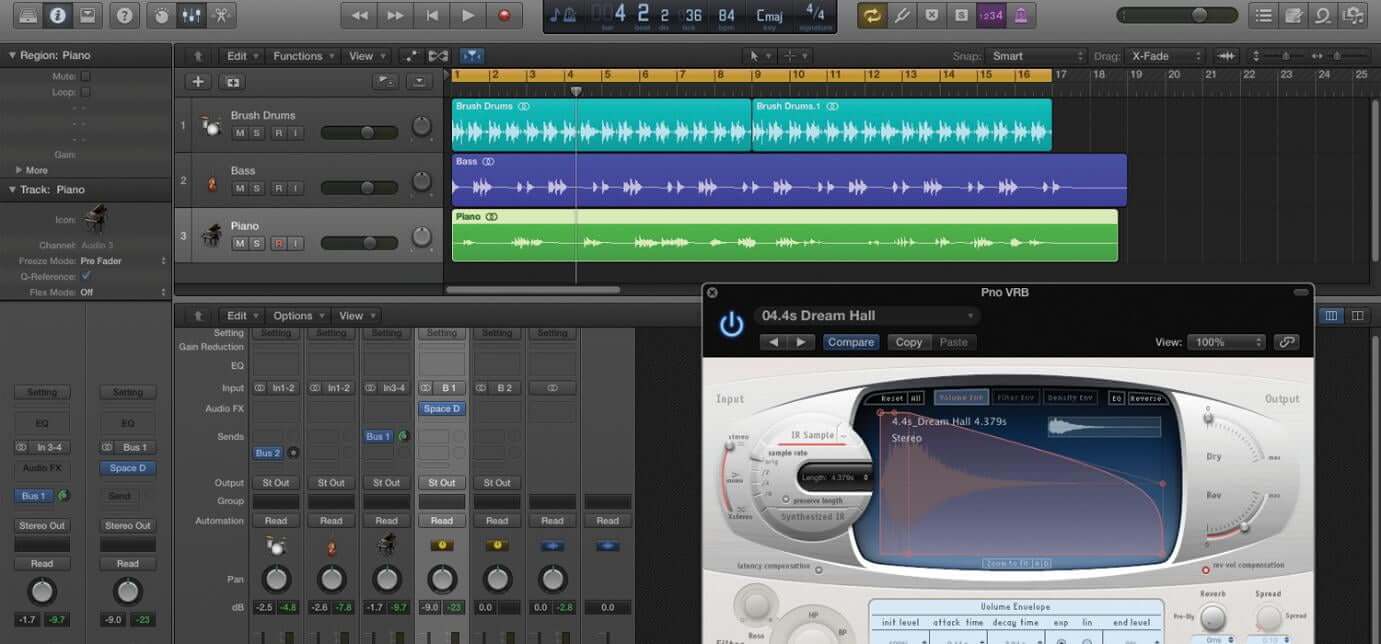
Logic Pro X has a echo remover plugin known as EchoRemover, which helps in removing echo/reverb, not only from audios/podcasts but also from videos. See those audio files that you considered unprofessional and unclear, well, you can now change them thanks to the EchoRemover. It comes with a number of options that help in removing echo/reverb from the audio files, and it is pretty easy to use. As a matter of fact,
Step By Step Process on How to Do
Step 1: The first thing you will do is to download and install the Logic Pro X to your device. The EchoRemover plugin comes with the tool.
Step 2: Turn on the EchoRemover plugin by clicking the On/Off switch found on the upper right corner where you will see the plugin light up.
Step 3: You will then see the strength control function which you use to control the amount of echo you want to reduce from your audio.
Step 4: When setting the strength control, you will first need to listen to the audio to pinpoint the echo, and then adjust the strength control until the echo/reverb is reduced or removed. Please note also, if you are looking to keep some of the original recordings, you can utilize the Advanced Strength Controls, which allows you to control how much echo is removed from the low, mid, and high frequencies.
Step 5: Once you are done removing the echo, you can just save the file to your device. Just click on the save button, and then select the file name and location you would like to save.
Part 5. Remove Echo from Audio Online
One thing about removing echo is that you can do it both offline and online. In the case of the latter, there are several softwares you can use to reduce echo from audio. One of this software is VEED which utilizes innovative technology from Dolby.io, enabling you to clean up your audio files from any echo that may be there. You no longer need to worry too much about recording podcasts or even voice-overs. VEED helps you clean up your podcast ensuring that it is super crisp, clear and that all the distracting noises are eliminated. The process is pretty simple;
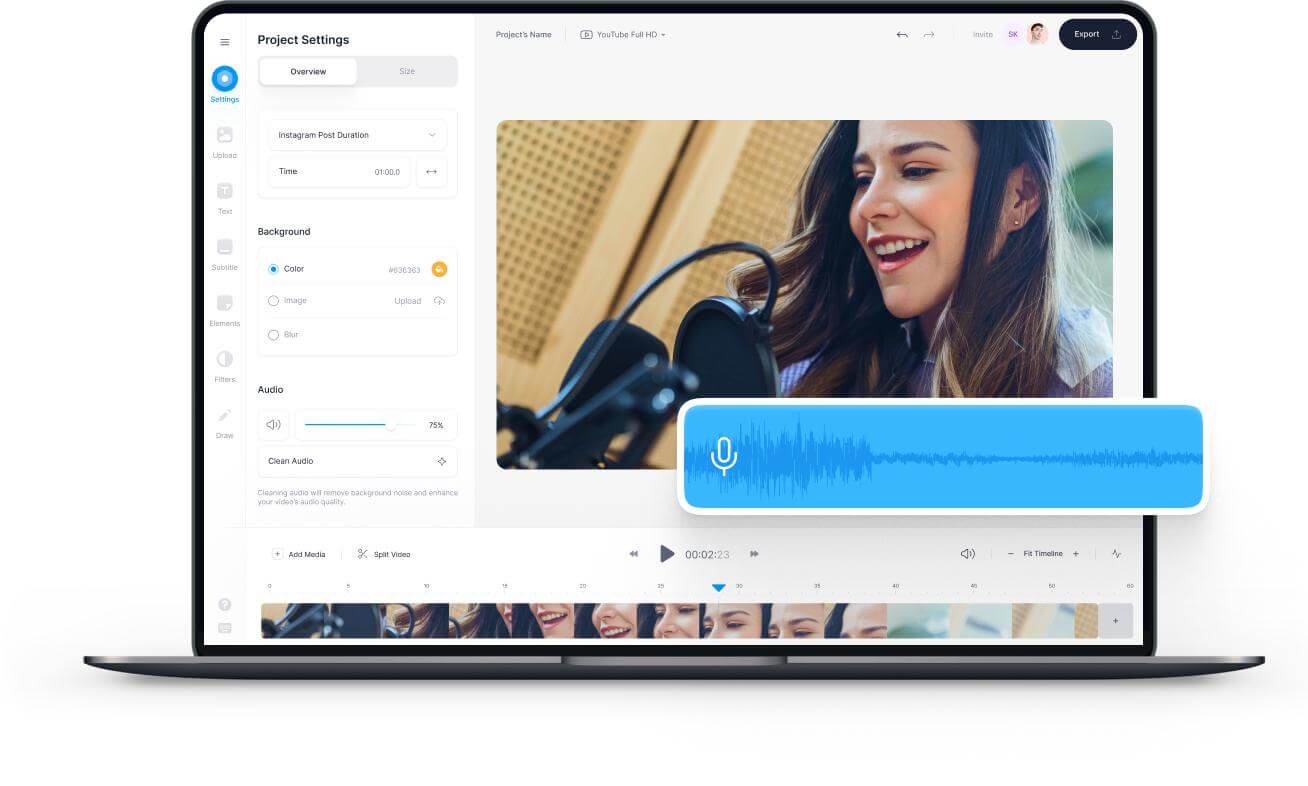
Upload the audio file to VEED website, then click on the Audio and say Clean, and all the reverb on the background will be removed. After that, you can now download the audio file again, selecting the location and the file name under which to save the file.
Conclusion
As we conclude, we need to tell you about another software that has taken the world of video editing by storm – iMyFone Filme. One of the reasons why it is so popular is its easy-to-understand interface. Both video and audio makers and editors today have something to be glad about. The software comes with exceptional video and audio editing functionality that you would ever need in any editing software. It supports all types of video and audio types, and can it’s supported by both Windows and Mac OS devices, which explains its popularity.
With regards to the apps discussed above, they will certainly help you save that audio you’ve always considered unusable. All it takes is a few easy steps for each, to remove echo from audio, leaving it professional, clean, and ready for the big time.
iMyFone Filme Key Features:
Effects: Filme looks like a typical video editor. It has a timeline, an effects library and a preview window. The effects library has 172 effects. 43 of them are filters, and the remaining 129 are GIFs of various themes.
Transitions: There are 112 video transitions. Video transitions are effects that enable smooth transitions from one video clip to the next. 25 of 112 transitions are designed specifically for slideshows.
Text: There are 45 text types in Filme. You can find texts for titles, subtitles, end titles and titles that appear on the lower third of the screen. Some of these texts are animated.
Audio: The library also contains 51 audio clips that you can use in your slideshow. The audio clips belong to different genres, and you get 28 sound effects.


