Renderforest is an amazing platform to make animated videos. You can make intros, outros, logo animations, and a lot more. The best part is that there are many templates available, and you just need to customize them. Your video will be ready in no time.
Renderforest leaves a watermark on the video. It creates problems for many users. Therefore, we are here to share some methods to remove Renderforest’s watermark. We will share three different ways and explain their step-by-step methods so that you can get rid of the watermark without any hassle.
Tips
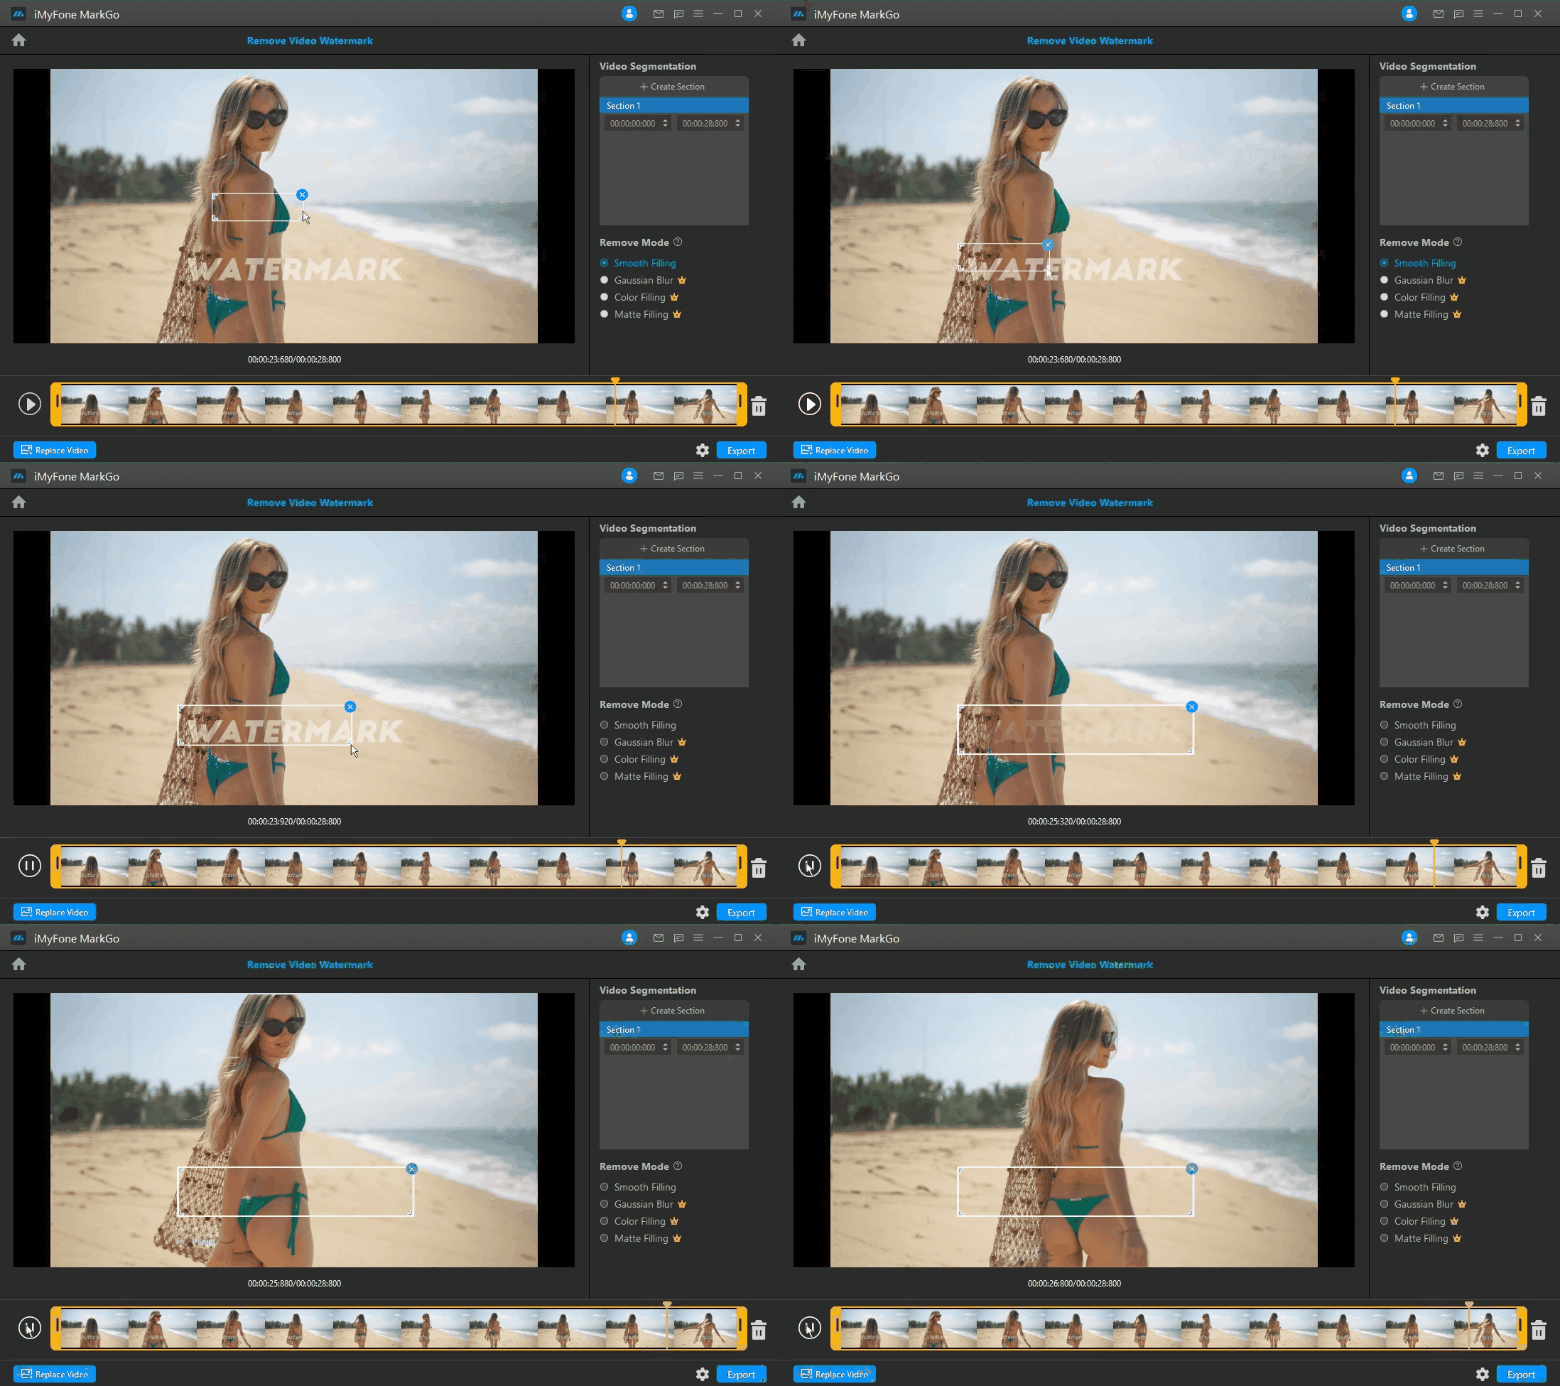
Hunting for a tool to get rid of Renderforest watermark efficiently? Why not try a professional watermark remover called iMyFone MarkGo? MarkGo helps you remove watermark 100% clearly AI-powered Technology within 5 secs in 1 click. Juts try it out free to check the amazing removing effect of MarkGo shown as below!
Part 1. Is there a Watermark on Renderforest Video?
Yes. There is a watermark on all Renderforest videos. If you are using the free version, then after using any template and customizing it, you will see the watermark at the bottom right corner. When you see the final preview, you have the watermark there. The watermark only appears in one place, so it is easy to remove or replace.
You can remove the watermark in various ways. You can use any watermark removal tool, such as MarkGo. Or you can use a video editor to place your own watermark over the video or blur the area.
Let’s have a look at the methods to get rid of the Renderforest watermark.
Part 2. 3 Best Ways to Remove Renderforest
Renderforest does not allow you to download the watermarked video from the website. You can only see the preview, and the video can be downloaded after buying the plans. So, the best way to get that video is to use a screen recorder and record the video.
Note: In all the methods below, we assume that you have a Renderforest video with a watermark. You have used the screen recorder, and the video is saved on your computer or device.
Method 1. iMyFone MarkGo [No Crop]
iMyFone MarkGo is a special watermark tool that can help you remove watermarks from images and videos without any hassle. You just need to follow a few simple steps, and the watermark will be removed. Whether you need to remove the Renderforest watermark or any other watermark, MarkGo is more than enough. It is perfect for beginners as well as experts.
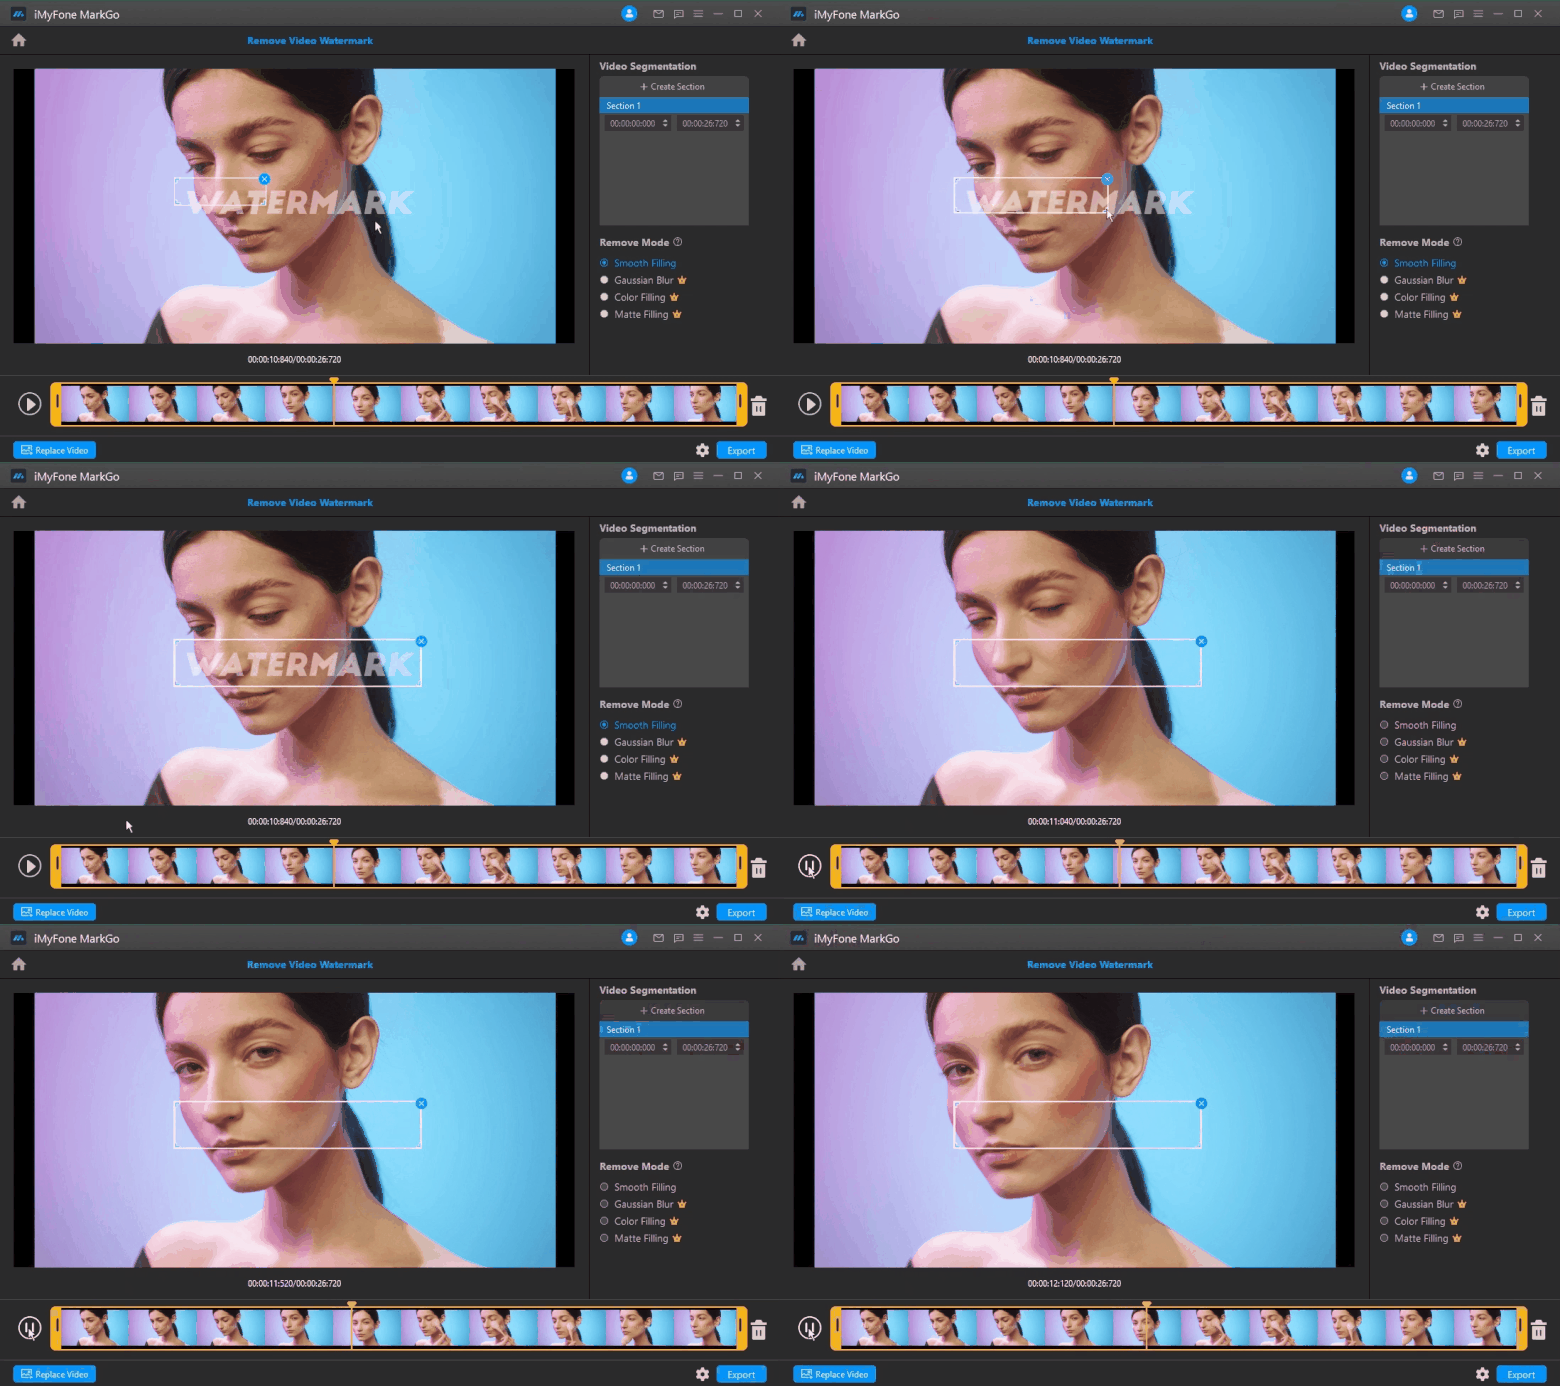
The best thing about MarkGo is that you can remove watermarks from your videos in four ways. It offers smooth filling, color filling, gaussian blur, and matte filling. You can use any of them you like. Moreover, you can also create segments for videos; it is perfect for dealing with moving watermarks. No matter how many watermarks are in the video, MarkGo can remove them all in one go.
Steps to Remove Renderforest Watermark Using MarkGo:
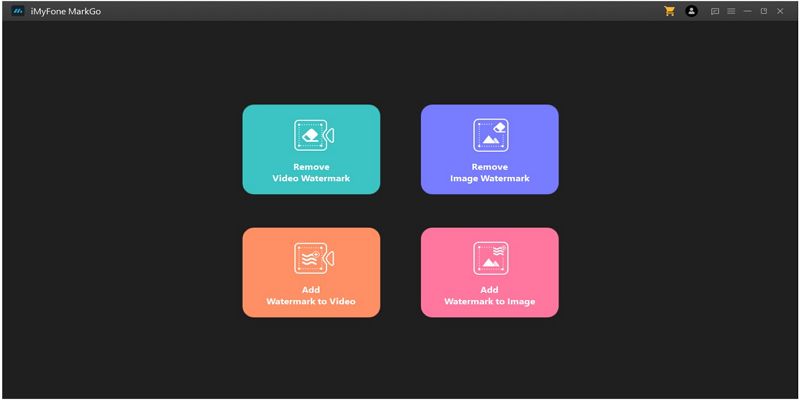
Step 1: Download and install MarkGo on your computer. After opening it, you will see different options. Click on Remove Video Watermark.
Step 2: Now, you need to add a video to the tool. Click on Add Video and select the Renderforest video from your computer. It will take a few seconds to upload the video.
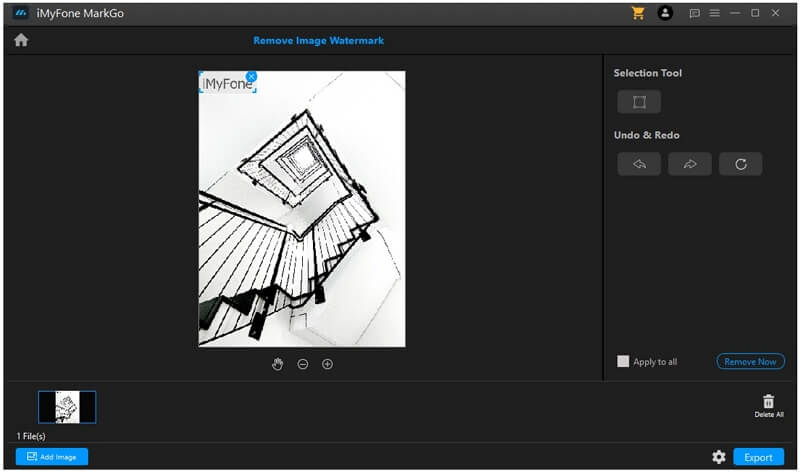
Step 3: After uploading a video, you will see a rectangle on the video. Move the rectangle and adjust it over the watermark. MarkGo has different remove modes, and you can choose anyone you like.
Step 4: Finally, click on the Export button to export the video to your computer.
Method 2. Overlap Template Video Using Kinemaster
In this method, we will use the Renderforest’s template video and use its portion to overlap the watermark.
Note: You need to have the paid version of Kinemaster; otherwise, you will have Kinemaster’s watermark.
Step 1: Open your browser and go to Renderforest’s website. Now, you need to record the template video using any screen recorder. Keep in mind that the template must be of the video that you have created. After recording, crop the video to remove the excess part. Just take out the template video part and save it on your mobile.
Tips
Although you can use this method to remove watermark, it's still risky because it crashes from time to time and terribly complicated. If you don't want to deal with watermark removal without any technical process, you may turn to iMyFone MarkGo, which offers a surprisingly easy solution to remove watermark 100% clearly with AI-powered Technology within 5 secs in 1 click. .
Step 2: Now, open Kinemaster. Tap on Create New to create a new project. Select the aspect ratio of your choice. Renderforest’s videos are 16:9. Select other settings and tap on Next.
Step 3: The video editor will open. Now, you need to select the videos. First, select the video with the watermark. It will be added to the timeline.
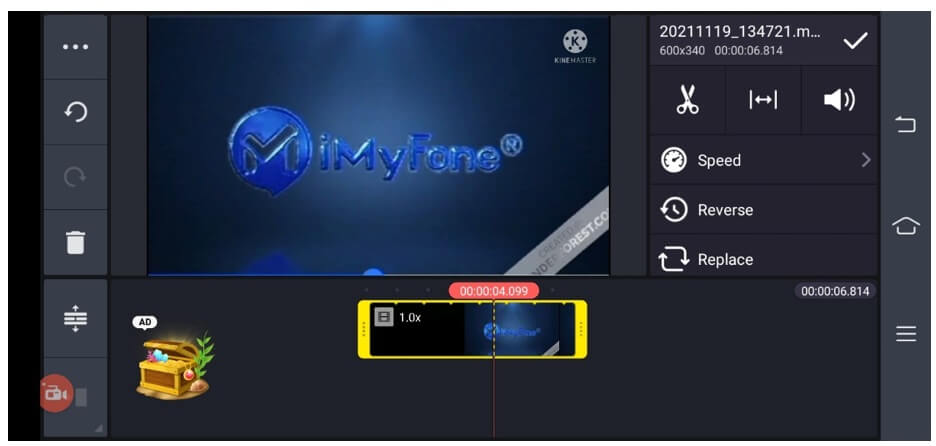
Step 4: Now, move the playhead again to 0:00 so that you can place the template video at the same instant. Select the video on the timeline. Tap on Layer and tap on Media. Select the watermark video.
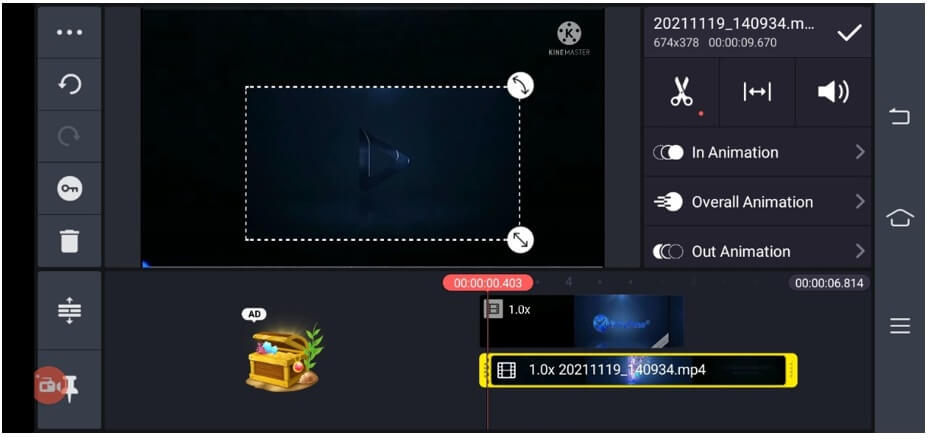
Step 5: You will have the template video over the watermark video. Make it according to the size of the original video by dragging the corners. After that, on the right panel, tap on Cropping. Now, crop the template video, and leave the area where your watermark is. The template video will be over the watermark.
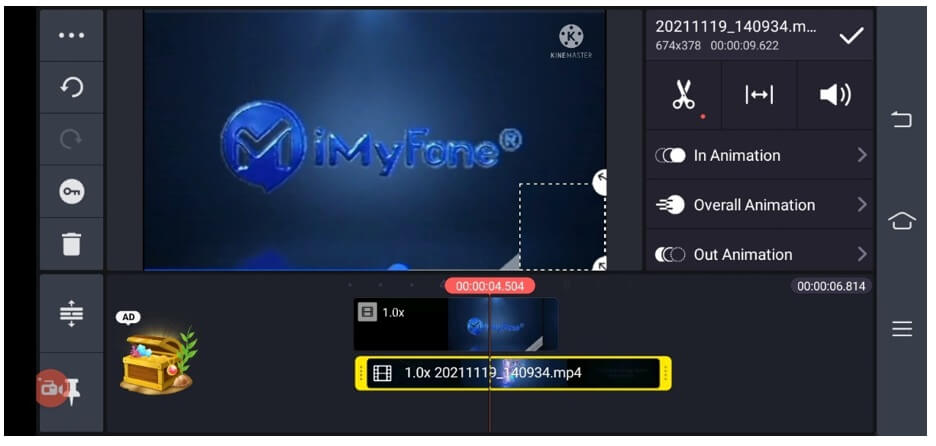
Step 6: Step on the tick mark at the top right corner. Tap on the Export button at the top right corner. Select the settings and tap on Save as Video.
Method 3. Blur the Watermark Using Kinemaster
This method is quite simple, and you can blur the watermark using Kinemaster. But again, you can only do this if you have Kinemaster’s paid version. Otherwise, you will see Kinemaster’s watermark over the video.
Follow the steps to blur the watermark.
Step 1: Open Kinemaster on your mobile. On the home screen, you will see the Create New button. Tap on it to create a new project. Select the aspect ratio and other settings. Tap on Next. Your project will be created instantly.
Step 2: You will be in the video editor. Select the video with the watermark. It will be added to the timeline. Tap on the video to select it and make changes.
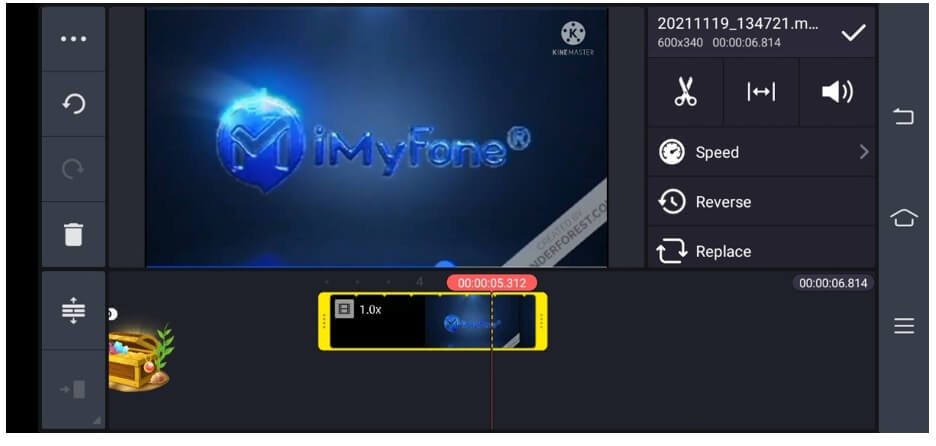
Step 3: Tap on the tick mark at the top right corner to deselect the video. Now, you need to click on Layer. Tap on Effect. Tap on Basic Effect. You will see blur types. You can select Gaussian blur. Tap on it and then tap on the top right tick mark.
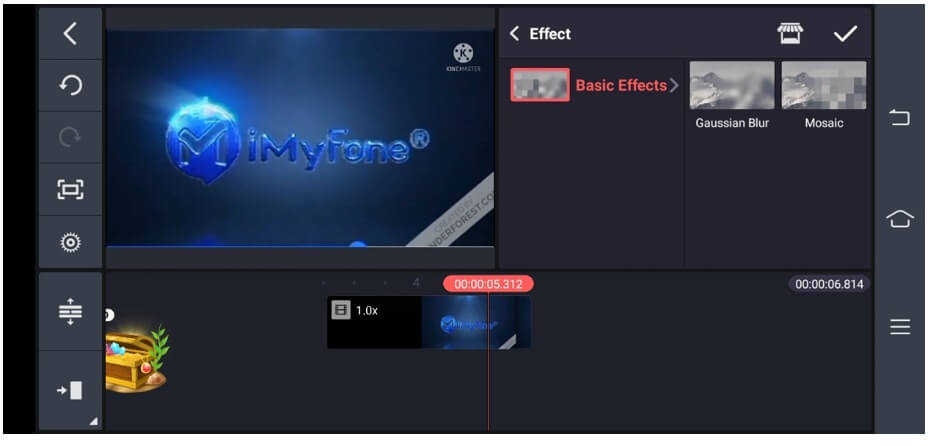
Step 4: A rectangle will appear on the video. You need to adjust it and place it over the watermark. You can move its ends to adjust the size. You can also rotate it. Place it over the watermark. You can also adjust the duration of the blur on the timeline by dragging the corners.
Step 5: Tap on the tick mark at the top right corner. Now, tap on the export button. Select the settings and tap on Save as Video.
Conclusion
Renderforest leaves a watermark on the video, but you can easily remove it. We have shared three methods to remove the watermark. The easiest one is MarkGo. It is a simple and effective tool to remove all types of watermarks from images and videos. It will take only a few minutes. You can also use Kinemaster to remove the watermark, and we have shared the steps to do that. However, it is a bit difficult.


