


For many Chromebook users, using screen recording apps for Chromebook or learning how to screen record on Chromebook without extension was challenging. However, now Google has added a built-in screen recording feature for all Chromebooks so you can screen record with ease. Now, if you don't want to use the built-in screen recording feature and want to rely on third-party apps or extensions, then you came to the right place.
Here we will go over everything you need to know and the different ways you can screen record on your Google Chromebook.

Part 1. Screen recording on Chromebook - with extensions
Screen recording isn't as hard as you may think. Especially if you have a Chromebook, you don't have to scour the internet to find how to record your screen on Chromebook with audio.
You can screen record using extensions.
1. Nimbus
If you want to enable screen recording using Nimbus, all you have to do is follow these simple steps.
-
Launch Google Chrome and download the Nimbus Extension.
-
Wait till it finishes downloading.
-
Once downloaded on the top of your Chrome toolbar, you will see a tiny Nimbus icon on the screen's right.
-
Next, you will need to select record video.
After you select record video, a new window will appear, allowing you to record audio from a microphone, from a website, webcam if you want to record any tutorial or webinar.
Make sure you select the appropriate options to fit your needs. Once you do, you will have the opportunity to choose what you want to record. You can register a web tab, desktop, or only record your webcam.
If you are a person who's picky with their video quality and wants to have more control over the video settings, then Nimbus is the right extension for you. You can change the video quality of the screen record if you like, and you can add arrows, boxes, question marks, and so on.
Once you're done tweaking your setting, and you're ready to record, click on the "Start Record" option.

2. Loom
Like Nimbus, Loom is another chrome extension that you can use to screen record anything on your desktop. To do this, you will need to:
-
Download the extension here.
-
Wait for the extension to download
-
Open up Google Chrome and click the Loom icon and set up your settings
-
Next, you can choose exactly what you want to record, and once you're ready, select "Start Recording."
It's important to note that loom is free to use and download, so when searching the internet for how to screen record on Chromebook with audio. You came to the right place.
You have the option in the setting's portion once you click the Loom icon to enable only screen record or screen and webcam record.
If you're done recording your screen and want to finish, all you have to do is click the Finish Recording button next to the pause icon. Now you can export the video and edit it if you like.

3. Droplr
Like the other two options, Droplr is an extension that you need to download onto your Chromebook using Google Chrome. If you do not add the extension, then screen recording using Droplr is impossible.
-
Go online and open up Google Chrome on your Chromebook.
-
Visit the Droplr extension page here and select Add Extension.
-
Wait until the extension is added.
-
Click the Droplr icon next to your URL on the right
-
Have fun using it
You will also have the option to choose what you want to screen record and change the settings to fit your liking when it comes to which extension to use. That will be up to you.

If you have the time, you can download all three extensions and see which one you like best. You want to make sure you test it out thoroughly and see any complication that you faced that might hinder your choice.
Part 2. Screen recording on Chromebook - without extensions
If you're more of an app user and like to use third-party apps to record, then here you will find out how to screen record on Chromebook without extension
1. Screencastify
Using Screencastify is one of the most accessible apps you can use to screen record on your Chromebook. It's rated the number 1 screen recorder app for Chrome.
To get started, follow the steps mentioned below.
-
Open your Chromebook and go to Google Chrome.
-
Download Screencastify and wait till it finishes downloading
-
Open up the Screencastify icon and select what you want to record. You can select to record your browser tab, your entire desktop, or only just your webcam.
-
If you wish to speak over the screen record, you can do that by enabling the microphone feature.
-
After you customize your settings, you can go ahead and select the record option.

As mentioned, if you are screen recording and what to narrate over the video for either a project, video edit, or some other work type. Remember to turn the Microphone on, and if you want to enable your webcam, so it can record you while recording your screen, you can do that as well.
Next, once you're ready, select the Record option, and it will give you a few seconds to get ready until the recording process begins. Once it has started, you will have a toolbar at the bottom that will allow you to pause or resume the recording feature and other neat and cool things.
2. Screencast-O-Matic
Screencast-O-Matic is different from Screencastify. Here to download this app, you will need to sign up. To do so, follow these steps.
-
Grab your Chromebook and go to the sign-up page here.
-
Click the Signup, it's free, and you can either sign up by creating an account or using your own Gmail.
-
Once the account has been created, a new window will open, and the welcome screen will welcome you.
-
Next, click the option you want. You can choose from taking a screenshot, make a recording, or open the video editor.
-
If you want to screen record, click, make a recording, and click download the launcher.
-
Once downloaded, you can enjoy screen recording on Screencast-O-Matic.
All your recordings and images will be saved, and you can put them into folders if you like to be organized so you can find them easier.

3. Screen Recorder
Screen Recorder is a basic screen recorder app that will get the job done for your most basic needs. To being:
-
Open your Chromebook and download the app.
-
Wait till the download is complete.
-
Click on the download once it finishes, and you will be sent over to the SCRE.IO screen.
-
Select what you want to record and capture and begin your screen recorder.
The screen recorder is very easy to comprehend, and the options to select will be clear. So, the chances of you getting lost or confused on the page will below.
Once more to figure out which of these apps will be best for you. Try them out and determine what you and why you need to screen record. Then select the best screen recording apps for Chromebook that best suits you.
Part 3. How to screen record on Chromebook with the online tool - Free Online Screen Recorder
Suppose you're worried about memory space on your Google Chromebook or don't want to download any screen recording apples for Chromebook because you're only going to it once. Then you can use this tool, one of the best free online screen recorders for your Chromebook.
Here we will go over how to screen record on Chromebook with audio and with your screen. To star begin with:
-
Grabbing your computer and going to the link here
-
You will be sent to the screen capture page, where you will have four selections. Microphone, sound, webcam, and watermark.
-
Select what you want to record, and yes, you can choose more than one option.
-
Click on Start Recording and then Share
Now you can start recording for free without using an extension. The video will be saved in a high HD quality. So, you don't have to worry about whether your recording will come out choppy or pixilated looking.
Once you're done with the recording, you can save it, export it, and if it was only for that one time, you don't have to open up the screen capture page again.

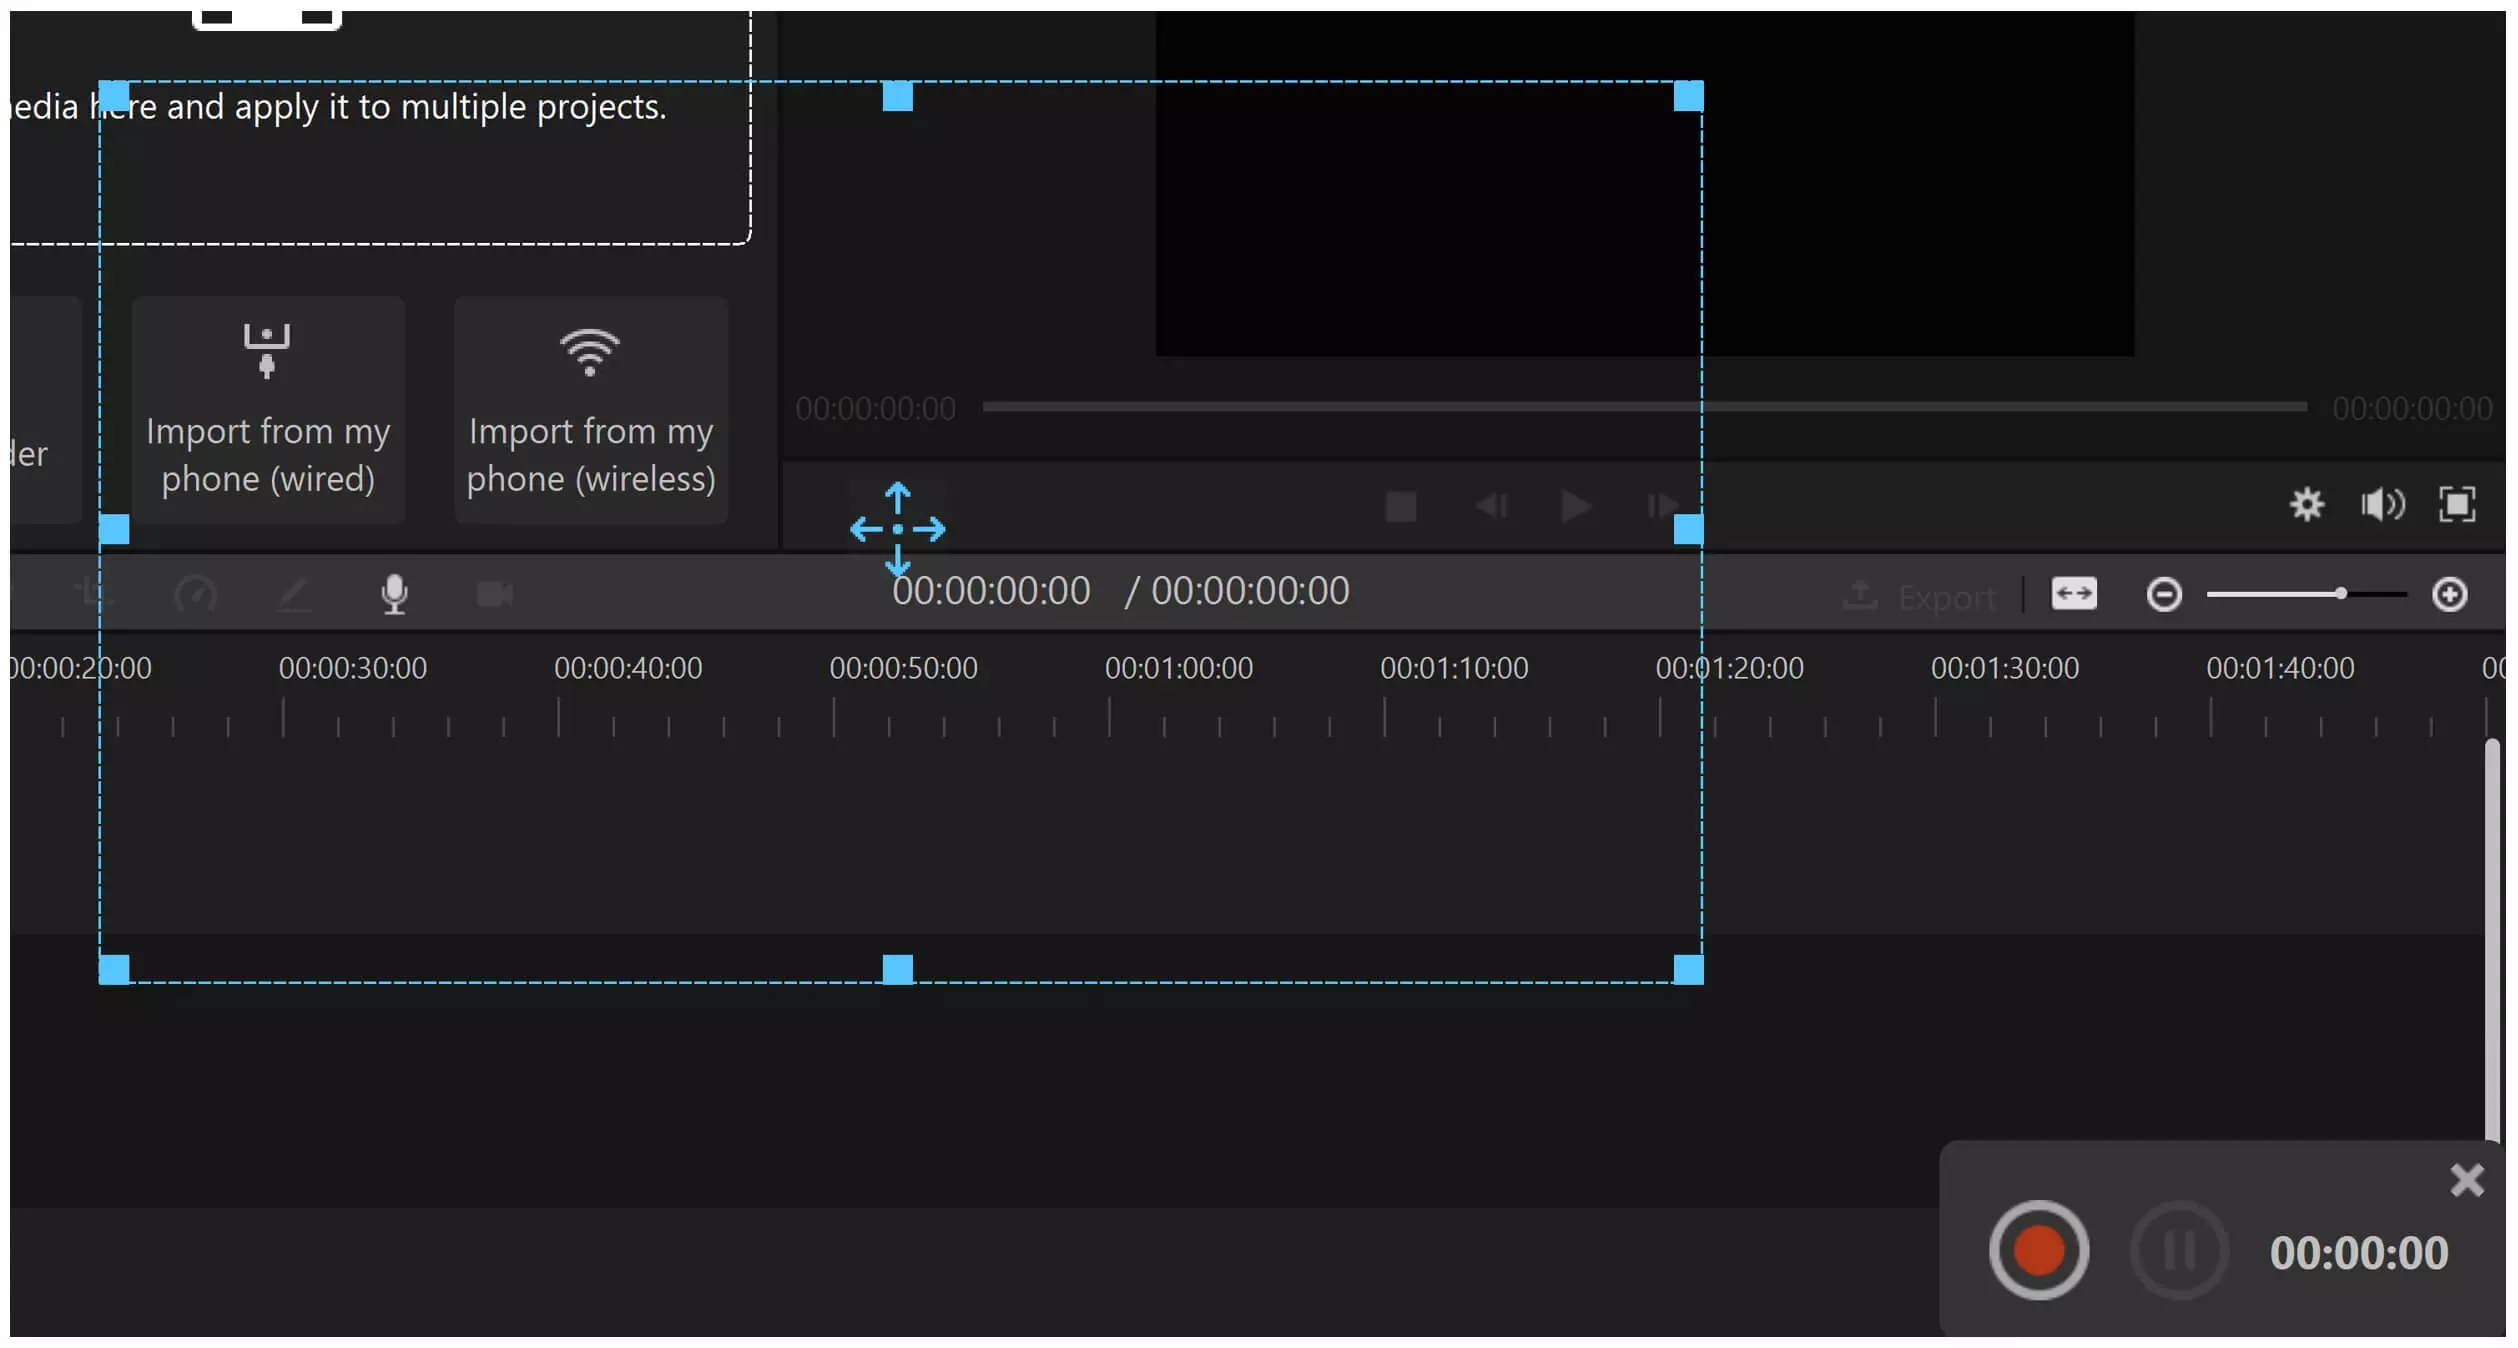
Bonus: iMyFone Filme - Professional video editor with screen recording feature
iMyFone Filme is a video editor that is beginner-friendly that not only offers basic editing tasks but will also have high-level editing tasks that you can do that will make you look like a pro.
You can use this for your family or friends and share it on your social media platforms or business purposes. The limitation is yourself, to follow these steps:
-
Download the appropriate version for your computer.
-
When the download is complete, click on Filme, and you will be directed to the professional-looking software.
-
Then, you can import pictures, media, and video.
-
Since Filme is a Two-in-one that features a screen recording feature, you can access it in the main menu of Filme.
Whether you need to screen record for a project for work or need to go, you need to edit it. Then there is no better option than Filme. Filme will give you the best out of editing your videos while importing and exporting videos. After you have finished screen recording process, you can also trim the video clip for suitable length.