Are you looking for the best video editor software to help you with screen recording? Luckily, you have come to the right platform.
If you want to create information products by screen recording then Adobe Captivate might work for you. If you know how to record screen with Adobe, you can record what is happening on your device and share it with your audience. Capturing or recording a screen is just one feature of the software. It does a lot more to give you an exceptional video editing experience. For instance, it can help make interactive tutorials by adding PowerPoint Presentations and other objects.
In this article, you will find a brief review of how to use Adobe Captivate to record your screen. Besides, we will introduce you to the best alternative to Adobe Captivate for screen recording.
How to Record Screen With Adobe Captivate
Do you want to record the screen of your computer? Adobe Captivate comes with a range of features to maximize your screen recording experience. It is important to learn how to simply record a screen of your computer.
There are mainly six steps that will give you the adobe captivate screen recording tutorial.
Step 1: Launch Adobe Captivate: Launch Adobe Captivate and choose the 'Screen Demo' option. It can record the screen of your computer. The other way to go is to click File > Record Video Demo. Click on the link below to download Adobe Captivate
Step 2: Select recording region: In this step, you will find a range of recording region options. However, you need to choose one that is more suitable. There is a 'Screen Area' option that can help record only a certain area of your screen. Additionally, the 'Custom Size' option records a customized region of your screen. If you want to record a full screen then choose the 'Full Screen' option. In this way, there are a number of options to choose from.
Step 3: Select the recording mode: You will have to select the recording mode. Choose the 'Panning' option if you want to screen record with the motions of your mouse. Choosing the recording mode is all depends on your personal screen recording needs.
Step 4: Select audio setting: Decide whether you want to record from the system audio or a microphone. If you are recording a video from the internet, using system audio is an ideal choice. However, you can enable both at the same time. For instance, you may want to use system audio as well as a microphone when recording a chat.
Step 5: Start your recording: After selecting the recording model and audio setting, start recording your screen right away. To start your recording, all you need is to click on the 'Record' button.
Step 6: End the recording: Click on the 'End' key on your keypad to end the recording. Alternatively, use Cmd + Enter to end your screen recording if you are using a Mac. Once the screen recording is stopped, you can publish it to the internet or save it to your computer. You can even edit your video before publishing or saving it.
About Adobe Captivate
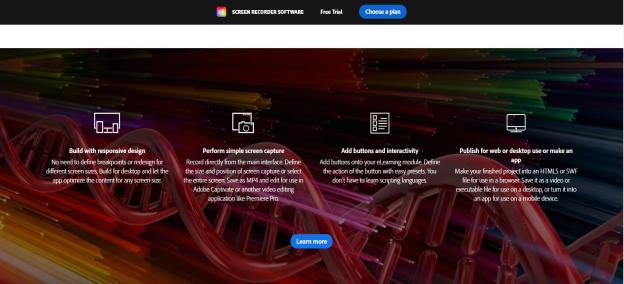
Adobe Captivate is one of the best tools used for several eLearning contests such as software demonstrations and software simulations. With a range of features, it makes a lasting impression on the users. It is fully loaded with the advanced features in its new release, Adobe Captivate 2019. Virtual Reality is one of its most popular features, especially in the eLearning industry. It can make any project stand out. A set of new and advanced features can enhance the eLearning experience and develop courses effortlessly.

Features
Let's take a look at some mind-blowing features of Adobe Captivate.
Interactive Videos
Do you want to transform your existing videos into interactive video-based eLearning? Adobe Captivate is a way to go. It allows you to add quizzes in specific areas in your video. By adding a knowledge check, you can easily evaluate the user's performance. When creating interactive videos, you can even add a bookmark to the timeline. These features make this software second to none.
Smart Video Recording
It is one of the best built-in features for screen recording. You can use screen capture and webcam at the same time while creating a video demo. Most importantly, this feature enables you to add interactivity as well as edit your video in multi-screen video-based learning.
PowerPoint to Responsive eLearning
When it comes to converting PowerPoint to Responsive eLearning, it has never been so easy. Adobe Captivate provides the new feature to make the PowerPoint content more responsive to the audience. It helps you transform your slides into interactive learning slides. You can make it possible with just a few clicks.
Object transitions
You can use the object transitions feature when it comes to adobe captivate screen recording. It allows you to apply transitions to the objects, which could make them fade out of the slide or fade onto the slide. All you need is to select the type of transition and set the duration for the time.
Pros:
![]() Integrating text, images and videos
Integrating text, images and videos
![]() Engage user participation by offering some interactive features
Engage user participation by offering some interactive features
![]() Compatible with multiple LMS platforms including HTML5, SCORM and Moodle
Compatible with multiple LMS platforms including HTML5, SCORM and Moodle
Cons:
![]() Limited options for video and picture editing within the application
Limited options for video and picture editing within the application
![]() Difficult for others to preview before publishing
Difficult for others to preview before publishing
Also Read:
How to Create a Slideshow in Adobe Spark Like a Pro >>
How to Add Text in Adobe Premiere Pro (Full Guide) >>
Alternative to Adobe Captivate for screen recording - iMyFone Filme
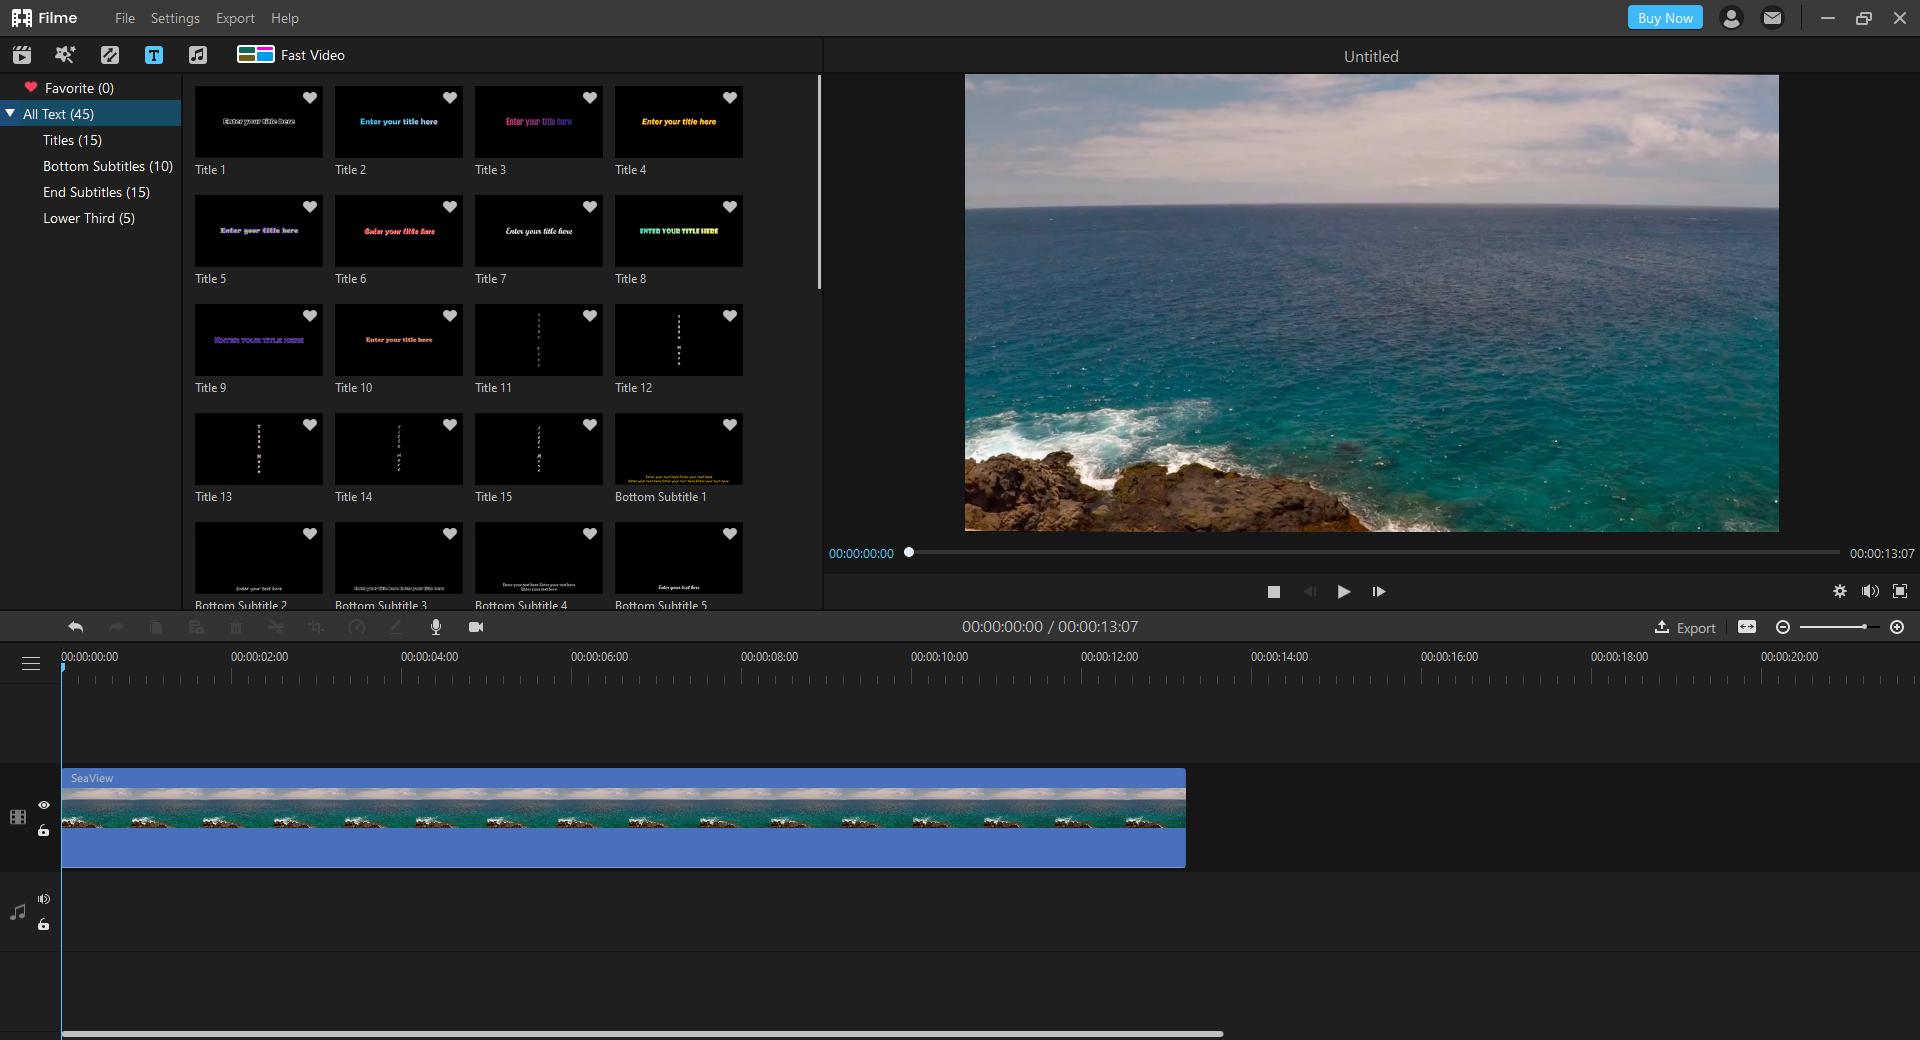
Filme is the best video editing software that allows you to record your screen as well as edit your videos before sharing or saving them. If you are a newbie to video editing, this software is an ideal choice for you. It can make you feel overwhelmed when it comes to adobe captivate how to screen record because of the complexity. This is where Filme takes an edge and it offers a wide range of video editing tools.
Features
-
Basic editing: With the help of basic editing tools, you can split, adjust speed, crop, rotate and do much more. It is easy to use and can help edit your videos without any hassle.
-
Cool effects and transitions: Do you want to make your YouTube videos stand apart? Filme offers cool effects and transitions to make your videos out of this world.
-
Fast video mode: You can make your videos or slideshow look extremely fast with the help of 'Fast Video Mode'. Moreover, choose from a wide range of built-in templates and add the right music track to your videos or slideshows.
-
Wide compatibility: Filme is compatible with a range of audio, image and video formats. Additionally, this software is supported by a range of devices. It is one of the best features to record your screen in any format with any device.
How To Screen Record via Filme
Filme makes your screen recording experience memorable. It is one of the best screen recorders for you that helps record your screen with just a few clicks.
Step 1: Download and launch Filme: Firstly, you will have to download and launch iMyFone Filme on your computer.
Step 2: Use a built-in screen recorder: You can record your computer screen with the built-in screen recorder. Besides, use advanced features to make your videos captivating.
Step 3: Preview your video: Filme allows you to review or preview your video once you're done with screen recording.
Step 4: hare or save: After previewing your video, you can share it with the audience or save it on your computer.

Conclusion
The best Adobe Captivate screen recording tutorial can help record your screen without any hassle. Adobe Captivate is one of the best tools when it comes to screen recording. However, the lack of editing features is the biggest downside. This is where iMyFone Filme comes in handy, providing a wide range of video editing and screen recording features.


