


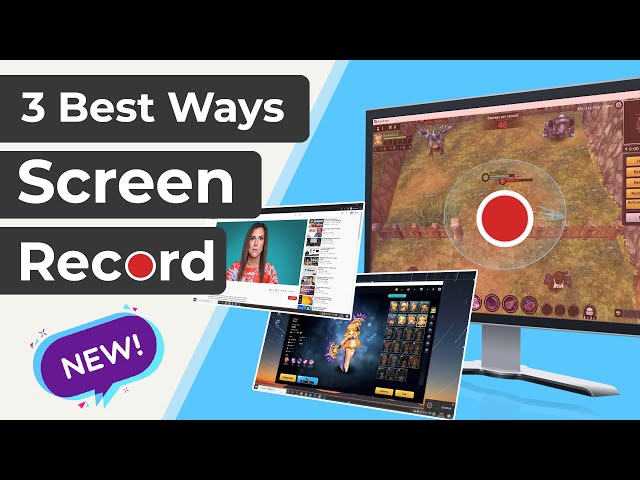
This guidance of how to use obs to record screen will help you know OBS detail. OBS (Open Broadcaster Software) is a free program that allows you to download and record audio and video sources on your Mac or Windows device. It's a small but powerful tool that's perfect for vloggers, live-streamers, actors, and podcasters.
Apart from being free, obs screen recording has the advantage of being able to record from virtually any audio or video source, internal or external.
You may use OBS to record on-screen footage and collect the computer's internal audio, as well as record video and sound from external webcams and microphones.

Part 1: How to Use Obs to Record Screen Like an Influencer
This program has a user-friendly interface and is accessible on a most modern OS, and works according to the professional needs for screen recording.
How to screen record with OBS?
Step 1: Downloading and installation
● Download and install OBS.
● The first move is to get the obs studio record screen from their website and install it.
● All you need to do is visit their website and click on the version you would like to download on your device.

Step 2: Adjust the settings.
● Open the application on your device.
● Make a new scene and add sources.
● Name the newly created scene "My Scene 1."
The next step is to include your media outlets, which can vary depending on what you're attempting to catch (webcam, microphone, internal, etc.).
Choose which media outlets to record by clicking to add a link. Look at the Add Source menu to see what other media obs studio record screen can grab.
If you choose to make more advanced modifications, go to the Settings menu. With several specialized controllers over media formats, file compression, video quality, and streaming options, you can edit the recording format for both video and audio in the settings.

Step 3: Start the process.
● You're now able to record. Simply click the "Start Recording" button in the bottom right corner, and then click "Stop Recording" when you're done.
● It's always a good idea to do a brief test recording before beginning your main recording to double-check everything. Nothing is more frustrating than believing you've filmed a fantastic performance just to discover later that you didn't film any of the microphones or made some other minor but damaging error. Record a one-minute video in which you test all of the microphones and video captures, and then play it back to ensure it is working properly.
Features
Obs studio record screen also offers more than 20 external plugins to enhance your streaming experience across multiple platforms, e.g., youtube, Facebook, or Instagram live.
Pros and cons of OBS screen recording:
Pros:
 Free, open-source, and cross-platform
Streams to the majority of live video streaming sites
Cons:
![]() It can't be accessed on windows XP
It can't be accessed on windows XP
![]() Can't link to an audio file as a source
Can't link to an audio file as a source
Part 2: How to Record Internal Audio in OBS
It is as simple as recording audio on any other software as it is in the obs studio record screen; follow the steps below:
Audio Recording:
Step 1: Adjust the settings
Add a New Source and click "Audio Output Capture" if you want to record OBS's internal audio. Choose the default output device or the output device you're using.

Step 2: Build a compatible multi-output unit.
You will need to use a recording system or a Multi-Output Audio Device to see the audio meters moving but can't hear it. To use a Blackhole on a Mac, first uninstall it, then open the Apple Audio MIDI Setup software and build a new Multi-Output unit that includes Blackhole and your main speaker output.

Step 3: Use the unit
Use this unit as the Audio Output Capture source.
Audio mixing:
Step 1: Check the audio signals
In the audio mixer's metering, make sure you're getting audio signals. If the audio meters are in red, the signal would be blurred and sound bad.
Step 2: Add sounds to your videos.
All sounds emanating from your speakers can now be saved into your video as you record; this is a perfect way to record from video games, conference calls, browsers, apps, and more.
Part 3: How to Record Microphone Audio in OBS
Audio Recording:
Step 1: Add a new audio source
To use a microphone to record external audio in OBS, press to add a new source, and then pick "Audio Input Capture." To make a new input unit, press OK, then choose the microphone you want to record from the drop-down display.
Step 2: Mix the audio.
A new channel will appear; use these meters to mix the audio to the appropriate level.

Step 3: Saving the audio
The audio from the microphone will be saved as a video clip.
Step 4: Combining the audio
In the outputted video file, all audio sources will be combined into a stereo audio track.
Audio mixing:
Step 1: Choose advanced mixing options
Right-click the audio mixer and choose "Advanced Audio Properties" for more advanced audio mixing options.
Part 4: Quick and Easy Alternative: Windows 10's Game DVR
Step 1: Look for the game bar
To do recording via windows game DVR, simply click Windows+G in every Windows 10 program. The Game Bar will show on the screen. And if the program isn't a game, choose "Yes, this is a game."

Step 2: Turn on the game bar.
You could have disabled the Game Bar in the past if it does not appear when you click this key combination. Make sure the "Game DVR" option is turned on in the Xbox app on your device.
Step 3: Start the recording.
To begin recording that application window, click the red "Start Recording" button.

Step 4: Adjust your microphone settings.
When you're filming, an overlay will appear in the top right corner of the window. By pressing the microphone button, you can turn your microphone on or off. Windows can also capture the sound currently playing on your computer and save it with the recorded clip.
Step 5: Stop the recording.
When you're done, click the square-shaped "Stop" button.

Step 6: Save your recording
Windows can save your clip in MP4 format to C: UsersNAMEVideosCaptures. So there you have it.

Pros and cons of windows 10 DVR as an alternative to OBS screen recording:
● Both Xbox players and regular pc users can appreciate the comfort of the game bar. A variety of choices The length, video quality, fps (30/60), and audio bitrate can all be adjusted to satisfy the majority of capture requirements.
● Game bar, on the other hand, has its own set of rules. On the one hand, it covers most games, but the actual output is different, so your new game or a specific piece can refuse to record with the Game bar. When used as a standard desktop screen recorder, the Game bar, on the other hand, only operates within a single app and does not accept the entire desktop or file explorer. Also, the overall video recording time is four hours. You must depend on third-party applications if you want to film on-screen action with no area or time limit.
Part 5: All-in-One Screen Recorder & Video Editor for Beginners
Now you can record the screen of your mobile phone and edit the recording right after that moment with the help of iMyFone Filme. It is great software with great themes and presets, and templates that you can use to make your videos more attractive without any additional cost. Let's discuss more the features and advantages of iMyFone Filme with the help to make you understand it better.
-
Easy to use interface.
iMyfone Filme has a really easy user interface that even beginners can use without having any problem.
-
Double functioning
It has a dual-functioning option that will allow you to edit your video and record your screen simultaneously.
-
Free of cost.
One of the best software makes the best software more attractive because it is free of cost having all the amazing design and templates. You can use this design for editing these videos without paying any kind of money.
-
Video layering.
Now you can share your image or even videos with the help of this software easily.
-
Efficient backup.
If you lost your files or recording in any case, then you can find them in the backup folder.
-
Instant preview.
You can view you right after you stop in iMyFone Filme only. This allows you to watch your video at 30+ fast video templates.
-
Supported b the audio quality
One of the best things about the software you can at your favorite audio is music to the recording to make it more engaging. It also offers 50+ audio and editable soundtracks.
Key features and advantages of iMyFone Filme:
Tutorial on how to record your screen using iMyFone Filme.
Now here is a tutorial on recording your screen without having any blunder on iMyFone Filme recording software.

Step 1: Record your video with three taps
We're using only three taps so you can record your screen on an iMyFone Filme easily. To start the process, you have to unlock your screen first and head over to the app and its home page, which you want to record. Now tap on the recording button to start the recording process. Once you are done with your recording, click on the stop button and end the recording.
Step 2: Have this video in your media library.
Once you stop the recording, your recorded video will directly be saved in the media storage of your phone. Now you can export your video anywhere else.

Step 3: Edit your video add filters, music, and text.
Once you are done recording your screen on iMyFone Filme, you can edit your video using several tools like cropping, adding filters, etc. It has 110+ transitions and 170+ effects and 45+texts. The best feature about this is you can add sound and text with any font of your choice.
Step 4: Share and export your slideshow
iMyfone Filme will automatically save your edited video, and now it's very to be shared. You can export this video to a YouTube channel or any other social media app, which is is a good option. Use iMyFone Filme and enhance your screen recording experience.


