


There are many applications available for video editing. You may need to look out for the one that meets your needs. One of the most commonly used applications in such regard is Avidemux. It is a free video editing application that is available for different operating systems, including Windows, Mac, Linux, and BSD.

Part 1. User Interface and Usability of Avidemux
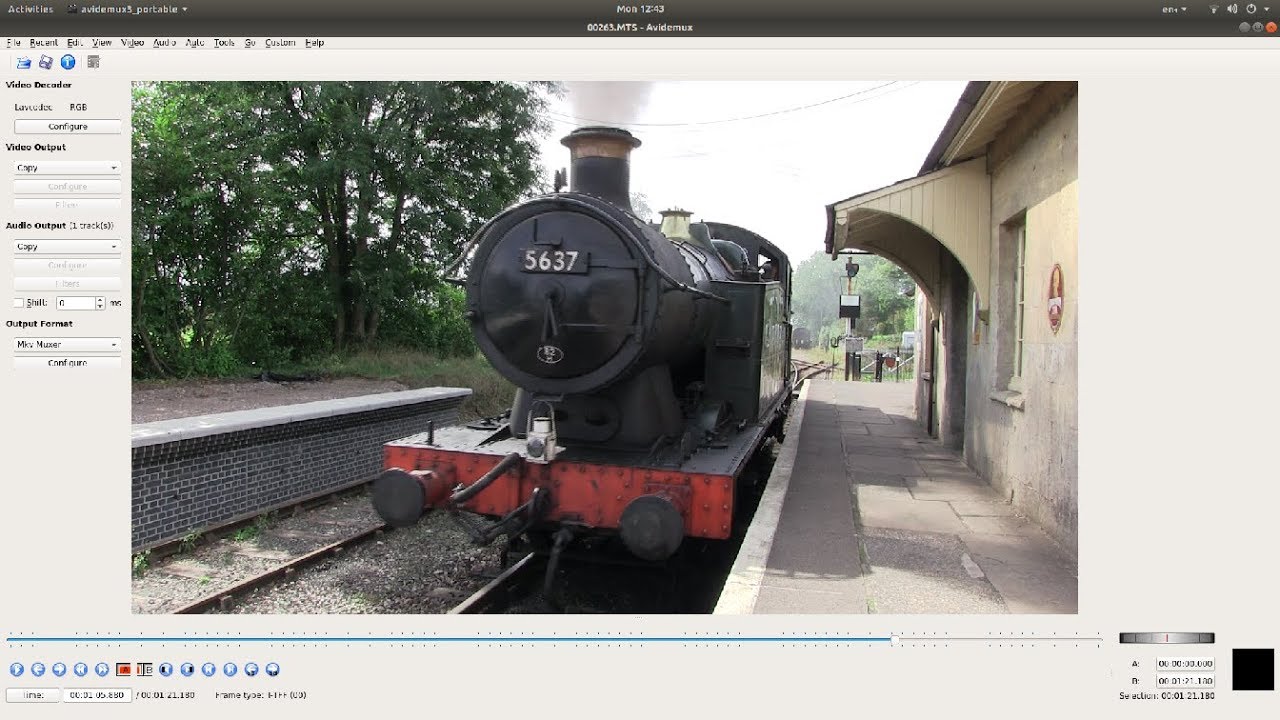
Avidemux provides different main windows/interfaces for different types of operating systems. For Microsoft Windows, the default GUI is the Qt version. There is the main toolbar at the top of your screen that has some basic options for importing videos, saving the video files, and playing the filtered version of the video as well. Moreover, there is also an option of "information" in the toolbar that displays the properties of the video, including video format, aspect ratio, frame rate, and the duration of the video. It also displays the audio specifications, including codec, channels, bitrate, frequency, and duration.
There is also a navigation bar at the bottom of your screen. This particular bar is used to navigate any specific point or frame of the video. You can also cut the unwanted video according to your requirement. There is also a box at the bottom that shows a time of the video at which you are currently navigating. You can click on this time option to go to a specific point in your video by putting any specific time. There is also a jog/shuttle option in the form of a wheel that can fast forward or rewind the video, the speed of which depends on the distance it is turned.
The user interface is simple but user-friendly, and anyone can use it without any hassle. Everything is displayed with clear tags, icons, and titles, so the user can navigate easily.

Part 2. Basic Features and User Options of Avidemux:
The basic features of Avidemux are as follows:
1) Cutting
You can cut the video according to your requirements by removing the unnecessary portion of the video. The unwanted portion can be either at the starting or end of the video or also in the middle of the video. Avidemux does not limit you, and you can simply cut from wherever you want.

It is very simple to cut the video through Avidemux. You just have to select "set start marker" which is denoted by "A" in the navigation bar. Set this option to the point from which you want to cut the video. Now do the same with "set end marker" denoted by "B". Your starting and ending points are now selected, and that particular portion of the video will be highlighted with blue borders. Not go to the edit option at the top and select cut, and that's it.
2) Merge Videos
You can not only cut the video, but you can also merge different video clips. You can add several videos to combine them and then save them as a single video. It is very easy to merge videos. First, you need to open a video as you normally do. After that, go to "File," and instead of open, you need to select the Append option. By selecting this option, you can add more videos to the existing video.
3) Compress Your Video
Avidemux also provides you with an option to compress your videos to lower file size. Of course, this comes as a result of the lower quality of the video. To do this, go to the configure option under the video output. A dialogue box will open. In the General Tab, there is a rate control at the bottom. There is a slide bar that shows high quality on the left side and lower quality on the right. Adjust it according to your needs, and click on the OK button to apply.
4) Video Conversion
You can also convert the video format using this tool. This will help you convert videos to the desired format and according to your requirements. Both video and audio outputs can be selected as required. Avidemux offers almost all popular formats.

Take a look at the video tutorial to see how to edit video with Avidemux:
Part 3. Supports Common Video Formats of Avidemux
Avidemux provides you with an option to save your video in different video formats. Not only your video but your audio can also be saved in different formats. This helps in creating a specific type of video for any purpose or social media platform.
Different options for Video and Audio can be seen on the left side of the screen in the form of "format(encoder)". Some of the available options are Mpeg4 AVC (x264), DV(ffmpeg), Mpeg2(ff), and HEVC (x265). Here, for Mpeg4 AVC (x264), Mpeg4 shows the output video format, and the software library used for encoding is x264.
Part 4. Pros and Cons of Avidemux
Pros of Avidemux:
Avidemux provides you with an opportunity to store custom scripts so that they can be used whenever you want in the future. This helps users that prefer the same configuration for daily video editing. These customs scripts contain specific video filters, audio filters, and video encoders, and everything that can be implemented with just a click. Moreover, this set of configurations in the custom script can be implemented on multiple videos.
You can also add subtitles to your videos. Subtitles come in handy where you need to define something so that the users can understand the video.
Avidemux also provides the necessary tools required to edit your videos. Different color profiles can be added to your videos to make them more appealing. Moreover, you can resize and sharpen the image quality with this application. Also, you can increase or decrease the overall sound of the video.
One of the most useful advantages of Avidemux is the option of encoding the video. By encoding, you can convert the video format to other types so that they can be accessed and played on other players as well. This improves the accessibility of your video to multiple channels and players. It increases the overall reach of your video.
Cons of Avidemux:
The cutting feature of Avidemux is a bit confusing at times. As there is a whole process to follow in which you have to select the starting and ending frames, sometimes it tends to create a bit of confusion.
The rotating feature of Avidemux is not easy.
There is also a problem regarding filters as they cannot be previewed properly, so the user doesn't have much idea of the overall outcome of the filter. Moreover, there is also a limitation of one filter at a time. The application also crashes while changing between different filters.
Part 5. 3 Best Alternatives to Avidemux
1) Filme
Filme is one of the most popular video editing applications available for macOS and Windows. What makes Filme the best among others is its wide range of features that cover almost everything you need to edit your video.
From basic tools like brightness contrast, scaling, and rotating to more advanced and exclusive features like text addition, filters, background music, transitions, and effects. It is a versatile tool that can be used as a voice changer, slideshow maker, video converter, screen recorder, GIF creator, and audio editor. Filme is an all-in-one solution for all your video editing needs.

Pros:
It is very easy to use. People with no prior editing skills can also edit like professionals.
There is a wide range of tools that you can use to create a stunning video.
You can save a lot of time as it requires only a few clicks to add something or make some changes.
The application comes with regular updates that have some new features as well.
The final file can be exported in any format you like. You can use the file on any social media platform.
Cons:
There is a small watermark that will be visible in your video, but this is just in the free version of Filme.
2) Movavi
Movavi is another application that could provide you with multiple features. You can not only edit videos through this application, but you can also edit your photos. Moreover, there is also a feature to record or capture your screen. It could be useful if you are an online content creator or a YouTuber. You can also convert media to other formats through this application.

Pros:
Movavi has a user-friendly interface that is very appealing to interact with.
It provides all the necessary basic tools that include splitting the video, rotating, cropping, and color adjustments.
You can also add backgrounds to your videos, as well as different sounds and music.
Cons:
Movavi does not provide enough control over the color tuning of your video, as it just has some basic color ranges.
Fewer text templates and transitions
3) Camtasia
Camtasia is another screen recorder as well as video editing application that is available for both Windows and Mac. This software is very useful for screencasts and video tutorials as you can manage both these things in the same software. The newest version of Camtasia has more than 75 new transitions. This application also provides a wide range of features.

Pros:
You can record your screen and camera as well. Also, you can manage the screen dimension for it.
You can add engaging annotations to catch viewers' attention.
There can be multiple tracks in the timeline to add media.
There are tutorials and training videos for new users. It is a user-friendly and simple tool.
Cons:
There is a problem in uploading and sharing large videos on Camtasia. They might force you to restart the program.
Very expensive
Final Words:
In this article, we have discussed the usability and features of Avidemux. No doubt Avidemux is a good application, but there are applications now that are more advanced and more user-friendly than Avidemux. One of them is Filme, which has a wide range of features with ease of use. It will help you create stunning videos without any hassle.


