When editing the images, we often ignore the hair cut out. However, this small part of photo editing can significantly contribute to how realistic or fake your edited images look. Therefore, attention to detail is very important in the photo editing process. Most professional graphic designers and photo editors rely on Photoshop for detailed editing. However, only a few know how to flawlessly do hair cut out to make realistic pictures.

This article will discuss how to cut out hair on Photoshop and the best alternative for those who don’t want to pay for the expensive subscriptions.
How to Do Hair Cut out in an Image with Photoshop?
Photoshop is a professional photo-editing and graphic creation tool trusted and used by almost every graphic designer and photo editor. When it comes to detailing in editing, no other tool is comparable. We will share a cut-out hair fast Photoshop tutorial with you to get started and get flawless images.
Cut out Face Online
If you want to Cut out Hair Online online using AI without download, try TopMediai FREE.
Step 1: Launch Application and Add Image For Removing Background
First, we want to get rid of the image background before getting into the detailed hair cut out in Photoshop. Launch the application and add the image you want for a hair cut-out.Step 2: Remove The Background
Choose the quick selection tool for removing the background of the image. Once the selection has been made, click the Delete button on your keyboard. It will remove the background. However, you will notice that the hair edges are still not flawless. When you put the image into a different scene, it won’t look realistic. Therefore, cutting out is important. Now we will look into the detailed hair cut out.
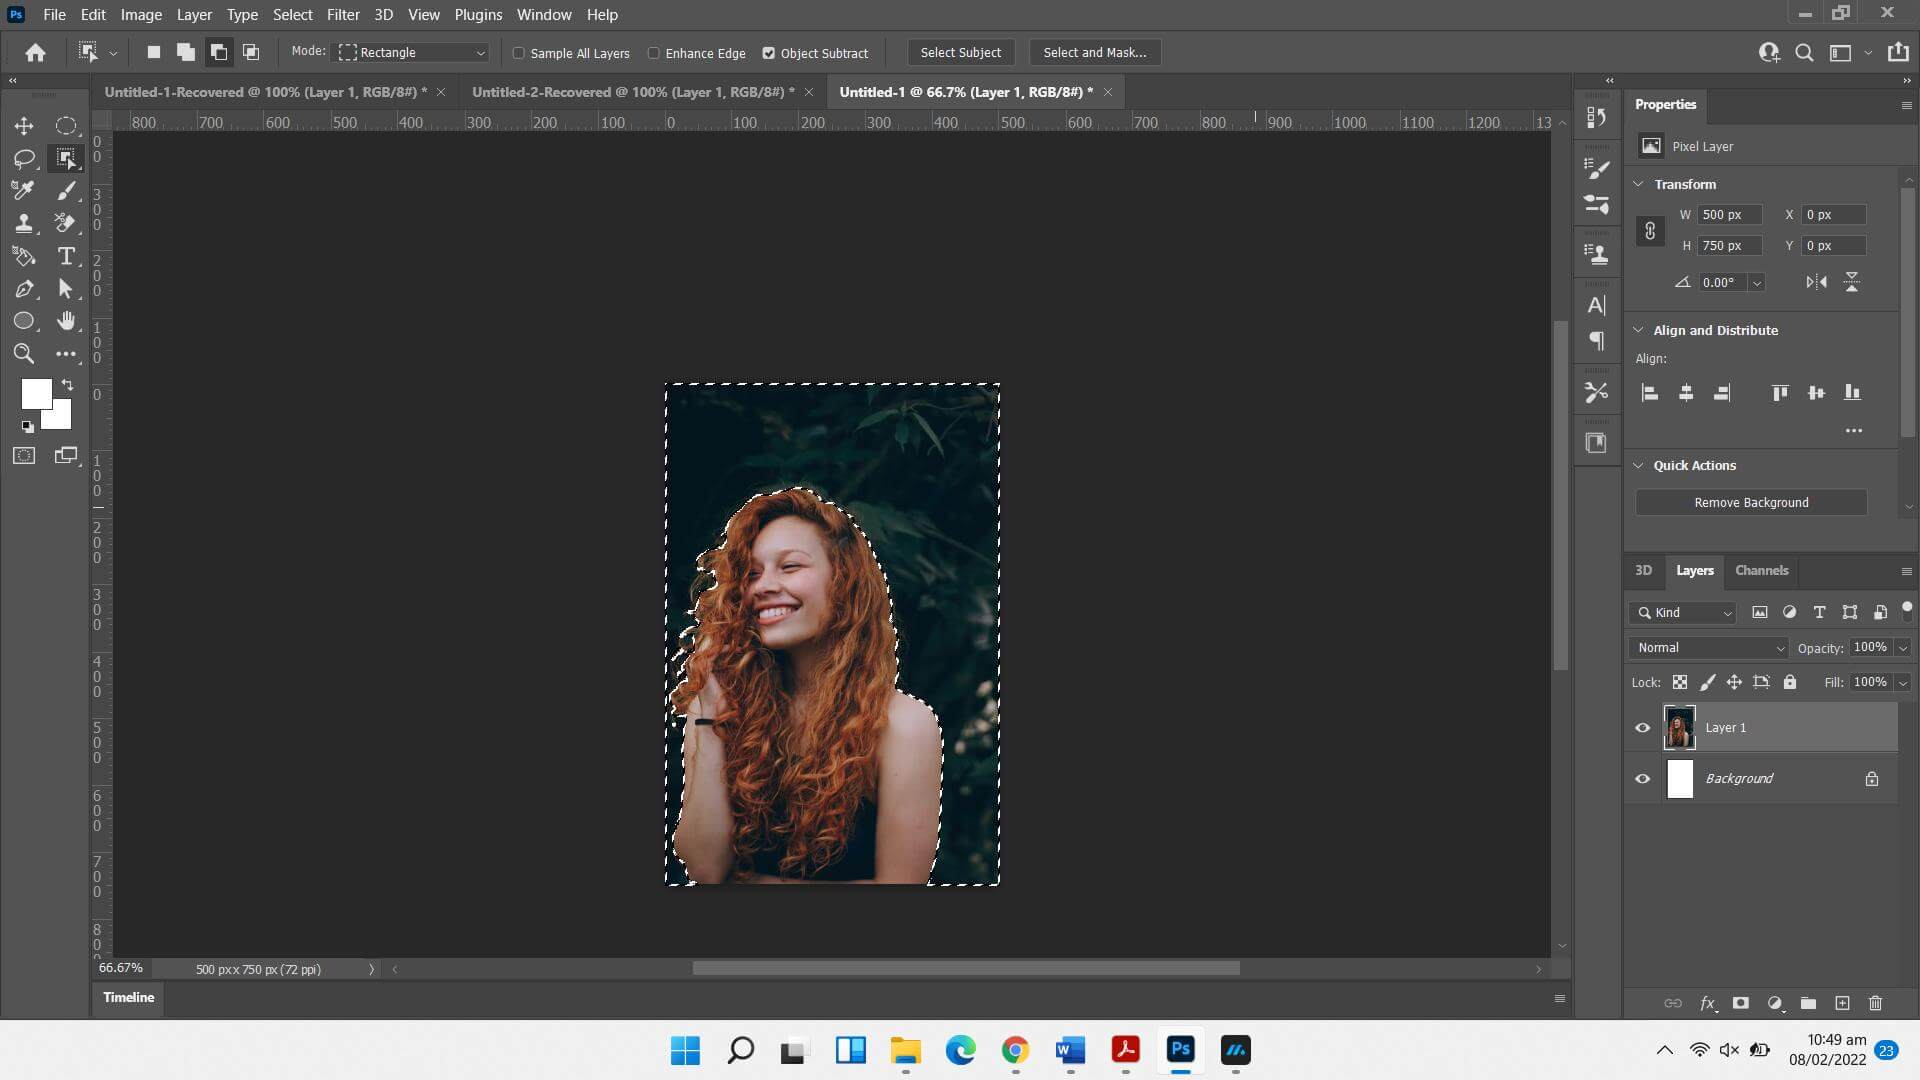
Step 3: Adjustments In Layer Channels To Achieve Desired Results
Here is what you need to do for a hair cut-out.
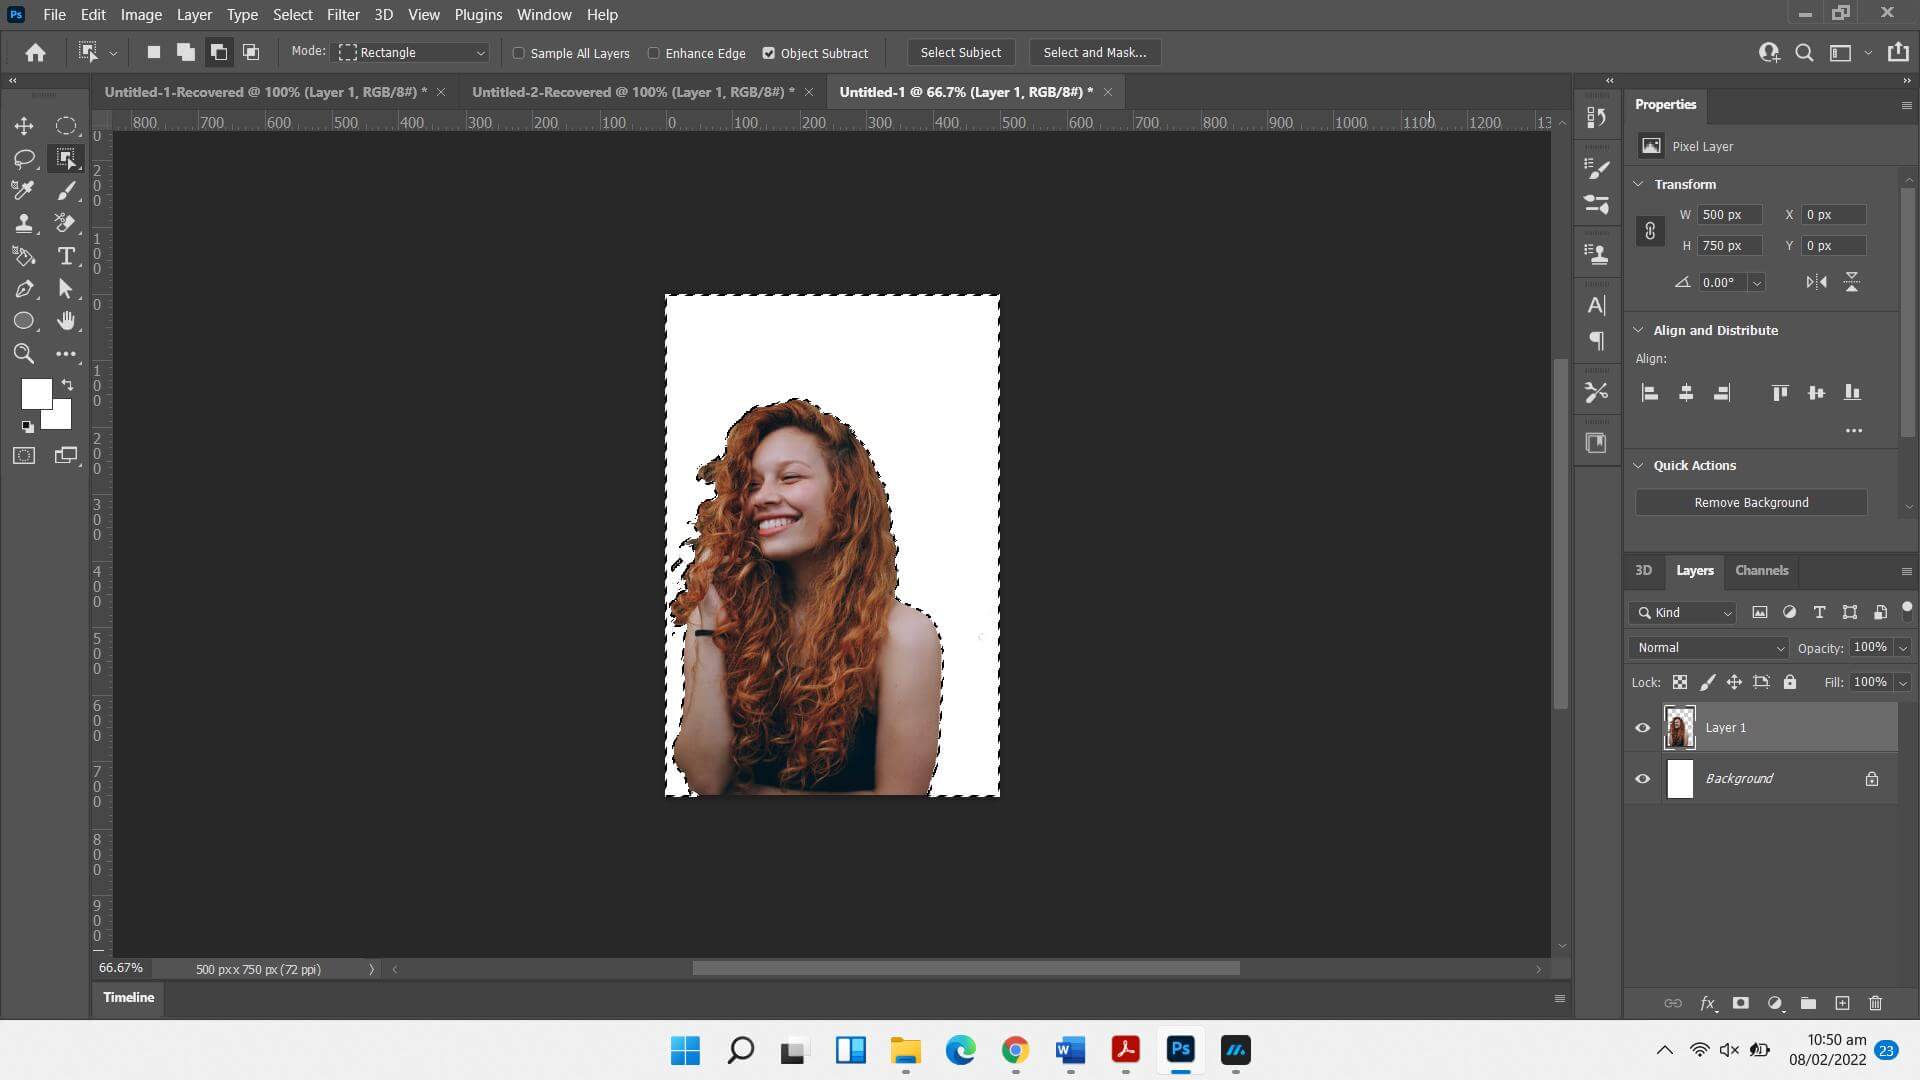
Copy Channel Layers
Go into the channel layers next to the main layers. Create a copy of channel layers because we don’t want to disturb the main layers. Click the image, and it will open the Adjustment Window. Go to levels for adjusting shadows and highlights in the image.
Levels Adjustment For Tone & Contrast
The next step is to choose the Brush tool and set the foreground color as black. Click the copied color channels while holding the Ctrl key. Add paint to all the remaining white areas using the mouse. It will turn the subject into a black shadow. It outlines the edges and outlines of the subject.
Create Layer Mask
Return to the Layer panel and hit the layer mask icon at the bottom of the window. Alternatively, you can also create a layer mask by right-clicking on the layer. Now all the black or dark areas from your main image would have been removed.
Add A New Color And Fill With Color
The image you see now is almost flawless. You can see that hair cut outs have been done precisely. All you have to do is to add a new background layer for your image.
Step 4: Save The Image To Your Device
Finally, save the file on your device in the desired format. Click on File > Export As > Choose format >Save. You’re all done.
How to Do Hair Cut out in an Image without Photoshop - MarkGo
iMyFone MarkGo
Tips
Hunting for a tool to cut out hair from images for free? Why not try a professional remover iMyFone MarkGo to remove backgrounds 100% Auto with AI-powered Technology within 5 secs in 1 click. Juts try it out free below!
Since Photoshop is a paid tool, the subscription can cost you a lot. Most occasional editors want an alternative method that is affordable yet effective. Therefore, we’re going to introduce you to a product of iMyFone Filme.
MarkGo is a great tool for image editing, removing unwanted objects, adding/removing watermarks, or other editing tasks in images and videos. It’s an AI-powered tool with a user-friendly interface. You can effortlessly edit your images and videos. Above all, the precise detection and editing work of AI tools within MarkGo is remarkable.
You can also use MarkGo as an alternative to Photoshop cut-out hair from the background.
We will discuss the complete method of using MarkGo for getting rid of any residual background in images.
Here is a step-by-step guide to the hair cut out from the image background:
Step 1: Installation and Launching
You can download the MarkGo setup on your Windows or Mac device from the official website. Once downloaded, install the application, complete the signup process, and log in. Once entered into the interface, you’ve to choose the remove image background option to move forward.

Step 2: Upload The Image
You will upload the image you want to remove the background from. Click on ‘+’ to add images. The software lets you add as many images as you want.
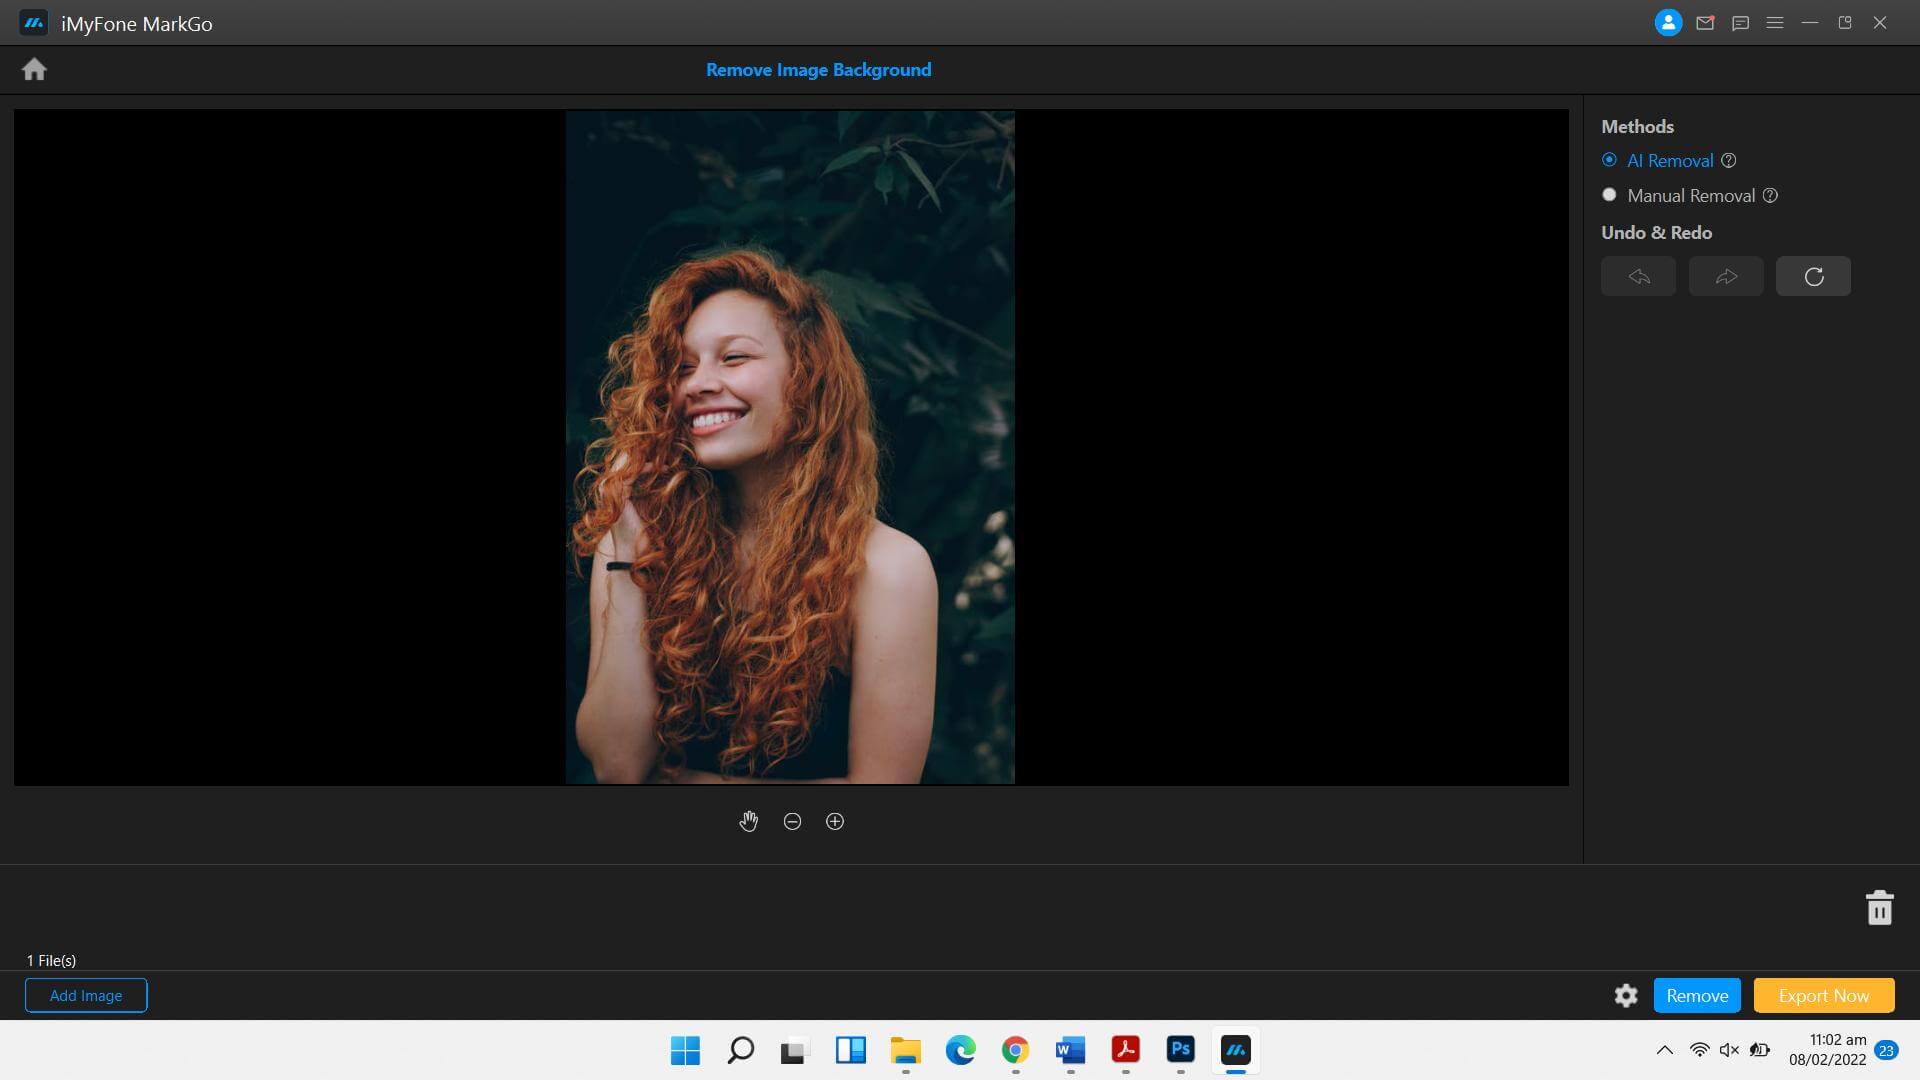
Step 3: Use The AI Background Removal
There are two options for removing image background: AI removal and manual removal. AI removal is the method that lets you remove the image background with just one click on the ‘remove’ button. On the other hand, the manual method can be used for more precise image background removal.
Hit the remove button after selecting the AI removal. If the image background has not been erased completely, you can remove the remains using the manual removal tool.
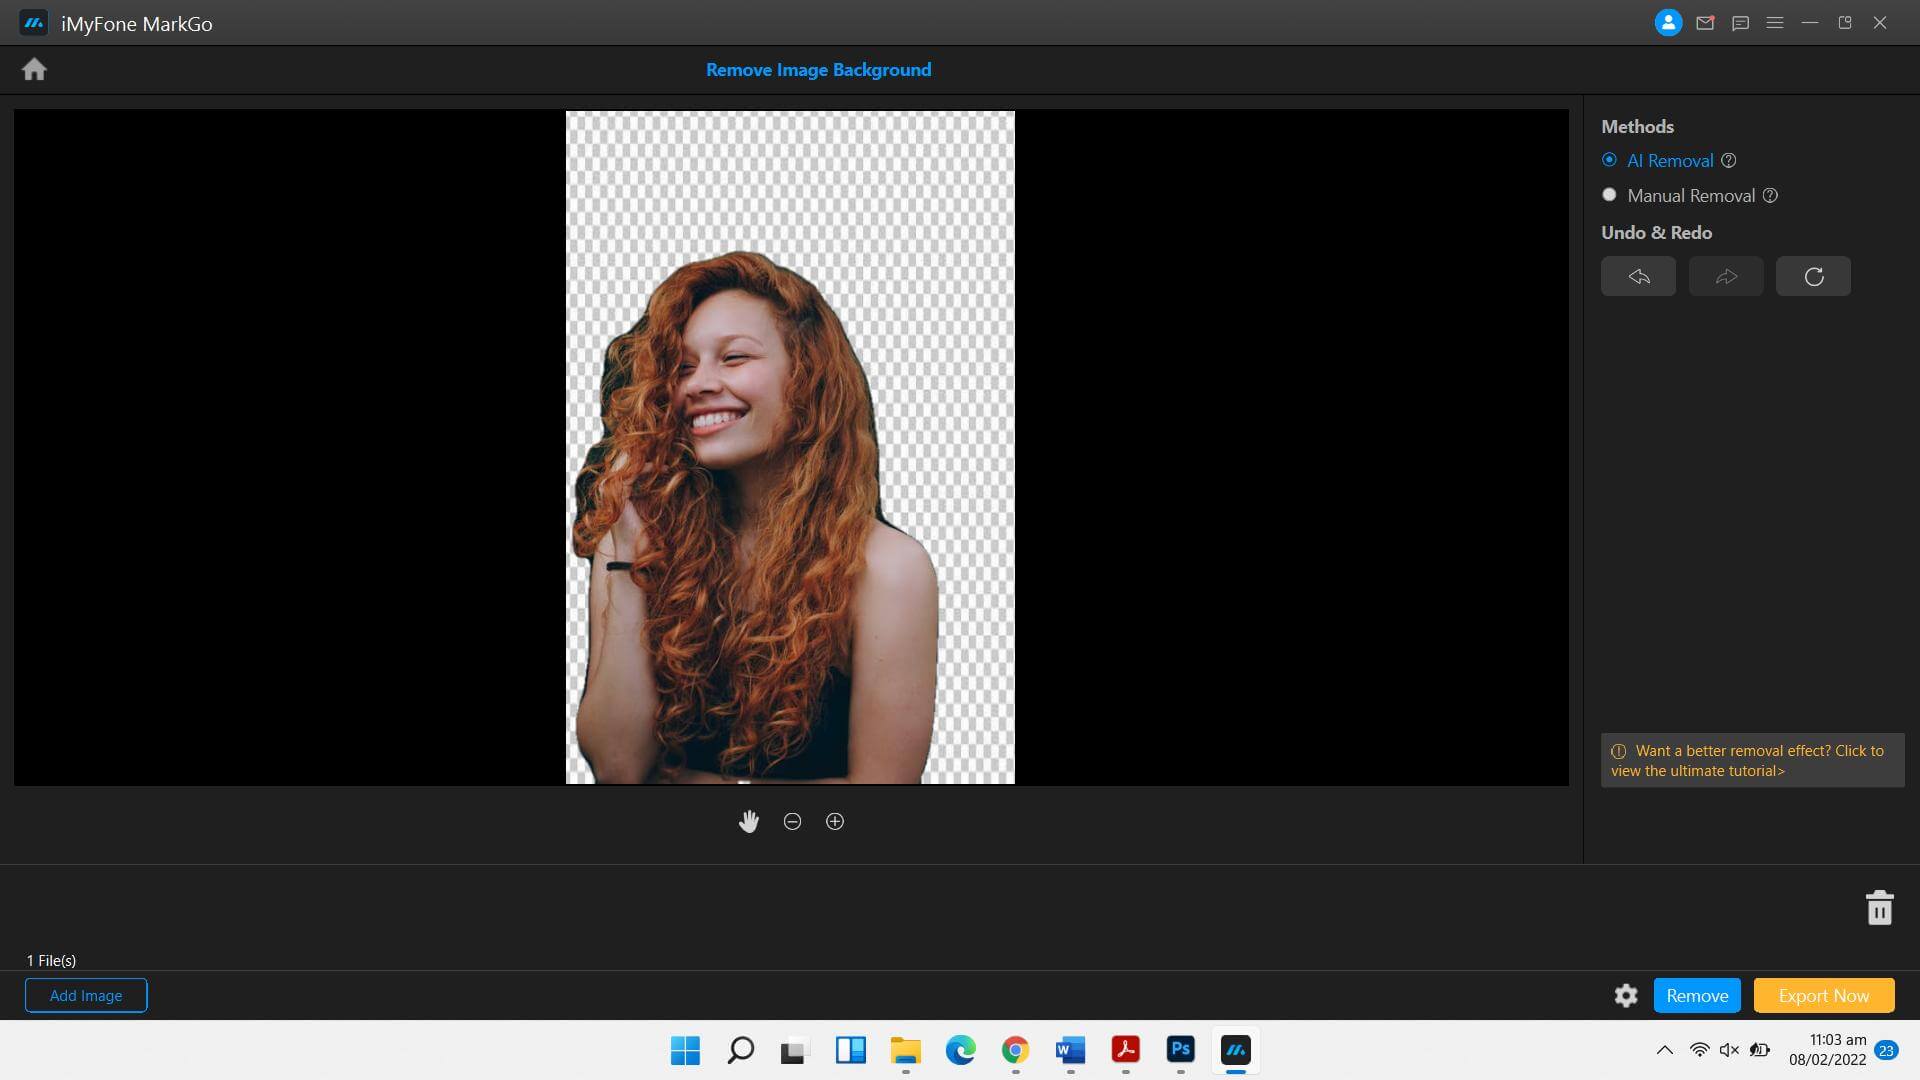
Step 5: Manual Removal For Hair Cut Out
As discussed, hit the Manual Removal button and select the areas where the background of the image is still visible. Once you’ve chosen all the parts, hit the Remove button. It will result in a flawless image with no residual background.
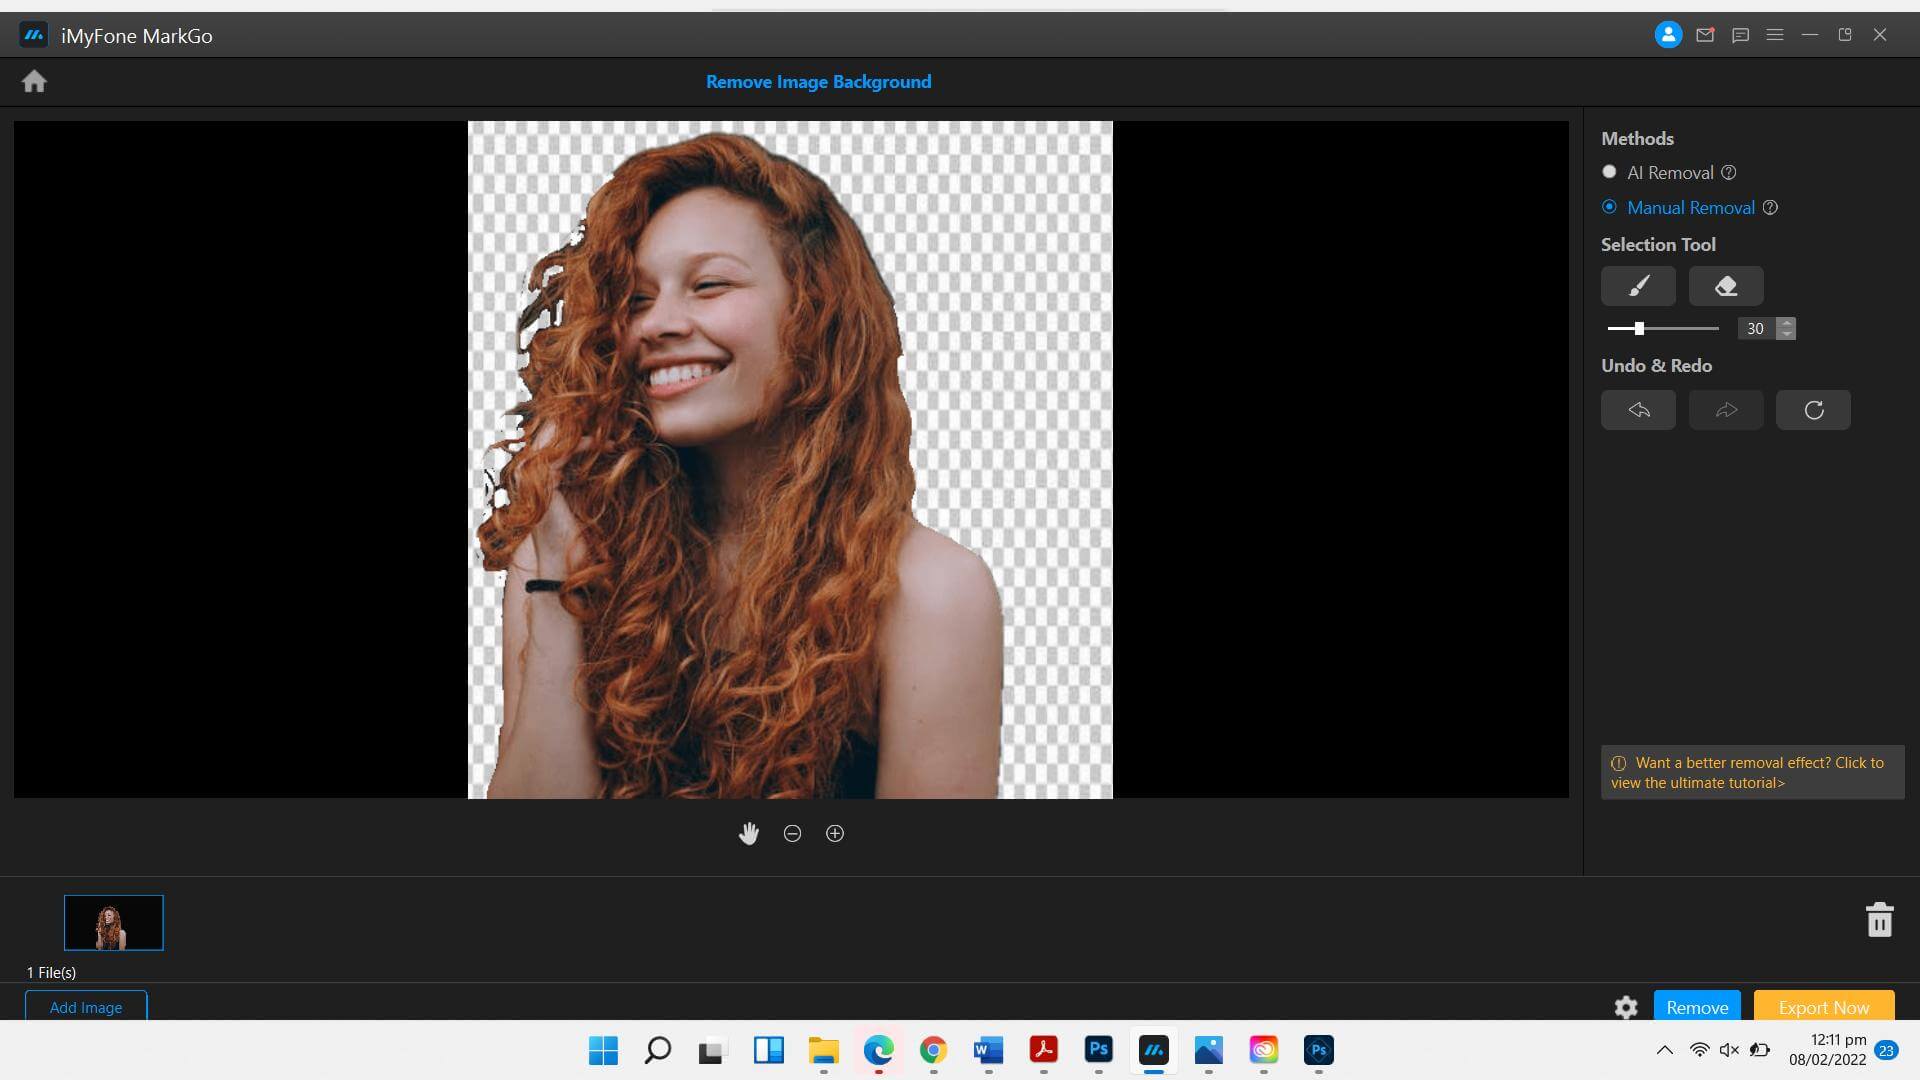
Step 4: Export The File
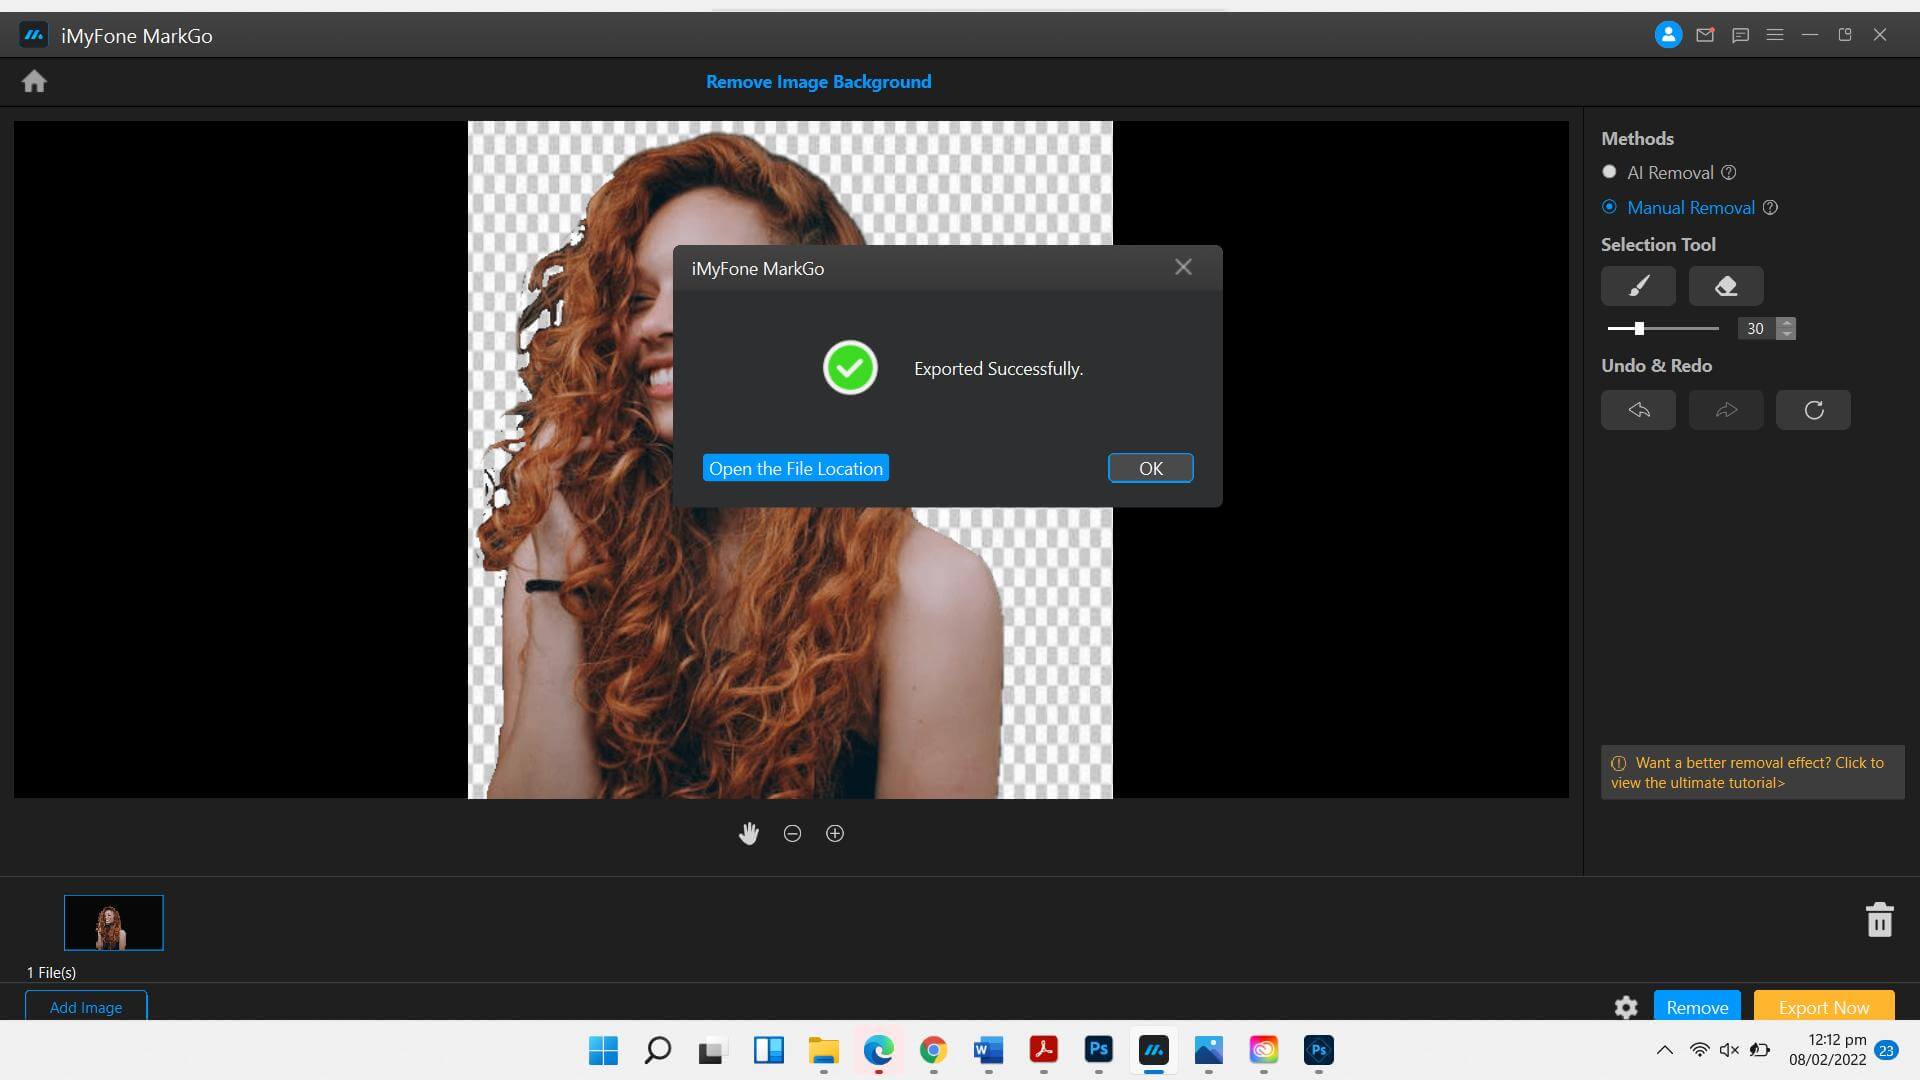
Once you’re satisfied with the results, you can quickly download the image to your device. Hit the Export now button, and the file will be saved at the destination. You can use it for any purpose afterward.
Watch the video tutorial to remove background using MarkGo
Conclusion
There are so many reasons why you would choose MarkGo over Photoshop. User-friendly interface, easy to learn, AI-powered technology, and great affordability are on the top of the list. We have discussed how to cut hair out Photoshop and an affordable alternative to the Photoshop method.
You can download MarkGo on your Windows or Mac device from the following links:


