When it comes to watermark batches of photos, this is where it gets complicated. It allows you to watermark multiple pictures with just a click. We will illustrate batch watermarking by using Photoshop. You can also try iMyFone MarkGo which can batch add watermarks in 1 single click.
Batch Watermark Photos in Photoshop and MarkGo Head to Head Comparison
| iMyFone MarkGo | Photoshop | |
|---|---|---|
| Ease Of Use | It is very easy to use. Just browse the photo and add a watermark as a text or image with 1 click. | It is a little difficult as you need to create layers and then add a watermark to a photo. |
| User Interface | The interface is very simple and easy. Any first-time user can go and add a watermark. | It requires a little background knowledge of how to use Photoshop. |
| Batch Watermark | Add multiple photos at once and batch watermark with just a click on "Apply to all". | You need to create a layer and then record your actions to batch watermark. |
| Image Quality | It maintains the quality and format of the image that you imported. | It not only maintains the quality of the image but also allows you to save the file in different resolutions and file types. |
| Easy To Download | It requires minimal space on your computer and can be downloaded in few minutes. | It is a heavy tool that requires a good internet connection. |
Part 1. Batch Watermark Photos in Photoshop Via Action
Photoshop is a famous tool that people use for editing. It has plenty of features and tools that one can use to edit pictures. We will demonstrate how one can use Photoshop to batch watermark photos.
Step 1: Open Photoshop and browse the image on which you want to put a watermark. To do batch watermarking, you will need to watermark one photo first so that your actions can be recorded for the batch watermark.
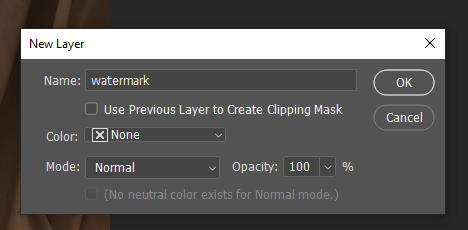
Step 2: Go to the "Layers" bar on the top and click on "New Layer". It will create a new layer in the Layers panel. We are adding text as a watermark, so go to the left toolbar and select "Text".
Step 3: After that, select the "Move" tool from the left toolbar and adjust the position of the watermark. Now you have created a watermark, delete the background picture by clicking on "Delete Layer".
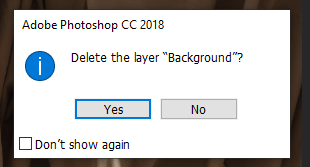
Step 4: You will be left only with the watermark that you created. Now save this watermark for future use. We will use it to batch watermark.
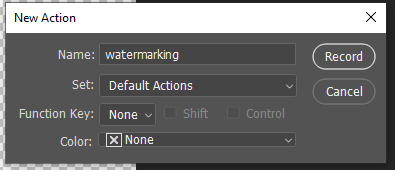
Step 5: We want to batch watermark via Action. For that, we have to record an action. Go to the left toolbar and click on "Action" and then click on "Add Action". Save this file as "Watermarking". After saving, the recording will start.
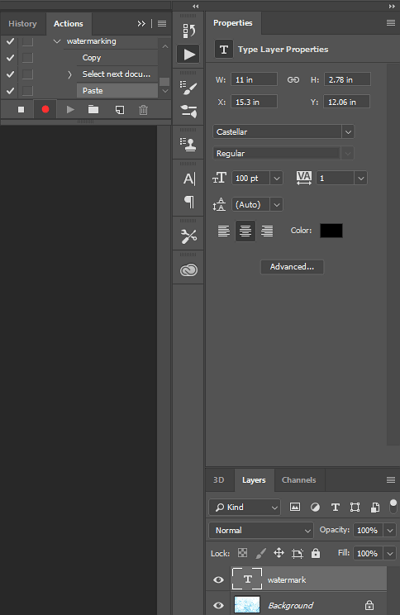
Step 6: Browse a photo to add a watermark, click on your watermark file and go to edit and "Copy" it. Go to the picture and "Paste" it. A watermark will appear on the photo. Now stop the recording. These actions are saved and now can be used for batch watermarks.
Step 7: Go to "Files > Automate > Batch". A window will pop up. Choose action as "watermarking" that we just saved. Choose the files' and folders' destination and click on "Ok".
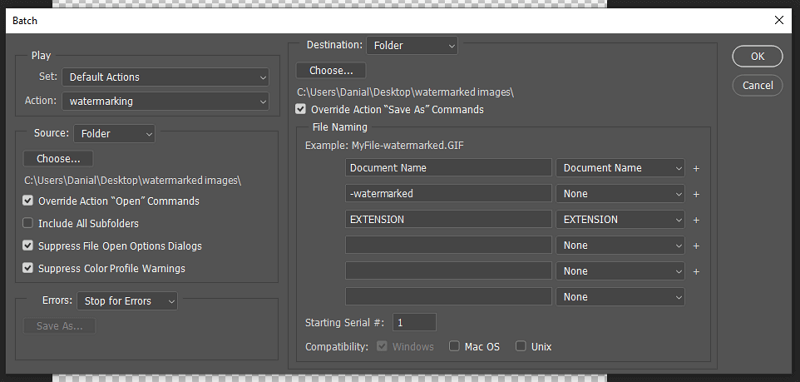
Step 8: All of the photos will be watermarked in that folder and saved in the destination that you selected.
Part 2. 1 Click To Add Watermark in Batches – iMyFone MarkGo
We have seen one method of the watermark batch process, and it requires many steps. Let us simplify this batch watermark by using iMyFone MarkGo. iMyFone MarkGo is the simplest tool that you can find to adding a bulk watermarks with just a click. It is a tool only for watermarks and helps the user to find the solution for watermarks in one place. Let's see how we can do batch watermarking on iMyFone MarkGo.
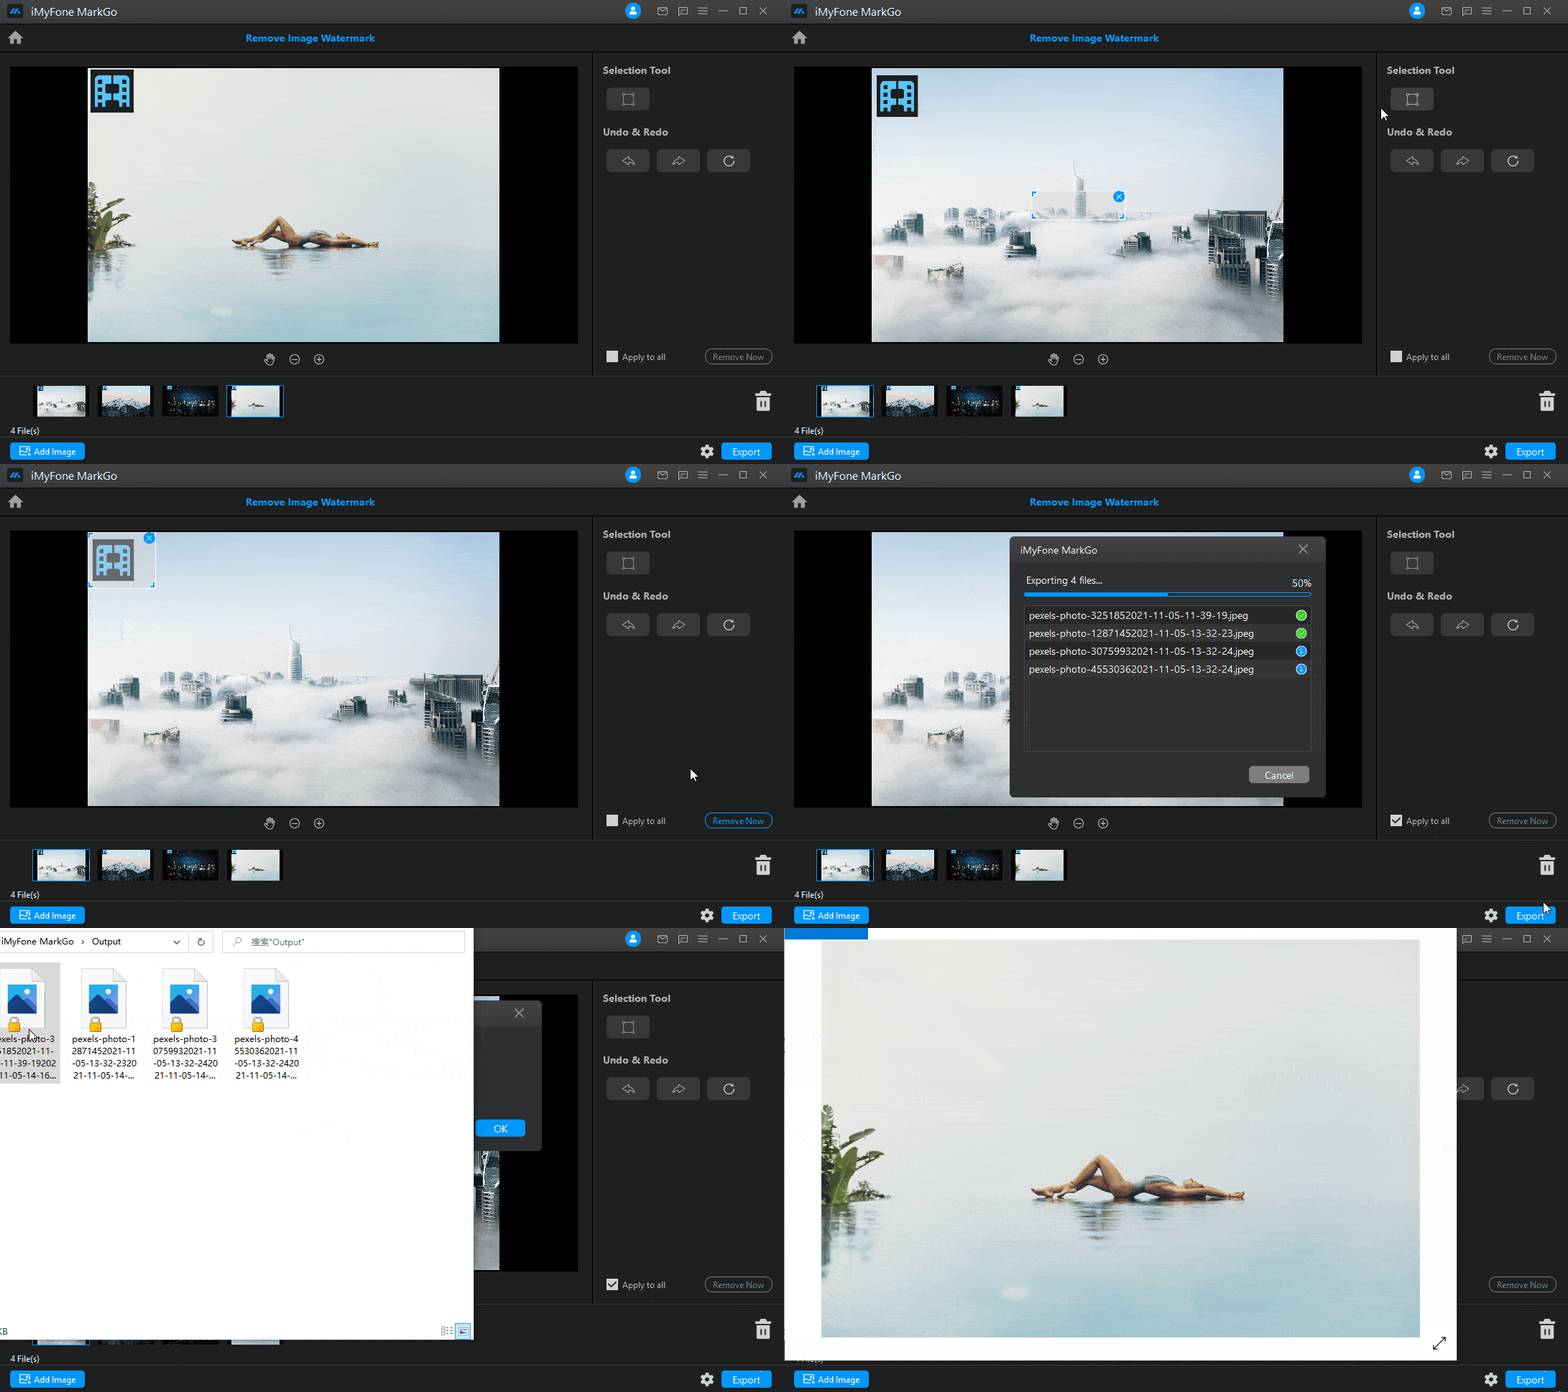
Step 1: Open iMyFone MarkGo on your computer. It will display four options, out of which we will click on "Add Watermark to Image" because this is what we want to do.
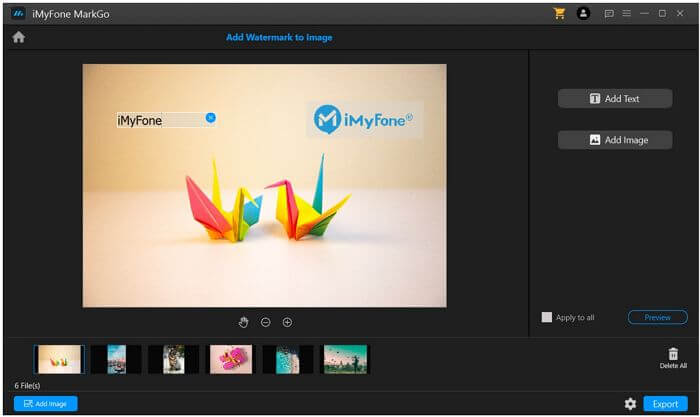
Step 2: As we want to apply a watermark to multiple images, you can choose multiple images at once and import them on iMyFone MarkGo. Click on "Add Image" and add all the files.
Step 3: Now that all of the photos are imported, we can see the option of text on the right side of the screen. We can add text as well as images as watermarks on the photo. Let's select "Text" and add a simple watermark to one photo.
Step 4: Now that one photo has a watermark, you can see an option of "Apply to All". The watermark that you just added to one photo can now be added to all the images with just a click. Click on it and preview all the images. You will find that the batch watermark is done. Click on Export to save the images. It is that easy with iMyFone MarkGo.
iMyFone MarkGoEasiest Watermark Remover for Video and Image!

Also Read:
Remove Any Object from Photo with GIMP >>
Remove Watermark with Final Cut Pro >>
Conclusion
It is pretty clear how we can batch watermark photos at once using Photoshop and iMyFone MarkGo. Photoshop requires a lot of steps and is a little complex for a first-time user. Whereas iMyFone MarkGo can batch watermark multiple photos with just a click. MarkGo is the simplest tool for adding and removing watermarks. If you remove watermarks frequently, it is the best tool to save time.


