Zoom users are always searching for how to record Zoom meeting without permission free. They might want to record meeting sessions and share the videos with other people after the meetings have ended.
Students may also want to record the meetings so that they can review the content after the session has ended. Some tools allow users to record all meetings easily. This guide will help you record the meeting with the Zoom recorder and some other tools.
Part 1: The Best and Free Recorders for Zoom Meetings (PC and Mac)
While the Zoom video conferencing app provides a meeting recording option, you will have to request permission from the meeting host to start recording the meeting. Also, the video recording button will not be available in case the meeting host has disabled the option in the settings. So, the best thing to do is use a third-party Zoom recorder to record all the meetings. Here are the top tools to use.
1. iMyFone Filme
iMyFone Filme is available for both Mac and Windows users and allows recording of the whole computer screen or the Zoom screen alone. You can add transitions, effects, images, stickers, audio, or anything else after recording the video and export it in any format.

Bonus Tips:
Record the Zoom Meeting with Faster Tools -iMyFone Filme.
Special offer that can free try the resoureces for paid. Download it for trying it out!
Pros:
 Offers a user-friendly interface perfect for beginners
 It comes with many editing tools to allow editing of the recorded videos
 It can record your whole computer screen or the Zoom screen
 Record your screen without requesting permission from the host
Cons:
![]() Comes at a cost
Comes at a cost
2. Windows 10 Gamebar
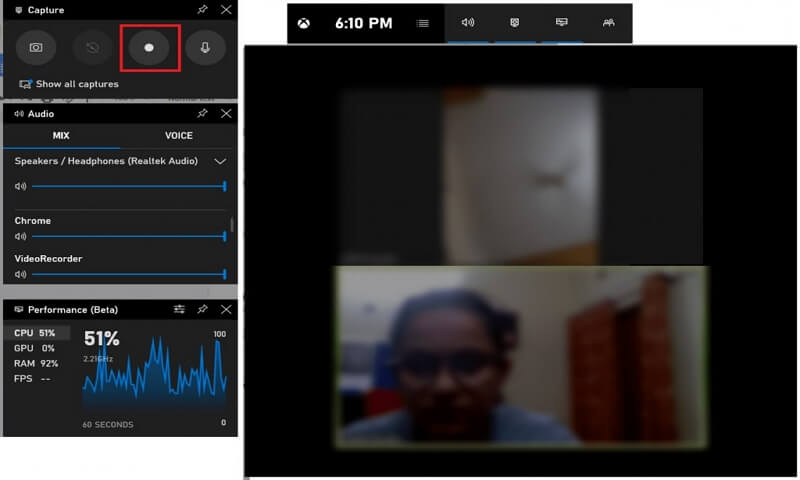
This Zoom meeting recording tool comes as part of the Windows 10 package and it is very easy to use. To start recording your Zoom meeting, you just need to hit the "Win+G" key and a toolbar will pop up on your desktop. In addition to the Zoom meeting recording, you can record other activities on your computer. The tool requires a graphics card that supports Intel Sync H.264, Nvidia NVENC, and AMD VCE. You can change the volume of the sound coming from the Zoom app if a need arises. Unfortunately, each recording session is limited to 4 hours.
Pros:
 The tool comes as part of the Windows 10 package
 Its interface allows you to monitor your GPU, CPU, and RAM usage
 You can capture screenshots or go live from this toolbar
 You can record 60 or 30 FPS
Cons:
![]() Its performance is inconsistent
Its performance is inconsistent
![]() The recording time is limited
The recording time is limited
3. OBS Studio
OBS Studio is another tool that makes the recording of Zoom meetings easy. The process of setting up your screen recording session will only take a few clicks. The tool further allows you to choose whether to record the desktop audio, the sound from our microphone, or both. To start the recording you just need to hit the "Start Recording" button situated in the "Controls" tab and the recording will start.
Pros:
 The tool will allow you to convert the video recording to any format
 It will show you all the streaming sources before you hit the Go Live button
 You can replace the microphone and camera input with external ones to create quality and clear videos
 Offers many annotation tools, captions, and templates for the best video production
Cons:
![]() While the tool offers many screen instructions, beginner level users may find it hard to use
While the tool offers many screen instructions, beginner level users may find it hard to use
![]() The editing part is limited
The editing part is limited
4. QuickTime Player
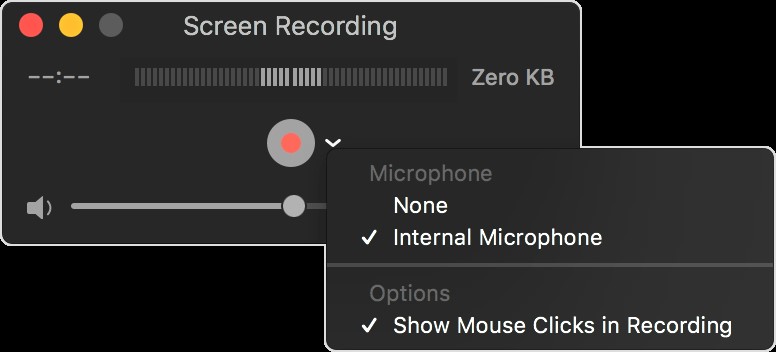
If you are a Mac user, this might be the right tool for you. QuickTime Player comes pre-installed on Mac devices so that users can record any window. QuickTime Player allows users to trim and resize their videos after recording. Furthermore, you can record Zoom meetings and export them in various file formats. Unfortunately, this tool is not available for Windows PC users.
Pros:
 Works flawlessly with iTunes files
 Simple and easy to use
 Comes integrated with Mac OS
 Offers a simple editor
Cons:
![]() The FLV and AVI file extensions do not support default video playback
The FLV and AVI file extensions do not support default video playback
![]() It is only available for macOS users
It is only available for macOS users
People Who Liked this Content Also Liked
The Definitive Solution for Where to Find Zoom Recording >>
How to Record Yourself and Screen on Zoom-Don't Need to Be the Host >>
How to Convert Zoom Recording to MP4 Quickly >>
Part 2: Top 4 Zoom Recorders You Can Use to Record Zoom Meetings (iOS and Android)
If you prefer using your Android or iOS device, you can record your Zoom meetings too. All you need is one of the following apps.
1. iOS Built-in Screen Recorder
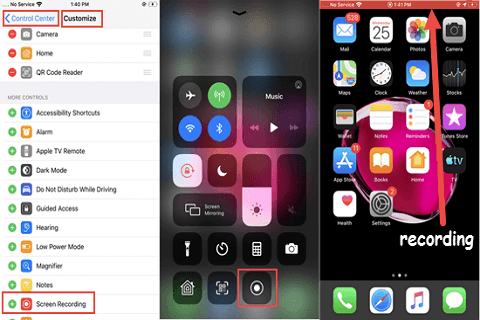
This might be the best tool for iOS users. The integrated recorder allows users to record and save their Zoom sessions on their devices without installing any additional tools. After starting the recording, you will have the option of pausing, resuming, and stopping the recording. Still, you have to keep in mind that the tool is only available with iOS 11 and above.
Pros:
 The app is intuitive and easily accessible
 You will also have the option of recording your mic input
 The user interface is easy to use and self-explanatory
Cons:
![]() It does not offer any option of tweaking the bitrate or FPS
It does not offer any option of tweaking the bitrate or FPS
2. ScreenCam Screen Recorder
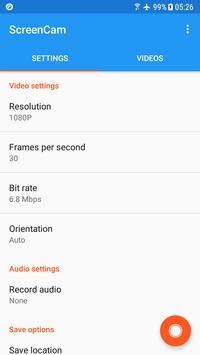
Many people prefer using this tool to record their gaming, Zoom sessions, tutorials, and anything in between. Unlike many other screen-recording tools, ScreenCam Screen Recorder has no ads that may disrupt your recording sessions. This Zoom meeting without host permission recorder also records anything that happens on your phone screen from the scroll input to touch input.
Pros:
 It has no ads
 Has a user-friendly interface
 The control center is easily accessible
Cons:
![]() Offers a few editing tools
Offers a few editing tools
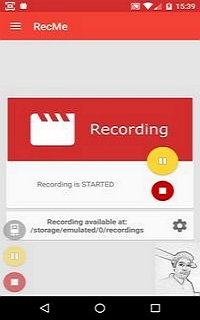
3. RecMe Free Screen Recorder
RecMe Free Screen Recorder offers a wide range of features at no cost. Even though the app has mixed ratings on App Store, you have nothing to worry about because it will get the work done efficiently. Still, if you need a mobile app that will record all system sounds, it is not a good choice. You must root your smartphone device for it to record the microphone input and system sounds.
Pros:
 It records the video feed from both the rear and front camera
 Offers an easier to use user-interface
 You can save the recorded videos in MP4 and MKV extensions
Cons:
![]() It does not record system sounds and mic input
It does not record system sounds and mic input
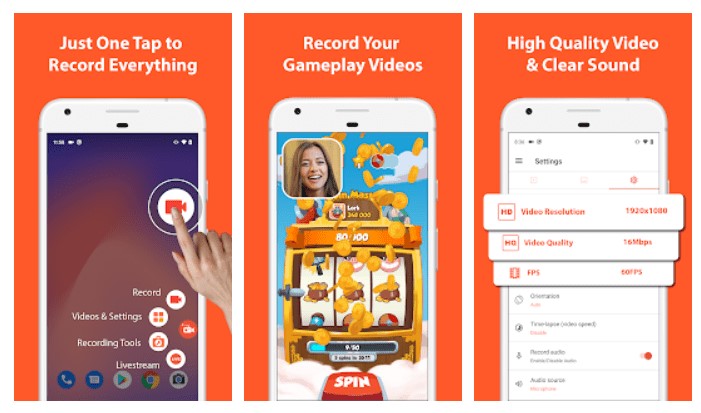
4. AZ Screen Recorder
For people in need of videos recorded in full HD, this is the best Zoom recorder to choose from. AZ Screen Recorder allows you to record both short and long Zoom sessions – including those that take the whole day. Even more, you can record your front camera footage, which is important when recording a guide or a tutorial. It is compatible with devices running Android V5 and above.
Pros:
 This is the best tool for people who would want to record Zoom sessions on the go
 Has no limitation on the screen recording time
 You can share the recorded file immediately or store it on your device
Cons:
![]() You have to use a separate tool if editing your recorded footage is important
You have to use a separate tool if editing your recorded footage is important
Part 3: How to Record Zoom Meeting without Permission Free
Both Basic and Paid Zoom allow users to record all meetings with the video conferencing tool. However, this option comes with several problems. First, the recording time is limited and all recordings will be stored locally. Also, you will need the host's permission to start the recording. So, iMyFone Filme is the best choice if your goal is to record without the host's permission. Here are the steps to follow when recording.
Step 1: Launch Filme on Your Computer
Install and launch iMyFone Filme on your computer device. Click on File >> New Project and choose an aspect ratio for your video recording.
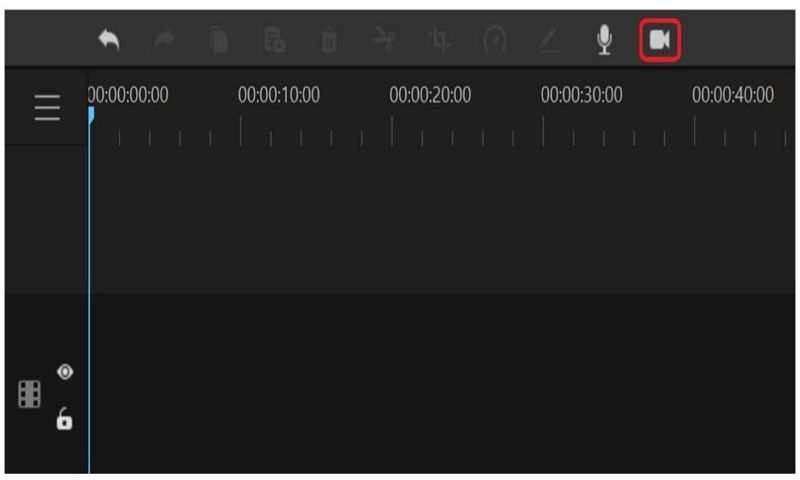
Step 2: Click on the Screen Recording Button
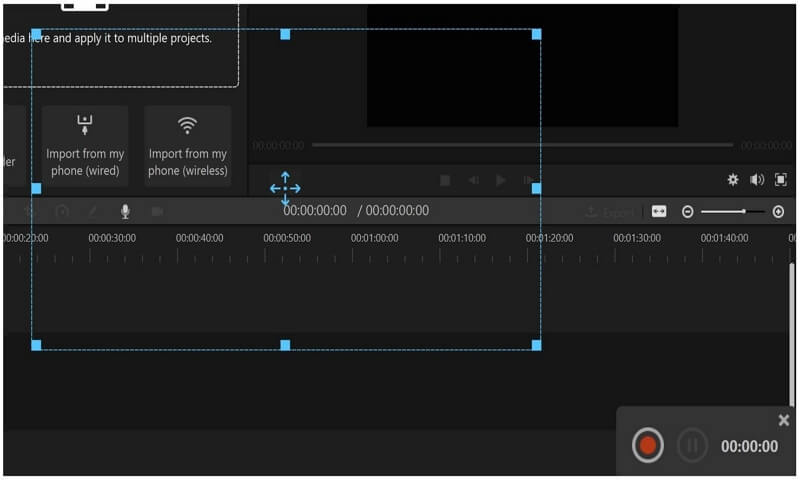
Click on the record button. A rectangle will appear on your computer screen. Adjust it to fit the part you want to record.
Step 3: Click on the Start Button
The recording controls will be situated on the right bottom corner of your computer screen. Search for the "Start" button and click on it. Use the same controls to stop the recording.
Step 4: Customize the Zoom Recording
Move to Project Media and drag the recorded video to the timeline to start the customization process. You can trim the video by dragging the ends in the timeline and adding effects, stickers, transitions, images, and music. All you have to do is drag anything from the menu to the timeline.
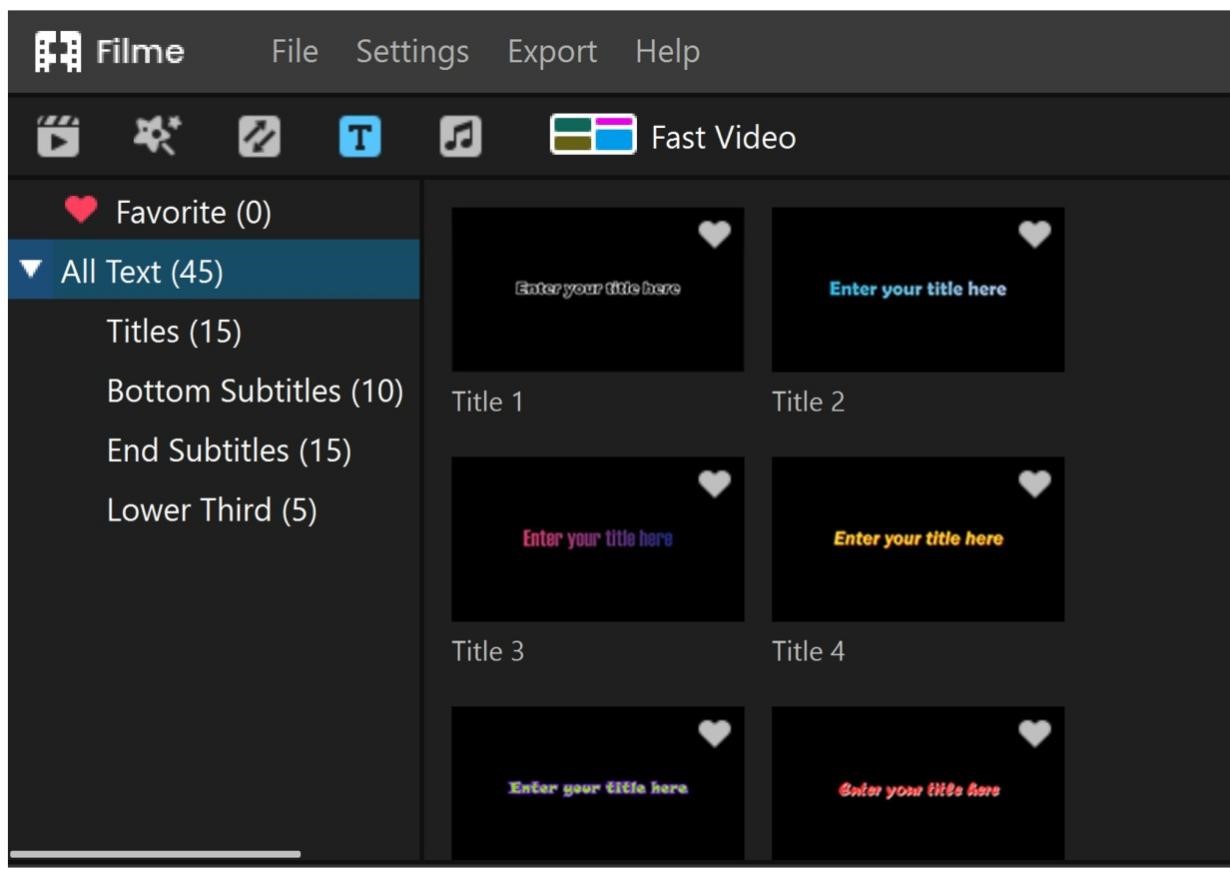
To add text, move to the Text menu, choose the text style, and drag and drop it to your timeline. Add the information you need.
Step 5: Preview and Export
Click on the iMyFone Filme Export button and ensure that the video is how you need it. Choose the necessary settings and click on Export to share or store the video on your device.
Conclusion
The ability to record Zoom meetings, including without the permission of the host comes with many benefits. For example, you can record a video and review it later or share it with your friends. The above list of Zoom recorders for laptops and smartphones will help you do the recording easily. Most importantly, the tools are free to use.


