Transmission from traditional meetings into virtual online meetings is becoming trending. One of the most important features in every single virtual online meeting is recording to grasp all the information presented at the conference, just in case you may have missed some important information during the official conference.
However, not everyone knows how to record Zoom meetings, how to save the file, or where to find Zoom recordings. This guide will help you solve all these questions and introduce a good option to edit Zoom recordings.
Part 1: Where Do Zoom Recordings Go?
If you have already recorded a Zoom meeting, it will be saved either in the Zoom cloud or on your own computer. The distinction is that individuals who have a purchased Zoom account have access to the cloud, whereas those that have a free account do not. Zoom customers, both free and paid, have the option of saving locally on their PC. We will show you where to find Zoom recordings.
Bonus Tips:
Record the Zoom Meeting with Faster Tools -iMyFone Filme.
Special offer that can free try the resoureces for paid. Download it for trying it out!
1. How to find the recordings from Zoom Cloud?
If you have Zoom Pro or Business account, you can record and find your recording on the Zoom Cloud service.
Step 1: Launch the App
Launch the Zoom app and log into your Zoom account.
Step 2: Click Recording
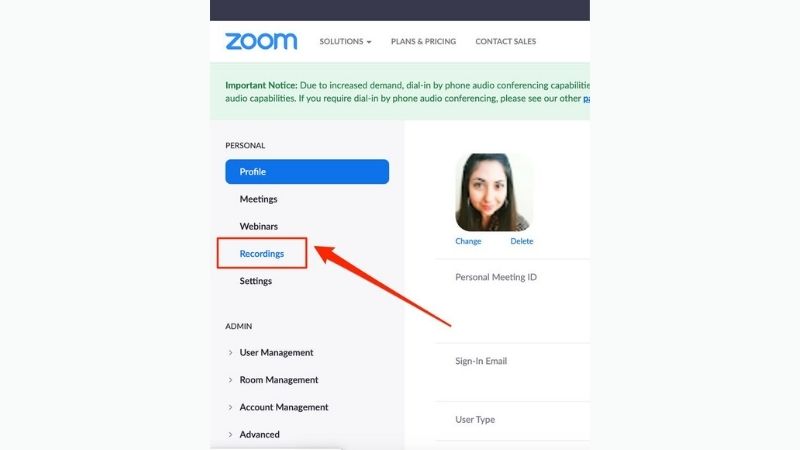
Choose Recordings in the left taskbar to see the recordings you had saved.
Step 3:
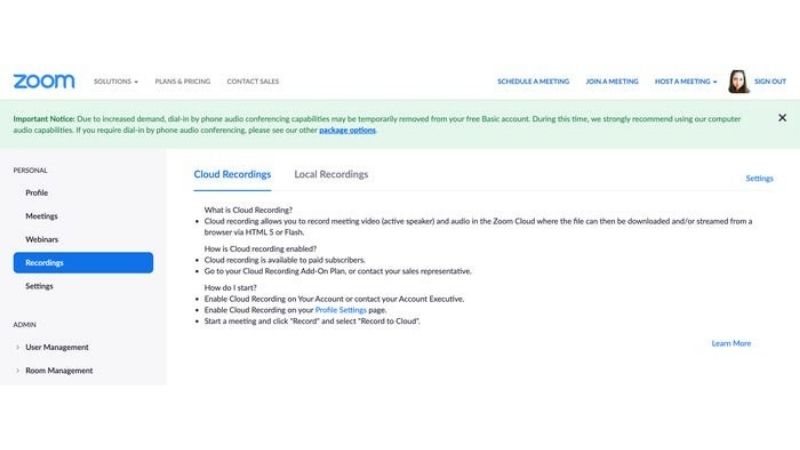
If you've stored any audio to the cloud, they will be displayed under the Cloud Recordings section, while any recordings stored locally will be listed under the Local Recordings section.
2. How to Find the Zoom Recordings from Your Computer?
When you are not a paying user, zoom recording didn't save on Cloud. Your recording options will be set to local storage by default. Zoom will ask you permission to create a recording place on your computer once you finish your first recording.
Step 1: Go to the Documents folder on your computer, or use the Finder (if you have a Mac).
Step 2: Take a look at the Zoom application on your computer.
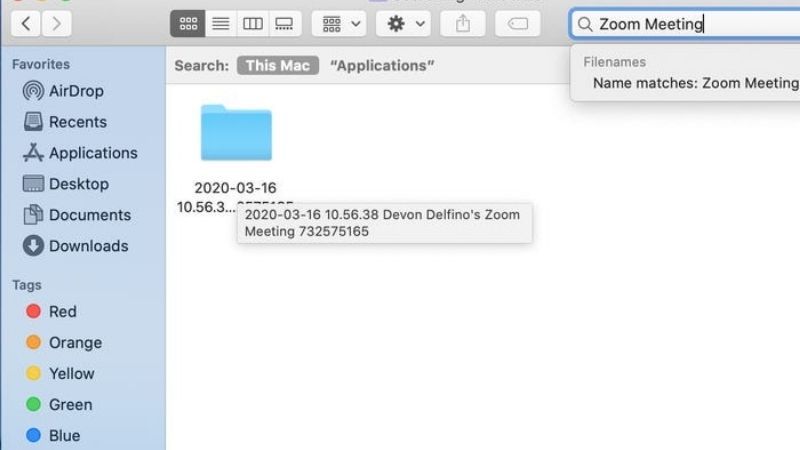
Step 3: Look for a folder with the Zoom Meeting words and other identifying information in the title; click to open the chosen recording.
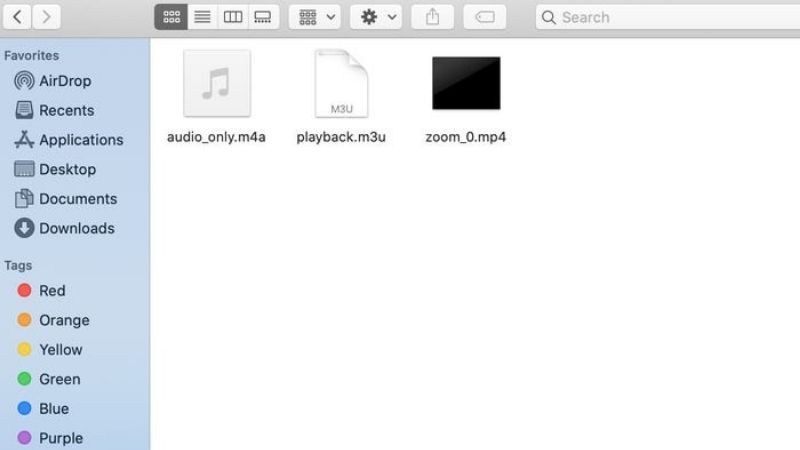
Step 4: Your recording will appear there, it is converted as an mp4 file for audio recording and video meetings, or as a VTT or chat file for a transcript or record of the in-meeting talk. It will be the place where you can find your own recording conference.
Part 2: The Time to Upload Meeting Record to Zoom Cloud and Processing Time Zoom Cloud Recording
When you finish a Zoom conference using the recording function, it will take a certain amount of time to upload the meeting recording to Zoom Cloud and the Zoom app will directly process your recording.
There are many people wondering how long it will take us to upload the meeting recording file to social platforms or zoom cloud, and how long the zoom software will take to process the file recording of our meeting. So, we will check all these questions out in this part.
How Much Time Does It Take for a Meeting to Get Uploaded to Zoom Cloud?
We have been making some recordings recently and have noticed that the alert email stating that the recording(s) are ready arrives roughly 3-3.5 hours after the completion of a 2-hour recording to be uploaded to the Zoom cloud.
Purchased Member: All purchased members have activated the cloud recording. If you choose Record to the Cloud when recording a conference, the video, audio, and chat text are saved to the Zoom cloud. The recording files can be downloaded or played through a web browser.
What Is the Cloud Recording ?
The Zoom desktop clients, as well as the Zoom app for iOS and Android, can launch cloud recordings. Local recording, which saves the recording files to your computer, is also available via Zoom. Cloud recordings enable you to record the meeting in a range of recording layouts, such as active speaker, gallery view, and shared screen, and maybe customized with a variety of cloud recording storage options.
How Long Does It Take Zoom to Process a Recording?
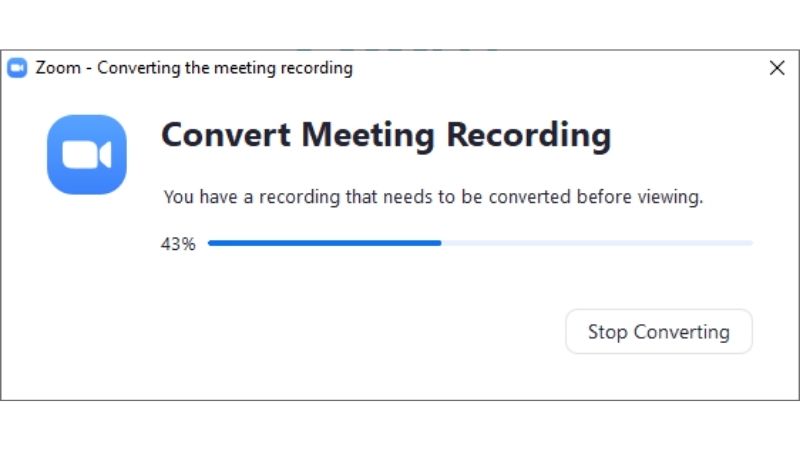
The processing time for your Zoom recording is normally twice the meeting length after the meeting ends, but it might take up to 72 hours depending on Zoom's current recording load.
If your meeting lasted 30 minutes, the processing time will most likely be 60 minutes after the meeting is over. And you will receive a reply email, which you use to create a Zoom account when the processing is finished, so don't worry that you might forget about the file processing. After all, Zoom software always informs you of the latest situations related to your file processing.
People Who Liked this Content Also Liked
How to Record Yourself and Screen on Zoom-Don't Need to Be the Host >>
How to Convert Zoom Recording to MP4 Quickly >>
Part 3: How to Edit Zoom Recordings with Easiest Video Editing Tool
With a Zoom recording on a meeting that lasts several hours, it can be difficult to track or review the key details in the meeting. So you'll need a video editor to edit, crop, and highlight your Zoom recordings.
iMyFone Filme is a lightweight, convenient video editing software on both Windows or macOS that is perfect for basic editing needs like editing zoom recordings. With Filme, you can easily import and edit your recording even it is a long recording. Here are the features of Filme that can help you to edit Zoom recordings.
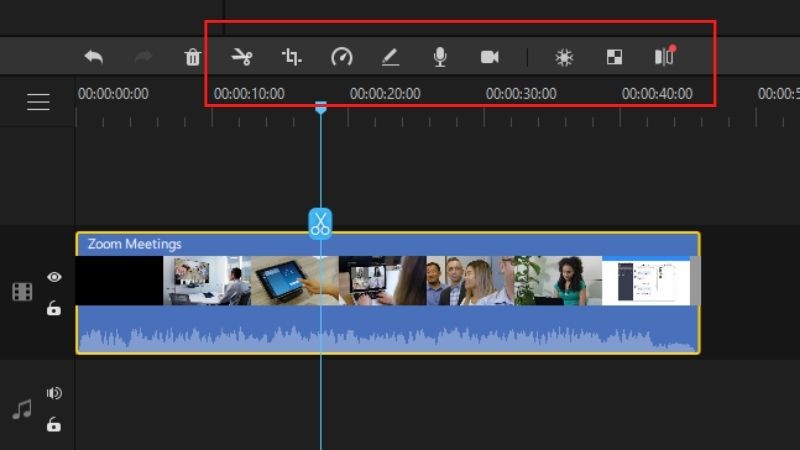
Split and crop video: You can easily split your Zoom recording into several parts by placing the Timeline pin at the required position and clicking the scissors icon. Meanwhile, to cut out the beginning of the end of the video, you just need to drag the edges inward.
Crop and rotate video: To crop your Zoom recording, simply select the clip and click on the Crop icon. In the new window that appears, you can choose a specific aspect ratio preset, specify your own size, or even manually crop the video to retain a specific part of the video. Click OK and you're done. To rotate the video, double-click the clip and change the rotation in the edit panel on the right, above the Timeline editor. Finally, click OK.
Adjust the speed: Fast forward video or slow-motion video from your Zoom recordings can be created with just a few clicks. All you need to do is select the clip, apply a fast or slow speed factor and you're done.
Tips to Edit Video
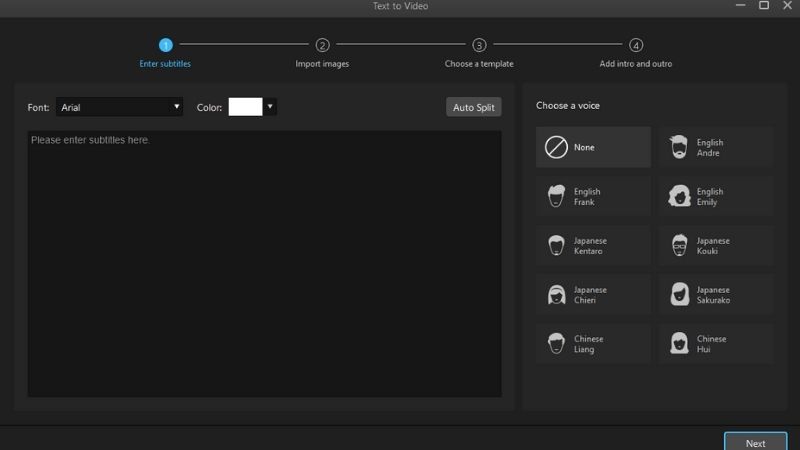
Add subtitles
With a multi-languages meeting, subtitles in the Zoom recording are very important. With Filme, you can easily add subtitles in a few clicks.
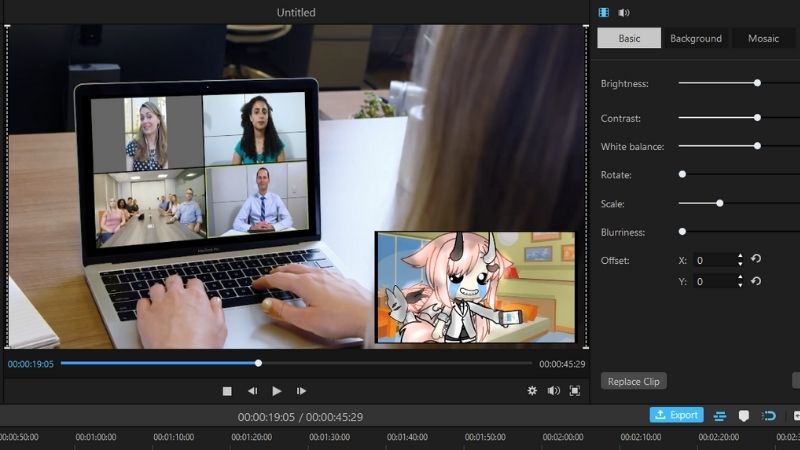
Picture-in-Picture mode
With this unique feature, you can place 1 clip inside another clip with a smaller size. This can help you make a recording that records yourself and screens on Zoom or add video information on the video.
To wrap up, it is not complicated where to find Zoom recordings. For editing recordings, we recommend using iMyFone Filme to make the best video recordings in a few steps. Hope this piece of information is helpful for those who want to save and edit Zoom recordings.


