If you haven't got the budget to meet the requirements of your project, using a green screen might help you shoot a video within your budget. It doesn't only save your time but also allows you to make your content mesmerizing. You can use a green screen with Final Cut Pro.
It is one of the popular video editors to add a green screen to your footage. If you want to know how to use green screen in Final Cut Pro, you can take notes from this piece of writing because we will explore how to do it.
How to Use Green Screen with Final Cut Pro X
Step 1: Download Final Cut Pro
To use the green screen on your background, the first thing you need to do is download the Final Cut Pro on your desktop. After downloading it, you need to install it on your computer. After, it would help if you launched it without wasting any time.
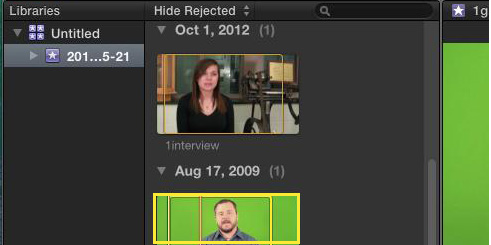
Step 2: Select the green screen footage part.
Now, you need to choose the green screen footage part you wish to use in your video.
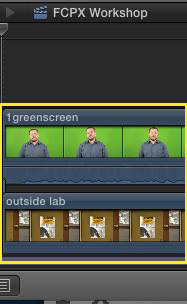
Step 3: Drag the background media to the Timeline
After selecting green screen footage, you need to drag the background media towards Final Cut Pro's timeline attached under the green screen clip. You can also serve your purpose by using E or W keyboard shortcuts.
Step 5: Apply Keyer Effect
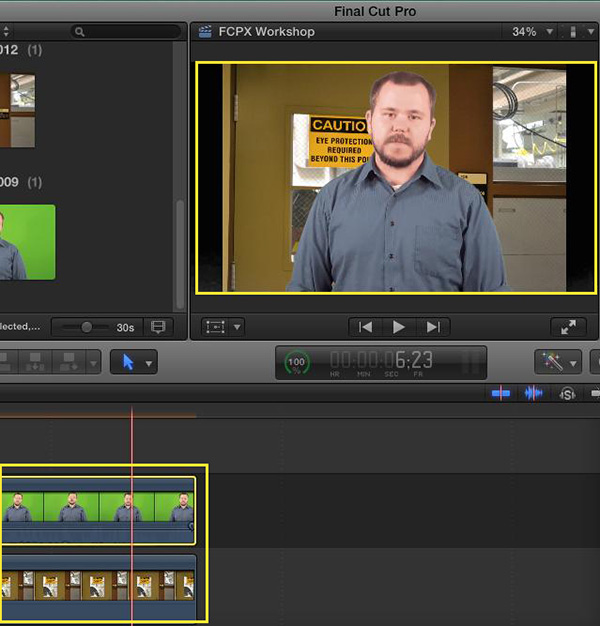
Now, the next phase is to apply Keyer Effect to your green screen clip. Press the "Effects" button and open the Effects browser in the right direction of your timeline. After, navigate to the Effects Browser sidebar and press Keying on the left.
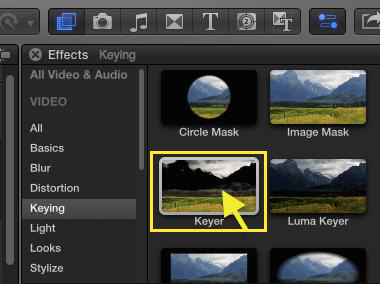
Drag Keyer Effect to the timeline on the video track of the green screen clip.
Step 6: Adjust the settings.
Now, you can see the green screen removed, and the background images you've added appear in the background. You can adjust the clip according to your liking in the Inspector Windows.
Final Verdict of Final Cut Pro
Many people use Final Cut Pro to edit their videos. Although Final Cut Pro is a befitting option to add scintillating effects to your video, many users still complain that it takes too much time to serve their purpose.
It is why you need to look for options that can provide you with more friendly and affordable results. You need to look for a better alternative.
You May Also Interested in:
How to Rotate Video in Final Cut Pro >>
How to Blur Background Moving Faces in Final Cut Pro >>
Best Alternative to Final Cut Pro to Edit Video Easily - iMyFone Filme
After reviewing many video editors, we found iMyFone Filme the best of the lot. It offers a lot of sensational features to explore and make your content worth admiring. In addition, you'll also get a slick interface with iMyFone.
Users can make a green screen video using iMyFone Filme effortlessly.
Filme offers basic video editing features, including trimming, adjusting speed, spliting.
It comes with a wide variety of effects, filters, and transitions to make your video more eye-catching.
Its Fast Video mode that can create fast slideshows in a flash with efficient match.
You can add any audio clips to your videos and make it unique.
Features of Filme:
Steps of editing a video iMyFone Filme
Step 1: Launch iMyFone Filme
To edit your video in iMyFone Filme, you need to download and then install it in the place. After doing it, you need to start the program. After starting, you'll have the opportunity to decide whether you want to use its free version or premium. After determining it, get on with things.
Step 2: Import File
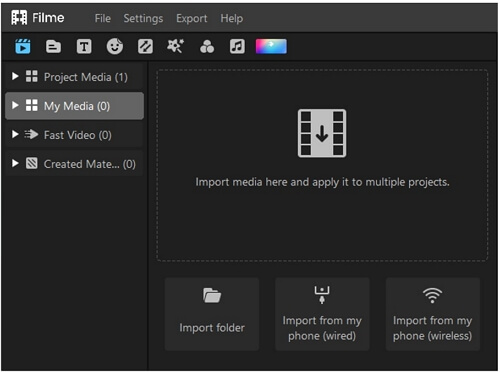
All you need to do is press the New File option and start New Project in this phase. After starting the program, you need to upload a video you'd wish to edit.
Step 3: Drop to timeline.
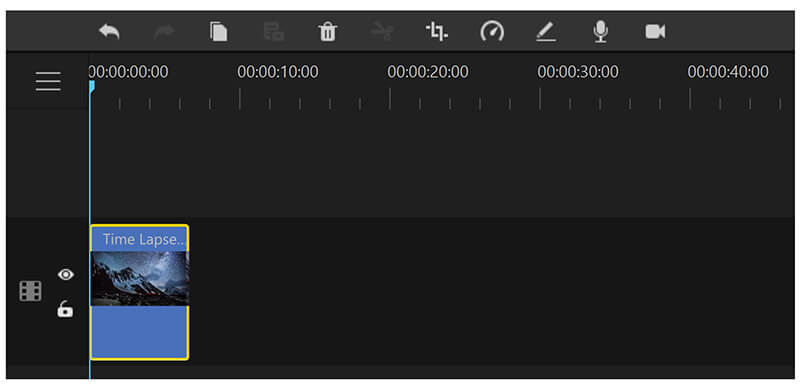
After importing the video of your choice, you need to drop it to the timeline. From there, you can edit the video in whichever manner you want. You can crop or trim, add transitions, add themes, add text and add many other things as well.
Step 4: Edit Your Video.
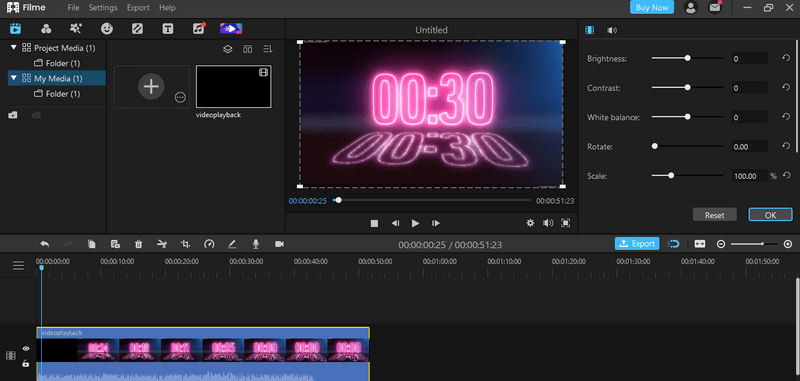
Then you can start to edit your videos, including adding text or music, cropping or adding filters or transitions.
Step 4: Export the File
Step 4: After you're done with editing, you need to press the Export button to get the job done in a flash.
How to Shoot Great Green Screen Footage
After finding how to use green screen Final Cut Pro, you need to know how to shoot it. You need to adjust the settings in a manner that can save your time and make things ideal for you.
Here are some Pro tips that might help you prolifically film the Green Screen Footage.
1. Background
To make the job of keying your green screen easy, you need to maintain the background uniformly lit and colored.
There are two Background options considered to be best when filming the green screen.
Moreover, it would help if you made sure the surrounding area of your object didn't contain any irrelevant thing.
And one more important thing you need to consider is you shouldn't shoot the subject wearing a green outfit. It will make your job more challenging to edit that part in post-production.
2. Lightening
To lighten up green screen footage, you need to light the foreground and background separately. It would help if you also achieved luminescence without any highlight across your environment.
In addition, you also need to ensure your subject doesn't cast a shadow against your green screen. If that happens, you need to put backdrop lights behind your subject.
And this thing can mess up the whole scenario you're working on for so long. It would help if you opted for fill light, key light, and three-point lighting for lighting the subject.
Camera Settings
Besides concentrating on studio settings, you need to look at camera settings to improve the outcome of green screen footage. If the subject makes fast movements, motion blur will make life difficult for you to key them.
It is why you need to set a speed like 1/100 or 1/80. After charging these speeds, you'll be able to minimize the motion blur in the footage.
Conclusion
Our article covers almost everything about using the Green screen in Final Cut Pro. It would help if you mastered the Keyer tool to capture high-quality footage using Final Cut Pro.
If you talk about alternatives to Final Cut Pro in the video editing field, iMyFone Filme comes in handy and probably is the best video editing tool you'll ever find. It comes with some stunning features that possess the ability to make your footage worth talking about.


