


The need to blur face in video for added aesthetics, ethical or privacy concerns is a common thing that photographers and content creators come across daily. Many choose the powerful video editing software Final Cut Pro X for this task as it not only offers advanced features to blur the moving objects, but its amazing effects and filters are also praiseworthy.
The software allows Mac users to blur the moving faces and objects while effortlessly creating the look they have in mind. Keep reading to learn how to blur the moving faces using professional quality software Final Cut Pro X in our step-by-step tutorial below.

Part 1. How to Blur Moving Face in Final Cut Pro X?
Mac users have been blessed with this impressive video editing software that works on Mac OS 10.14.6 or updated versions. It can handle all complex tasks of color grading, motion graphics, and much more, from audio to video editing.
For adding the blur effect, Final Cut Pro X offers 7 default blurs in which you can censor a part or a whole of a video segment easily by following these steps:

Step 1: After launching the software, drag and drop or import your video to the timeline. Select the part of the video in the timeline you want the blur to apply.
Step 2: Then go to the 'Effects' button on the top right corner. From under the All Video and Audio dropdown list, select the 'Blur' option.
Step 3: Now from the 'Installed Effects,' add blur effect. Some popular effects include Directional, Focus, Prism effect, Radial, sharpen, zoom, and Gaussian effect. All the effects differ from type to type and serve a great purpose.

There are fantastic features to create a seamless transition between the cleared and blurred area. Such as:
Softness balances the focused and blurred areas
Amount let you control the blur capacity
Emphasis enables you to give a vignette effect to the blurred region
Width and height allow the size of the in-focus area to adjust as per your convenience.
Part 2. How to Add Motion/Gaussian Blur in Final Cut Pro X?
Gaussian is an all-around blur option that is everyone's favorite and creates seamless effects to blur part of video. To add blur to multiple videos together, don't forget to select them on the timeline first and then double click on the Gaussian blur effect.
The detailed steps to use Gaussian Blur are:

Step 1: Setting Up the Video
Put your video on the timeline by pressing 'W.' Enlarge the footage using the clip appearance option. You can adjust the video height here as well. Expand your video on the timeline and put cuts to the area you want the keyframes to be applied.
Step 2: Mark the Keyframes
Mark the point where you want the blur to end by adjusting the arrowhead on the timeline below. Press 'M', and the marker properties will pop up. Name the ending point.
Now open up the 'Effects Bar' and select the 'Gaussian blur' option.
Step 3: Add Built-In and Built-Out Effects.
Drag the Gaussian blur on the timeline. Adjust the keyframe from build-in effects. The hollow diamond button at the right of the parameter is the keyframe.
Click keyframe and bring it from 0 to 50%. On the Inspector tab, add Gaussian blur at 50%. This will blur the whole video.
For the build-out effect on the other side of the video, drag the playhead at the end and hit the keyframe tab on the Inspector section. At this point, the Gaussian effect should be at 0%.
This will bring the Gaussian Blur effect to the selected period of the video.

Step 4 : Managing the Various Keyframes
After all your keyframes have been added, you can move through them using the pointing arrows beside the diamond. Left pointing one is for the previous keyframe, whereas the right-pointing arrow is for the next keyframe.
Delete the keyframe by clicking on the gold diamond button after putting the playhead on the frame you want to delete.
You can add as many keyframes as you wish in the same video, but the only limitation is that only one keyframe can be added per parameter per frame.
Part 3. Better Alternative than Final Cut Pro X to Blur Video - iMyFone Filme
When you look for a better alternative than Final Cut Pro X, there is nothing that can beat the quality that iMyFone Filme brings to video editing geeks. Its features are super cool and are perfect for giving your videos an added spark of creativity and professionalism.
Another reason for its selection is that it works on both Mac and Windows. Whether you need to add effects and titles to the videos or you want advanced features of masking, tracking, and blurring the objects, it has every tool to fulfill your needs.
Major Features
Some of the iMyFone Filme features that make it stand out are:
User-friendly interface suitable even for beginners
Brings advanced editing features to benefit professionals of the field
Allows fast editing through simple, easy procedures
Amazing 170+ video effects
Stunning 110+ video transitions
Compatible on both Mac OS and Windows
Freedom to choose from 20 different unique modes


Steps to Add Blur Effect Using iMyFone Filme
Step 1: Download and install the app iMyFone Filme from their official website. Launch it on your computer for further process. The app allows online editing tools as well for quick operation but downloading expands the feature availability.
Step 2: Under the project media option, click on the import button to import the video on the app interface. Once done, drag the imported video on the timeline.
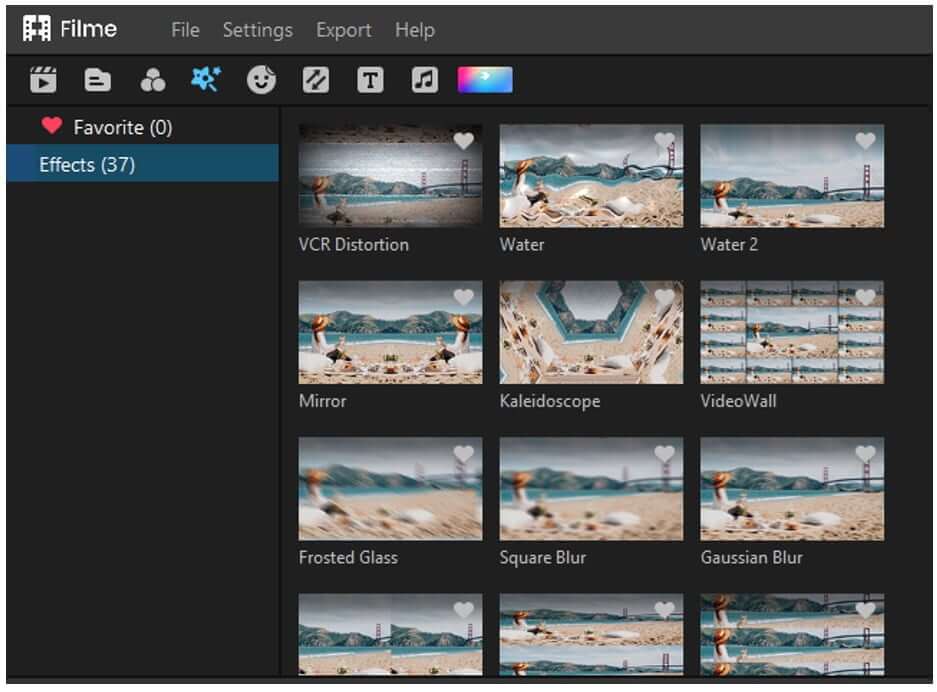
Step 3: Now click on the 'Effects' button on the top listed along with other tools. Choose your desired blur effect from the 2 options available.
Step 4: You can go for Square blur or Gaussian blur as suited to your needs. Drag and drop the effects over the video. Preview the results, adjust the settings, and you are done.
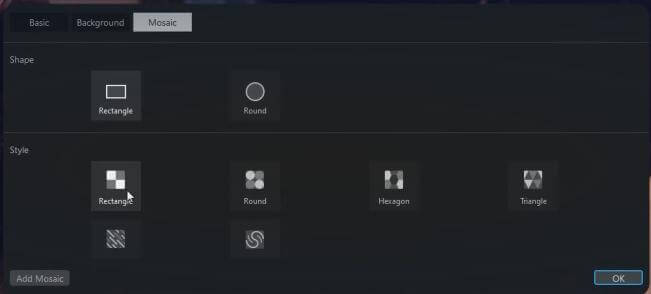
or you can use the mosaic blur tools, click edit the video options, and you will see the mosaic blur below.
Step 5: When your video has been edited successfully, press the 'Export Button' option and download the file on your computer. You can get this video in a variety of formats such as mp4, WMV, AVI, MOV, or more.
The greatness of iMyFone Filme is not limited to this only. It allows constant preview under editing in a frame and redo option if you are not satisfied with the results. You can also set the frame rate and play speed as well.
Besides, it supports soundtrack editing as well. You can add your favorite audio track and double up your video's aesthetic to make it look more professional and original masterpiece.
Conclusion
Where Final Cut Pro X is a complete package of incredible video editing tools, its limitation to be used on Mac system only fences its usage making iMyFone Filme everyone's first choice to add blur effect in a video. You want to blur face in video or blur part of video; you can do it quickly and effectively. iMyFone Filme has simplified the content creators' lives, whether novice or expert.
So, download the software and explore its advanced features for top-notch results. Create appealing transitions or work on the numerous modes that the software offer; you are sure to love its functionality and the vastness of its features.


