


Gamers love to share special moments of their gameplay. They record their screens to share the gameplay with others. PS4 also supports screen recording, and you can record the gameplay without a capture card or any other hardware. In this article, we will tell you how to screen record on PS4. We will share the step-by-step method and explain two ways to record the screen on PS4. Moreover, we will also share a video editing tool that you can use to record your computer screen. You can also use it to edit the PS4 recording. Let's start the discussion without further delay.

Part 1.How to Screen Record on PS4 [without Capture Card]
You can record the gameplay on your PlayStation 4 without using any capture card. You don't need any extra hardware or software to do that because PS4 has a built-in recording feature that can record your gameplay for up to one hour. Let's have a look at the steps you need to follow.

How to Screen Record on PS4 in Two Ways
Step 1: Before you start recording the gameplay, you need to adjust the duration of the recording. Hold the Share button. You will see Sharing and Broadcasts screen. Go to "Length of Video Clip" and select the desired duration. The duration can be set in the range of 30 seconds to 60 minutes.
Step 2: Now, you are ready to record the gameplay. While playing the game, you need to press the Share button twice to start recording. The video will be recorded according to the length you have set. However, you can also stop the recording manually. To stop the recording, you need to press the Share button twice.
Step 2 (Alternate): PS4 also records the gameplay in its cache whether you press the button or not. The last 15 minutes of the video are already in the cache if you have not started recording. This could help if you forgot to press the button. You can save that 15 minutes. Press the Share button once while you are in the game. You will see the option of the video clip. You can save the video from here without any hassle.
Step 3: The video will be saved on the device. You can see it in the Capture Gallery. You can either share the video directly on social media platforms or edit it on your computer and then share it using your PC. If you want to share directly from the PS4, go to the Capture Gallery. Select the video and go to sharing options. You will see different social media options. You can select any social media you want. You can also trim the video at this instant. When you are ready, click on the Share button.
Step 3 (Alternate): If you want the video on your computer, insert a USB flash drive. Go to the video clips and select anyone. Go to options and select "Copy to USB Storage Device". Now, you can select the video clips you want to copy, and finally, click on the Copy button.
You might be interested:
10 Best Online Screen Recorders for Easy Screen Recording >>
Part 2. Record Your Computer Screen with Filme
Filme is a video editing tool or software that can record your screen and offer various editing tools to create a perfect video. You can record any game on your computer, whether you are playing directly on PC or via Xbox. The screen can be recorded with exceptional quality, and you only need to press a button. Moreover, you can also edit your PS4 recording using it.
Features:
-
Filme has a video recording option, which is quite simple and user-friendly. Anyone can use it without any hassle.
-
The recorded video can be edited using the tools of Filme. You can add effects, text, transitions, stickers, captions, and make various changes to the video. It is a complete video editor.
-
You can process multiple audios, videos, and images on the timeline. You can cut, crop, or merge different recordings. You can also create the picture-in-picture effect.
-
The final video file can be exported in any format you like. You can choose the desired container, codec, frame rate, bitrate, or many other advanced settings.
Steps to Use Filme for Recording Screen
Step 1: Open Filme on your computer. Go to the File menu, move the pointer to New Project, and select the aspect ratio you like.
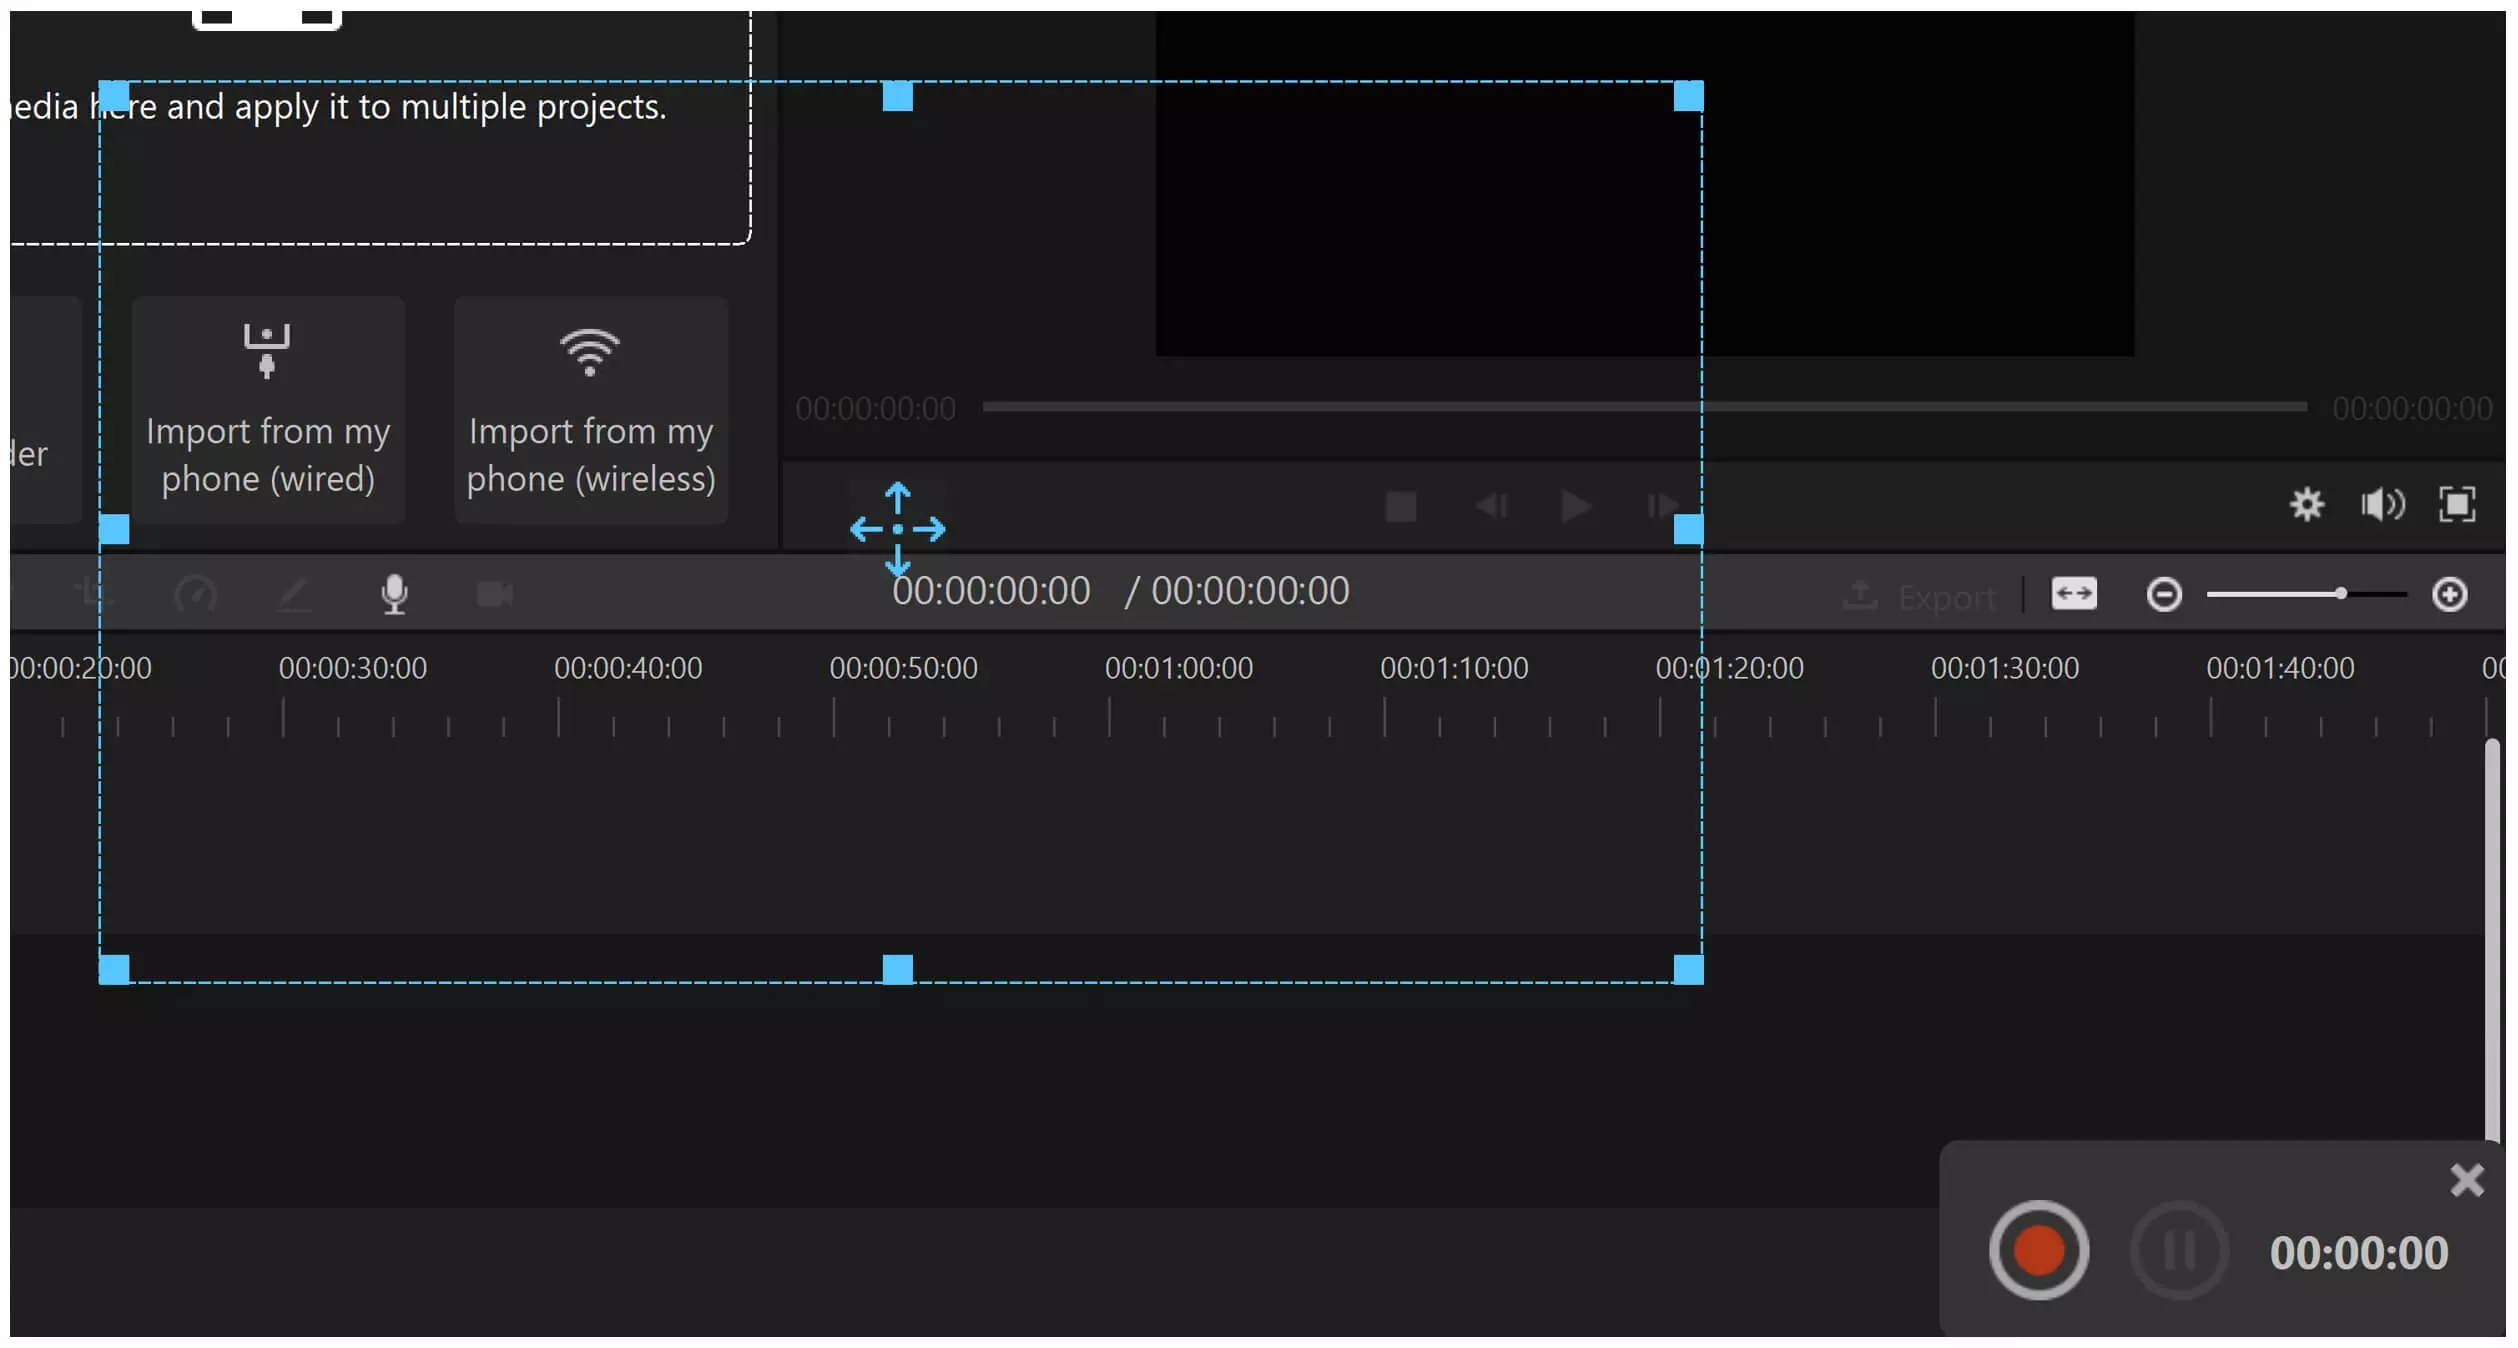
Step 2: There is a toolbar over the timeline. You might see some greyed icons. The video camera icon is for screen recording. Click on it, and you will have a rectangle on the screen. This rectangle is the recording screen. You can adjust it as you like by dragging its corners and sides.

Step 3: There will be recording controls on the bottom right corner of the screen. The recording controls of Filme are quite simple; you will have only two buttons for playing, pausing, and stopping the video. After adjusting the screen size, you can press the start button to start recording. The same button can be used to stop the recording whenever you want.
Step 4: The video will be recorded, and it will appear in the Project Media without any delay. Now, you can easily make changes to it and make it more appealing. Drag the video to the timeline. You will see the handles at the end of the video to trim the video.
Step 5: At the top, there are menus for effects, transitions, stickers, GIFs, and text. You can go to any menu and select the desired style. There are some tools over the timeline to crop, split, adjust speed, and make other changes. Moreover, if you double-click on the video clip in the timeline, you will see options for color control.
Step 6: You can also add music to the video. Import any audio file and drag it to the timeline. You can also place images and videos over the video. After edits, click on the Export button. You will see the export window. Now, you can select the desired format for the final video. Go to Settings and select codec, frame rate, bitrate, and audio settings. Finally, click on the Export button.
Part 3. Tips for Recording PS4 Gameplay
Set the Length and Note the Time
Before you start recording, you should check the duration set for the recording. You can also change it as you like. You can record the video as short as 30 seconds and as long as 60 minutes. When you set the duration, you should also note the time when you start recording. For instance, if you have selected 15 minutes duration, you must note the time when you start the recording. This will help you know when to start another recording. Moreover, there is also the recording icon on the screen that tells you that your screen is being recorded.
If you are depending on the automatically recorded video, you must know when to save the file because it only records the last 15 minutes.
Never Close the Game If your Forgot to Record
There is no need to worry if you forgot to record. The last 15 minutes of the video are always in the cache memory. However, you need to save the video file. While playing the game, you can go to sharing options and save the file from there. This way, you will never miss the scenes you wanted to record. Keep in mind that it only records the last 15 minutes, so you need to save the file before the 15 minutes end; otherwise, the moment will not be recorded.
Edit on Your Computer
You can directly share the video from your computer. But the best way is to edit the video on your computer and then share the video. Video editors have more options. You can add more effects, transitions, stickers, captions, or anything to the video. If you want to join different scenes, you can also do that in the video. You can also trim the video precisely or crop its edges. You have a free hand in a video editor, so you can edit the video as you like.
Final Words
We have shared two ways to record the screen on PS4. You can record the gameplay without any hardware. You only need to follow the step-by-step method to record the screen. We have also shared some tips that you can keep in mind while recording the screen and before sharing it. We recommend Filme for editing the PS4 recording and recording the computer screen. It is an excellent video editing tool for everyone. You can use it to make your videos more appealing and interesting.


