Adding additional effects to your video is common, and everyone takes the opportunity to do it. You can edit your content from every angle you want. But what if your camera is accidentally shaken up during shooting and images become blurry.
It is indeed an issue which you'll more often at present face. Blurred images can make all your efforts useless and meaningless. It is why you need to find a way to get rid of this issue.
You can use Adobe Premiere Pro to add a camera shake effect that will completely make your images visible.
In this blog, we'll tell you about the ways to add or remove the camera shake effect on Adobe Premiere and its best alternative.
Part 1. How to Do/Make Camera Shake Effect in Premiere Pro
The camera shake feature of Adobe Premiere Pro can make your content fascinating. The camera shake effect can eliminate the errors of your original video with ease.
Let us talk about how to make a shake effect on Adobe Premiere Pro.
Step 1: Select Video
First of all, you need to select a video. After, you need to establish a video sequence on which you want to add the shake in Premiere. After you're done with it, you need to add the part of the camera shaken clip that is not stabilized above the tripod shot.
Step 2: Navigate to the Effects Tab
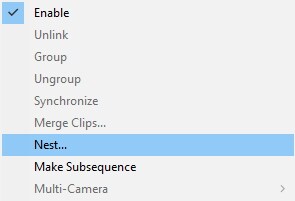
Now, you need to cut the sequence and shaken the video into the same length. After highlighting the clip, you need to right-click on it and navigate to '' nest''.
Later, you need to open the Effects tab once the sequence is ready. This process will take you towards stabilizer VFX. It would help if you dragged the stabilizer VFX over the nest sequence. After, it would help if you navigated to Warp Stabilizer after opening the Effects Control panel.
After reaching there, you need to select the sequence video's position, scale, and rotation method. Now, you need to double-click the nested footage and open the sequence and shaken footage.
Step 3: Look for Eyeballs
In this phase, you need to search for eyeballs after checking the left part of your timeline. It would help make sure the eyeball you connect with your camera shake footage should click to make the video invisible.
Next, you need to find the Warp Stabilizer after navigating to the nested shot again. After applying Warp Stabilizer to tripod shot, you'll be able to create the Adobe Premiere Pro shake effect.
Part 2. How to Remove the Shake Effect on Premiere Pro
After adding camera shake effect to videos, some people might feel the need to reverse the actions. There can be many causes why people feel uncomfortable with the camera shake effect
First, the effect doesn't remove the blur from their videos. Second, the camera shake effect can cause their videos to look heavy, which might cause the video to buffer at times.
Whatever the reasons behind people's dislike towards the shake effect, you can turn it off by following these steps.
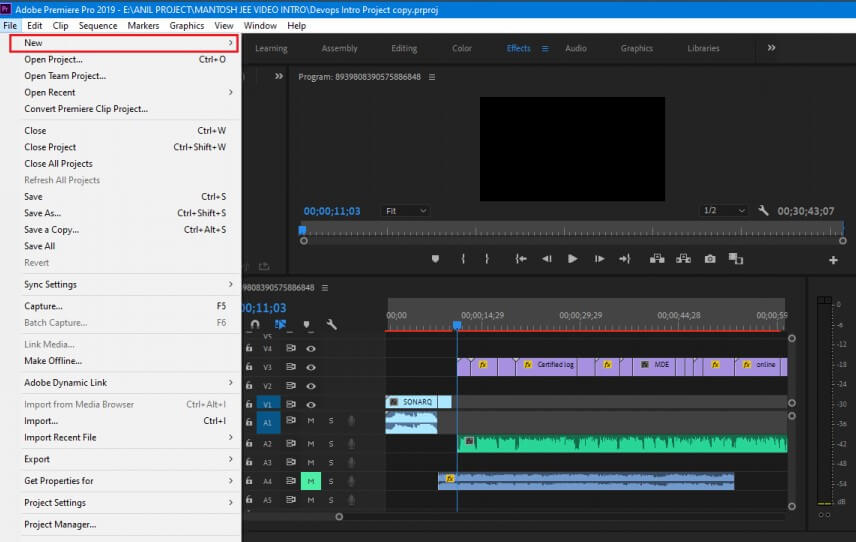
Step 1: Launch Premiere Pro
In the first gig, you need to download Premiere Pro on your computer and install it in the first place. Next, you need to start the program by right-clicking on its icon.
Step 2: Import a File
After launching Premiere Pro, you need to import a file from which you want to remove the shake effect. Next, you need to drag it to Premiere's timeline and get on with the things.
Step 3: Navigate to Effects.
After dragging the video to the timeline, you need to select Effects and then navigate Warp Stabilizer. Click the video and see the stabilization effect on your video.
Step 4: Adjust Frame Option
If you want to know how your clip has been Autoscaled, cropped, and stabilized, you must adjust the framing options.
Step 5: Use the Smoothness Slider
You can select the motion's degree by using the smoothness slider. But if you want to turn off the camera shake effect, you can select the method and click on the No motion option to remove the camera shake from the video.
Part 3. Best Alternative Video Editor to Add Shake Effect - iMyFone Filme
Apart from the Premiere Pro video editing tool, another worthy video editor in the shape of iMyFone Filme can also help you make a shake effect with minimal effort. It is a more user-friendly and more reliable option than Premiere Pro.
Let's explore the step-by-step guide to make a shake effect using iMyFone Filme.
Step 1: Import Video File
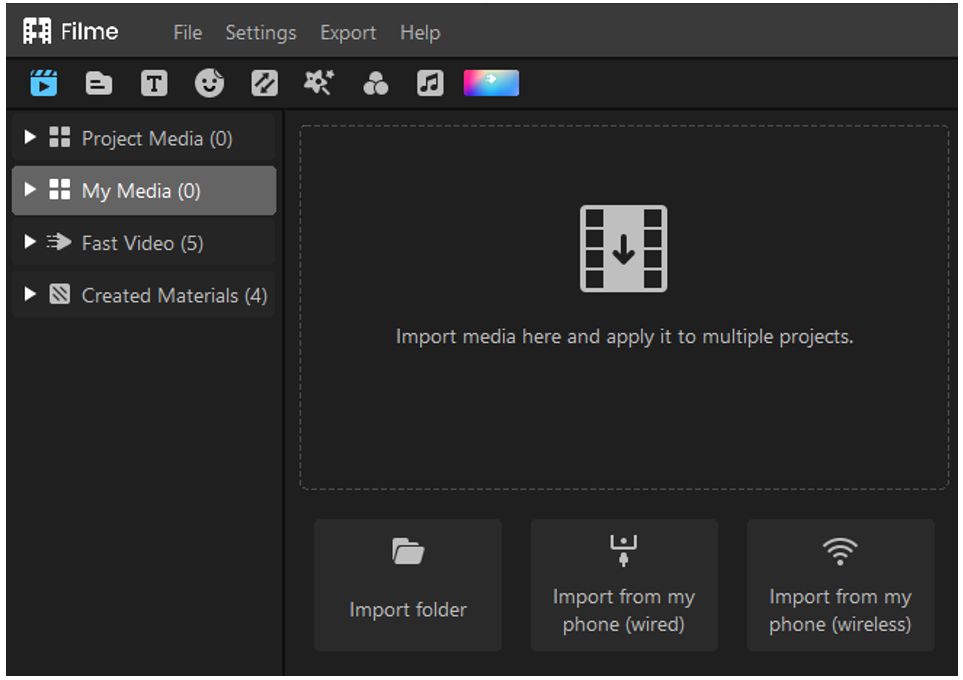
In the first place, you need to install iMyFone Filme on your desktop. After, you need to import a video file after selecting the Import Media Files of iMyFone Filme. Later, you need to drag and drop your video clip to Filme's timeline.
Step 2: Edit Video
Now, if you want to remove the parts of the video you don't want to see, you can serve your purpose by using trimming and cutting tools. In addition, you can also edit your video in many ways before adding the camera shake effect.
Step 3: Add Camera Shake Effects to Your Video
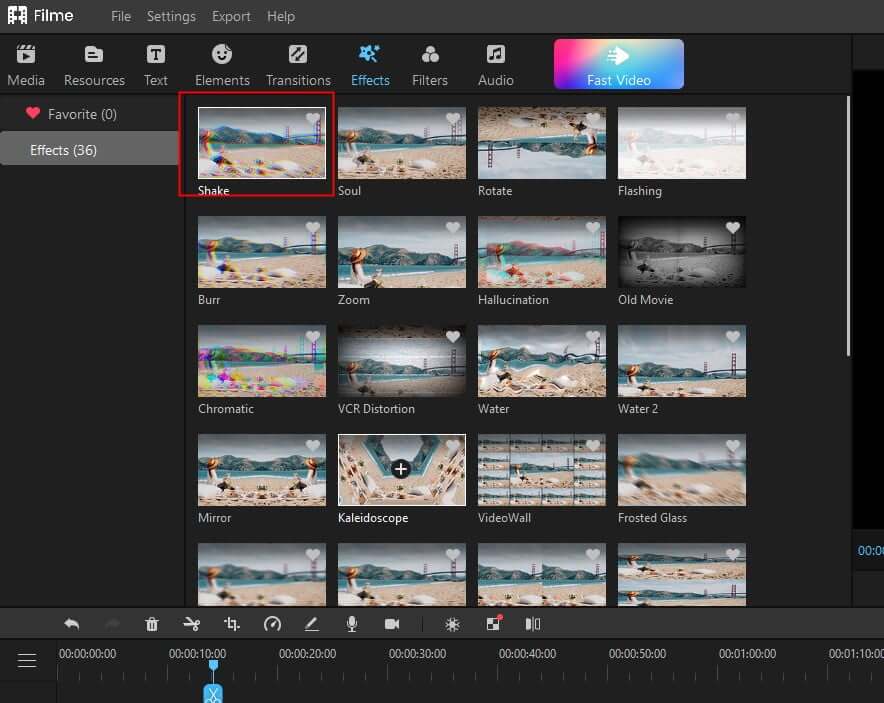
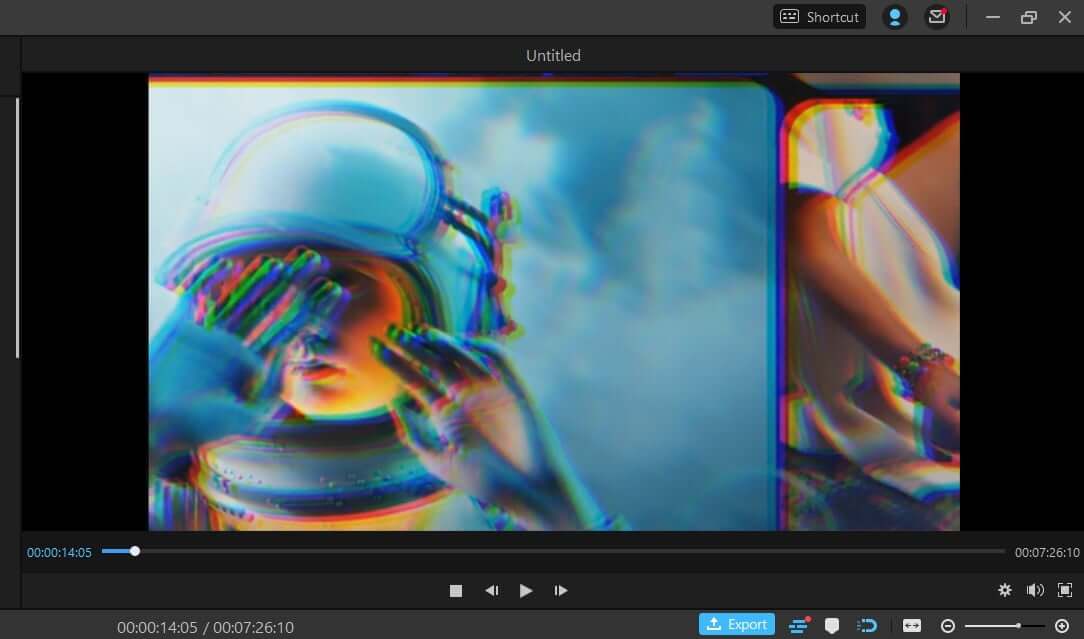
After editing the video, you need to open the Effects tab to add the shake effect. After going into the Filters category, you can see various shake effect options under the shake subcategory.
You can double-click on these effects to check how they shake. After checking and analyzing them, you need to drag your preferred effect above your video track.
To adjust the effect's duration, you need to drag its side right or left. You can also adjust its intensity and frequency by double-clicking on it. After making the adjustments, you need to press '' OK'' to save all the changes.
Step 4: Export Video
If you think you've done your editing, you can click on the Export button to save the file. After pressing on Export button option, you can play your video in Desktop folders.
Part 4. FAQs about Camera Shake Effect in Premiere Pro
1. Which video editor is best for adding camera shake effect to a video?
It isn't easy to judge which video editor is best for the camera shake effect. Many users have been using Adobe Premiere Pro. It's not surprising to see the demand for Premiere Pro because it offers terrific services for its users.
However, people don't notice iMyFone Filme also provides engaging and captivating editing facilities to users. Using this tool, you can also add a shake effect with minimal effort.
Considering this, it isn't a bad idea to assume iMyFone Filme as a better alternative to Adobe Premiere Pro.
2. Why do you need to add a camera shake effect on video?
Have you ever wondered why you need to add a camera shake effect to your video? Camera shake is nothing but a term used to define a moment when a filmmaker accidentally shakes up the camera due to unsteady hands.
As a result, your images will be blurred. It often happens when you shoot a video with a heavy lens. However, to eliminate this problem, you need to use a video editor like Adobe Premiere to add a camera shake effect to normalize your images.
Conclusion
Considering the demands of video editing tools, you'd take the opportunity to try some software to serve your purpose. We can assure you; there's no better video editor available than iMyFone Filme.
It is the most versatile and reliable video editing tool that sets apart any of its competitors. With a user-friendly and massive interface and courageous features, you can surely make your video extremely pleasing to the eyes.
In addition, it also helps you to extract audio from YouTube, DailyMotion, TikTok, and Instagram videos whenever you want.
Features
1. Attractive transitions
Did you ever imagine how important a role transition can play in your video? When footage replaces other footage in your video, transition fills the gap with colorful animation. It makes your video and relevant and pleasant.
Without transitions, your video may look boring, and no matter how much effort you've put into the project will likely backfire at some stage. It is why adding appropriate transitions is paramount.
But guess what? You'll get some fascinating transition options with iMyFone Filme. Using these options, you can make your content unique and exciting.
2. Different editing tools
Adding some basic editing features to your video is necessary to make it look relevant. What Filme does is provide its users with some attractive options to make the content ruthless.
Using Filme's editing features, you can crop, trim, split, add a theme, add stickers, adjust the size of the video, rotate the video, and fast-track your videos with ease.
3. 50+ Audio features
With Filme, you can get the opportunity to add 50+ Audio features to your video. The audio of any video is pretty important. Without audio, any content looks toothless.
You can change the voice of any audio you want using iMyFone Filme. In addition, you can also extract the audio file from any video you want with ease.


