If you are also worried about how you can create picture in picture videos in Final Cut Pro then this article will help. Basically, Final Cut Pro X is the most commonly used tool for creating picture-in-picture effects. However, this process cannot be completed within a step or two but you need to understand the details on how to use picture in picture effect creation option in Final Cut Pro.
If you are also worried about its complexity we recommend you to proceed with iMyFone Filme which is a stunningly amazing tool that not only has advanced features but also a super simple and easy-to-use interface.
How to Create a Picture-in-Picture Effect Using Final Cut Pro
So if you already have two videos and you are planning to bring them on the same screen but you do not know how to proceed with this using The Final Cut Pro we recommend you to go to the practical steps given below.
Step 1
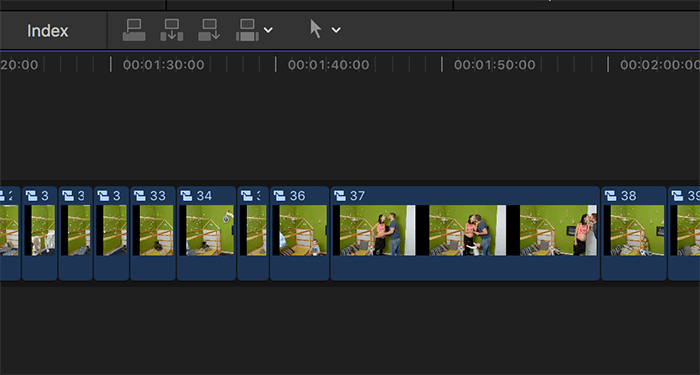
First of all, you should know how you can create picture in picture effect generation using Final Cut Pro. For this purpose, you have to drag your video to the timeline and consider it as a primary storyline. The primary storyline basically means adding all the videos to a particular place which you want for the picture in picture effect.
Following the same instructions, you can add another video or any number of videos that you want to create the picture in a picture effect.
Step 2
Now you have to choose the higher video clip for the application of this effect. At this stage, you can make use of two options.
The first option is to go to the transform controls and choose the higher video clip for effect creation.
The second option is to use on-screen type controls which you can access through the viewer.
Here you may feel confused between lower and upper clips.
Upper chips are basically the clips that appear in the foreground while lower clips are defined as the clips that show up in the final results as the background clips. The default settings for both clips are 100% opaque and 100% full screen.
Step 3
Well, now both videos are on screen. Select the upper clip and go to the transform button on the left corner of the viewer screen. When you click on the transform button it will immediately be transformed into a blue color icon and result in the appearance of 8 dots around the selected video or photo.
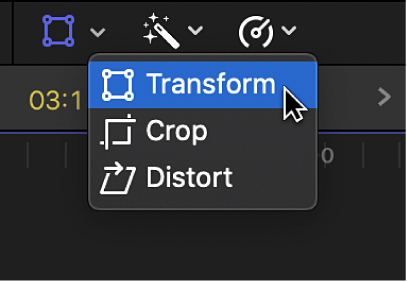
Now it is up to you to choose the desired dots for asymmetrical scaling purposes.
Step 4
Now it is time to scale the image in a symmetrical style. For this purpose, we have to drag it from the corner to the central position. Keep on pressing the option key and bring it to the corner. In this way you can not only shorten the size of the image but can also enlarge it without even impacting the aspect ratio. The scaling occurs by the users to allow you to to keep the users and keep in customizing the size of the image until they get the desired results.
After you have gained the desired size of the image, it is time to enjoy it and bring it to a specific position so that you will be able to place it on the big screen.
Step 5
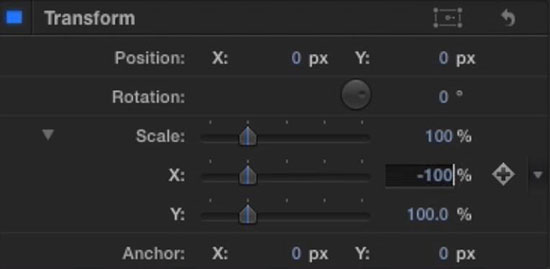
To follow the precise adjustment, choose the top clip and go to the inspector. If you do not know how to access the inspector you can simply hit command+4. now get the names of The Final Cut Pro and click on the transform category to get information about available built-in effects. We recommend you to use inspector for this purpose because it is more accurate and makes it easy for the users to manage the images at more appropriate and precise sizes.
Step 6
In the end, you have to cross-dissolve by using command + T which immediately allows you to try this option for the new clip.
The interesting aspect about Final Cut Pro X is that it does not restrict the users to use only one image for the application of the cross dissolve effect. Instead, you can use any number of images for the creation of this effect. So if your projects need multiple images all of them can be handled using FCP.
You May Also Interested in:
How to Create Picture In Picture(PIP) Effect in Premiere Pro Full Guide >>
How to Create a Picture-in-picture Video in iMovie [9/10/11] >>
Best Alternative to Final Cut Pro to Create a Picture-in-Picture Video - iMyFone Filme
if we talk about other software we come to know that they all have some kind of difficulty in using them and they are not super beginner-friendly but iMyFone Filme is a powerful and one-click video editor that has all the advanced features that you can easily use for creating multiple effects, including the picture in picture video effects in a very impressive and memorable manner.
Popular Features Of iMyFone Filme
-
You can create stunning picture-in-picture videos and decorate them with tons of filters, transitions, and effects.
-
Super beginner-friendly with an easy and simple interface.
-
All the advanced features are available free of cost. It is 100% FREE.
-
Perfect video editing options for professionals and businesses.
-
Allows you to create amazing videos with quick slideshows.
-
Perfectly compatible with Windows and Mac.
-
Has various built-in resources for you to make eye-catching videos.
Let's have a look at the guide to make a picture-in-picture video using Filme
In the given practical steps, we will guide you on how you can add pictures-in-picture video using iMyFone Filme. We assume that you have already downloaded and installed this software into your system and you are ready to use it for the creation of a PIP video.
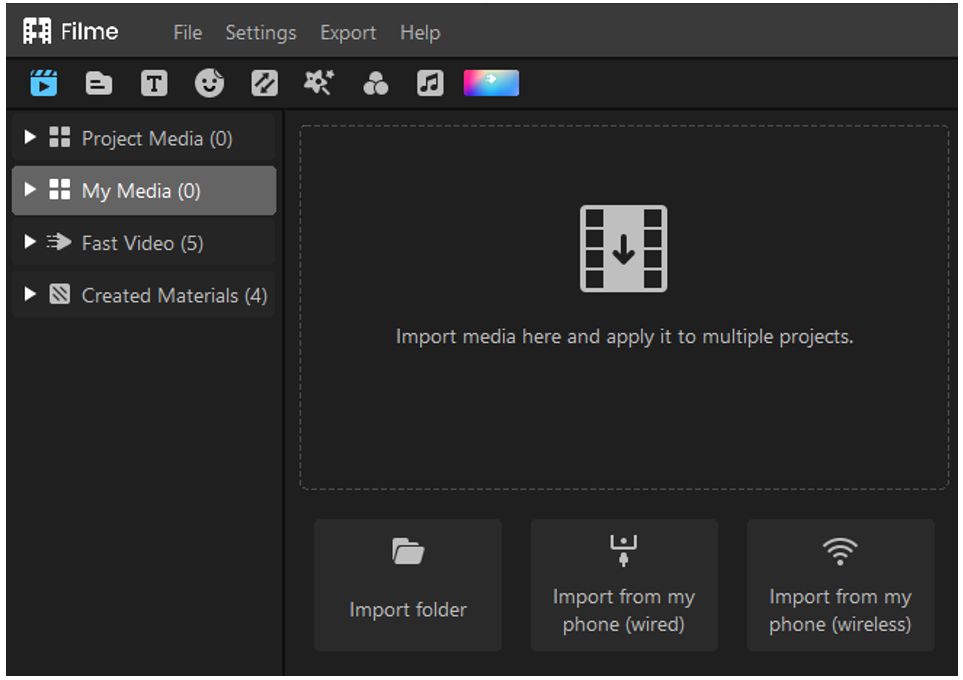
Step 1: Open iMyFone Film video editor, choose "Editing Mode" and go to the main screen where you will see the option to import videos. By clicking on this option you can upload or import the clips or videos you want for PIP effect creation.
Step 2: Now you have to focus on the main video and bring it to the timeline of iMyFone Filme. Remember that the main video will appear as the background video. Now choose another video on which you want to create the PIP effect and bring it to the other video timeline which is situated just above the main timeline. This video is the one that will be displayed in any corner of the main video.
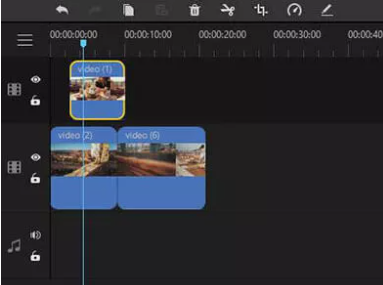
Step 3: Here comes the role of size adjustment. You can easily adjust the size of the picture in the picture video by using your mouse that is used to drag the video box. Its adjustment can be made according to your personal preferences and the size of the PIP video that you want to display on the screen. You can add any number of videos for the PIP effect for this purpose you have to repeat the same process of importing the video again.
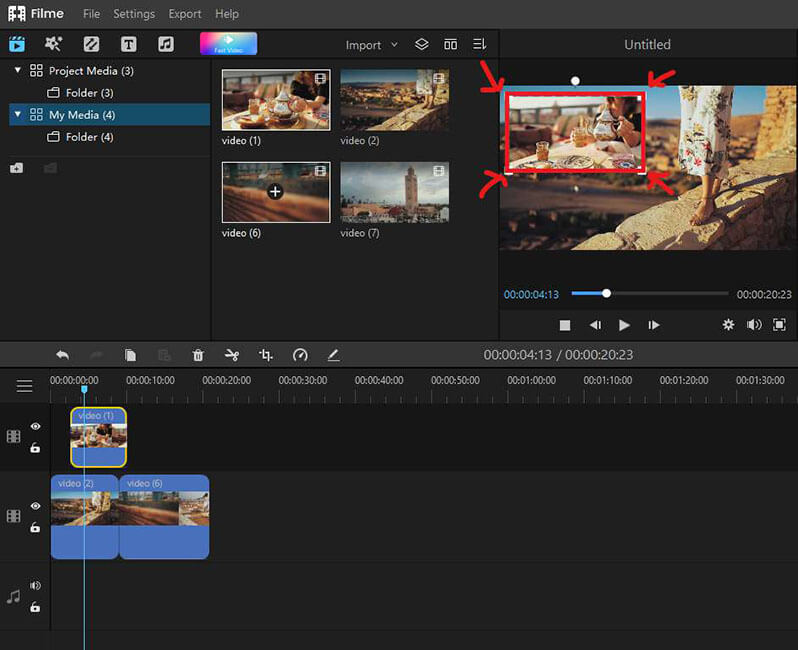
Now go to the top menu and click on the import option. Doing this will save all of your changes.
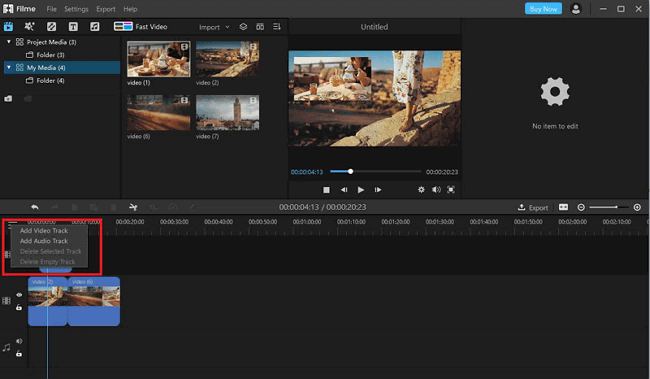
This, for multiple PIP effect creation, will have to repeat the above procedure again and again. In the end, you can save your final results by clicking on the export option.
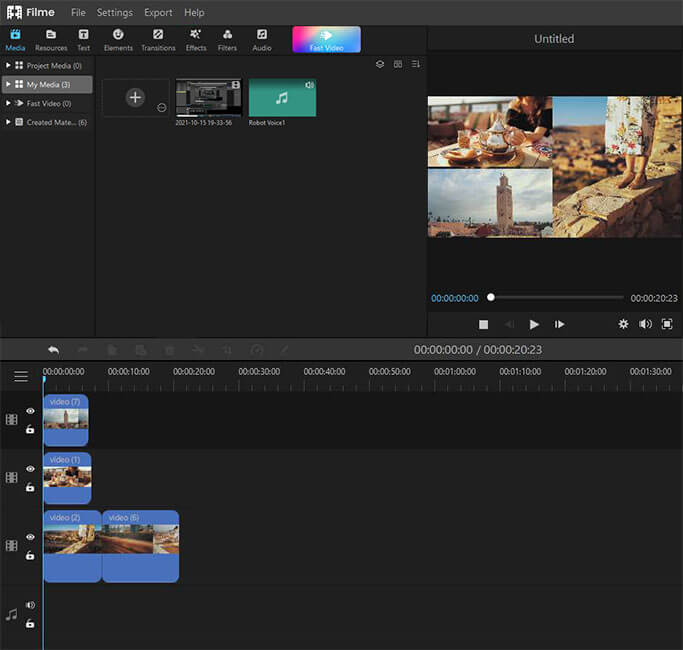
Final Verdict of iMyFone Filme:
From the above discussion, it is evident that it is a very easy and super convenient way to apply the PIP effect using iMyFone Filme. These are not complex steps, instead, they are very short and simple steps that will help you in creating amazing and magical PIP effects for your video timeline.
Conclusion
Various tools are available on the Internet that allow you to create PIP video effects. However, most of them are quite complex and complicated to use with very hard-to-understand interfaces. If you are also trying to create a picture in a picture with its effect on your own and facing disappointment, we recommend you to get help from this ultimate guide. Final Cut Pro is a commonly used tool for picture in picture video effect creation but the problem is it is a bit hard to understand and you may face a lot of trouble while dealing with it for the first time.
It is worth mentioning that the most convenient tool out of all the given tools available on the internet is iMyFone Filme which allows you to create a picture in picture video effects in just a few clicks.


