It could be that you are nearing the conclusion of your favorite wrestling match and you want it documented or you are engaged in a conversation with a loved one. Either way, screen recording is an easy and quick way to get the job done, it is also complete with audio.This article will show you how to screen record on your iPad.
How to Screen Record on Your iPad with built-in screen recorder

1. How to add screen recording feature to iPad Control Center
If your phone does not have the icon for screen recording in the control center, you can add it in the settings app by:
Step 1: Opening the Settings app.
Step 2: Choosing the control center.
Step 3: Selecting "customize controls".
Step 4: Tapping the + button that is next to "screen recording". This will add it as an option to the "include section".
2. How to screen record on iPad
After this, you can now record your screen if you:
Step 1: Drag up the Control Center.
Step 2: Tap the screen recording icon, its symbol is two nested circles.
Step 3: Your iPad will then automatically start screen recording after a three-second countdown.
3. Pros and Cons of iPad built-in recorder
An advantage of an in-built screen recorder in iPads is that it not only gives you the ability to take a video of your screen but also helps you grab those static screenshots. A disadvantage is that screen video usually loses the quality when scaled (shrinking a screen recording so that it displays it as a different size than what was recorded initially). Scaling causes the screen video to lose quality quickly and therefore appear not only blurry but also distorted in some way or the other.
3 Apps for recording screen on iPad
If you need some apps for recording screen on your iPad, maybe you can try the recommended apps:
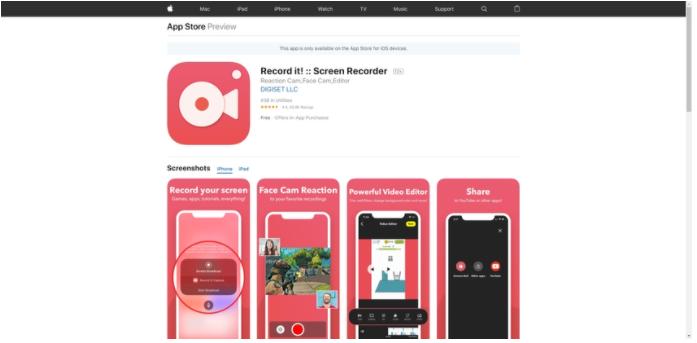
1. Record it
This app gives you the ability to record your favorite video demos, apps for tutorials, games, and even training videos on your iPad. After you have recorded your screen, it also has the option of adding video reactions accompanied by audio so as to enhance your recording.
How do you use it?
Step 1: All you need to do is click on the app. It is that simple.
Step 2: The app will then start recording the screen, without a watermark or extra required operations. There are options of recording it through a floating window entrance, the notification bar entrance, or the application homepage.
Record it does not have a limitation on the duration of recording along with audio which is a huge bonus. You also have the option of customizing the record resolution. From the bit rate and frame rate, all key components will eventually help to screen recorder along with the audio. Record it is hands down the best choice if you are looking for an HD video recorder that does not have the watermark.
2. ApowerREC
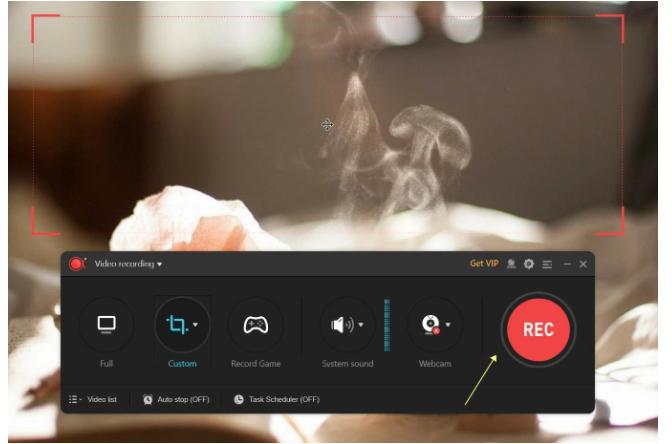
ApowerREC, a powerful screen recorder for Mac and Windows. It also supports screen recording with audio and microphone for both android and iOS devices. The iOS users have an option of adding their own voices and Facecam after recording.
How to use the ApowerREC
Step 1: Download and install the app then launch the program.
Step 2: Prior to recording, ensure that all the monitors are set in a horizontal arrangement beneath your screen settings.
Step 3: You will then drag the main board of the program to the monitor you intend on recording then choose the recording region. You then click the REC button and start recording.
3. DU Recorder
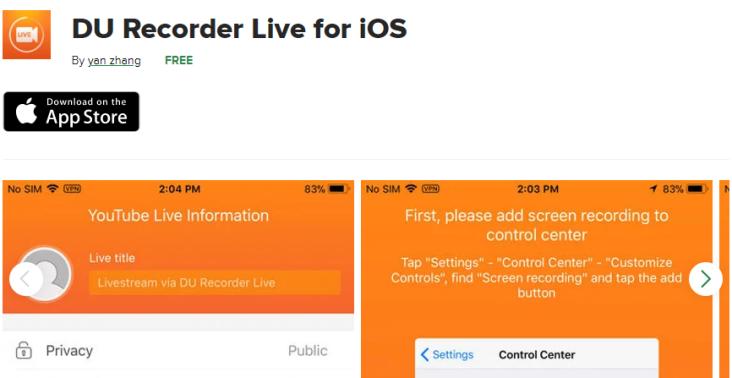
DU Recorder is not only an efficient but also an easy–to–use stream creator and screen recorder. Along with the DU Recorder, one can live to stream their screen directly to YouTube, Twitch, or even record screen videos. This app makes live streaming as well as recording content from different screens such as live shows, sports, and even games much easier.
How to use DU Recorder for screen recording
Step 1: To your control center, add the screen recording feature.
Step 2: Tap the record button.
Step 3: Choose DU Recorderto record your screen and also to save the videos to your device.
DU Recorder allows stable as well as fluid screen recording. Along with this screen recording feature, it is easier to record mobile game videos that are re-known, to have video calls with friends and family, and even stream popular shows that air live. Some advantages of DU Recorder include;
Ⅰ. The app allows audio recording.
Ⅱ. DU Recorderallows you to live-stream your screen to different platforms such as Twitch and Facebook.
Ⅲ. It offers very high-quality screen recording. The outcomes are not blurry and do not look tampered with.
Ⅳ. The video editing features in the app are powerful.
How to record iPad screen on Windows 10
For iOS users, if you are looking into a solution that will allow you to record the iPad screen on Windows, you, unfortunately, have to depend on a third-party service.
1. How can you mirror the iPad screen to Windows?
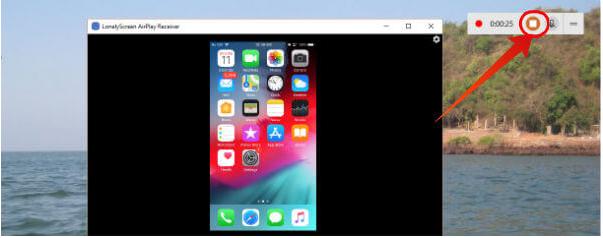
Step 1: Before you start make sure to mirror the screen of your iPad to Windows OS. There are recommended apps for that.
Step 2: Simultaneously, press Windows and G on your computer keyboard.
Step 3: Wait for a pop-up that says, "Do you want to open Game bar?" and then tick in agreement to the checkbox that says Yes, it is a game. This will be in the boxes that pop up..
Step 4: At the screen's bottom corner, there will be a bar with different icons.
Step 5: Press on the icon that is circular for and your iPad screen will start recording. You can then see a small progress bar on your screen's top right.
2. How to record mirrored iPad screen on Windows - iMyFone Filme
iMyFone Filme is a video editor that is beginner-friendly and offers basic to high video editing task levels.
Some main features of Filme include:
-
It allows you to edit videos easily without technical knowledge such as cropping, splitting, rotating, cutting, adjustment of speed, and making picture-in-picture effects.
-
It allows the users to create cinematic titles quickly and also text using all types of fonts as well as colors to choose from.
-
You can create stunning slideshows using beautiful templates within a matter of seconds.
-
It also allows recording of your screen which makes the videos feel more alive.
The steps of using Filme to record screen are:
Step 1: Download the software onto your computer.
Step 2: Launch Filmeon your W Take keen interest here. If there is a need for any updates on the software, be sure to update it.
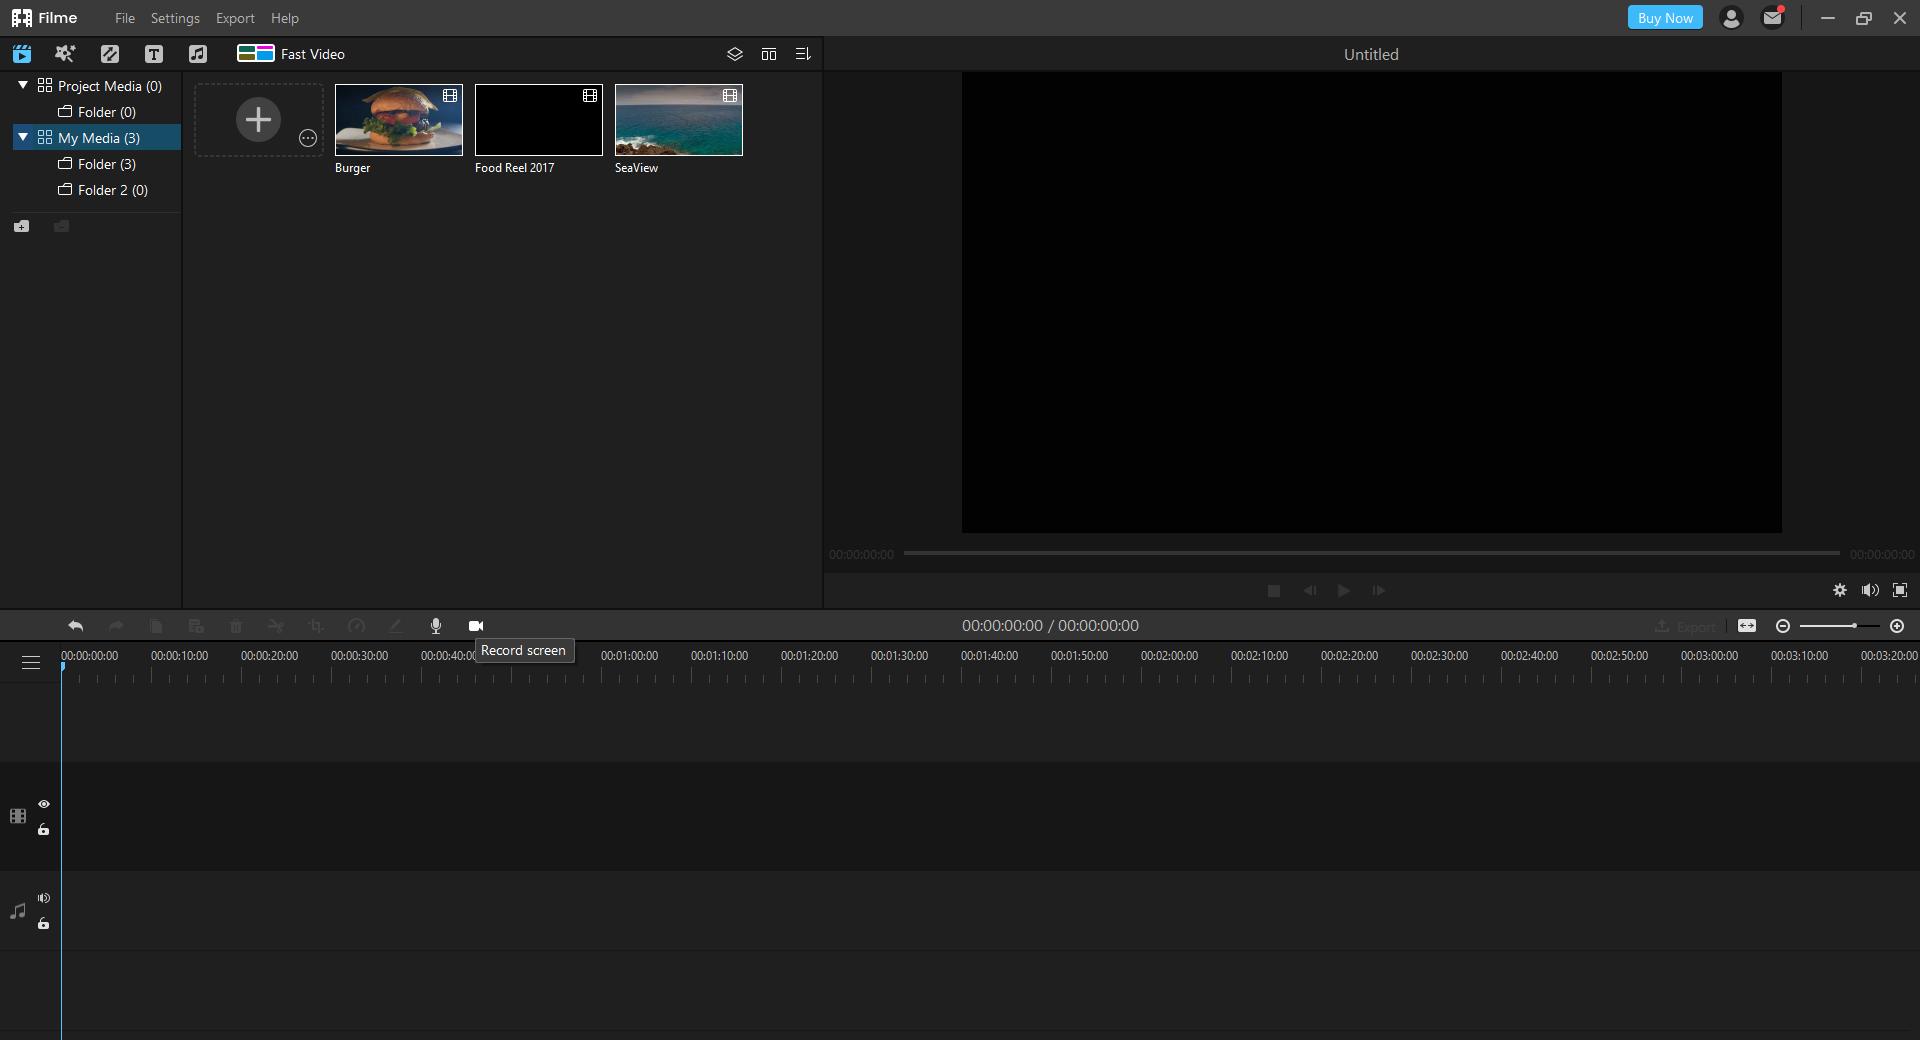
Step 3: Click on the record screen button.
Step 4: Adjust the window of the part you'd want to screen record. You can adjust both the size and the position before moving on.
Step 5: Hit the record button on the bottom left of your screen. After the recording is done, the footage will automatically be shown in the media importing segment.
Step 6: You can then edit the video once the recording is done. This can be done through trimming, cutting, cropping, and scaling. There is also an option of adding effects as well as music to the original footage.
Also Read:
3 Ways to Trim/Cut Video in iMovie >>
How to Rotate a Video in iMovie >>
FAQs about iPad screen recording
1. How long can you screen record on an iPad?
From surveys taken, the maximum screen recording time for iPads is usually around between two to two and a half hours. There are a number of factors that determine how long your iPad can screen record for such as how updated it is as well as its storage. However, after the said maximum screen recording time, the iPads used started lagging, and most shut themselves on the own.
2. Is it possible for an iPad to record a video with its screen off?
Following the recent discovery of a bug, one can finally record a video with your screen turned completely off on iOS 9 as well as all other iDevices that support it. We can all agree that other than the creeps who would take such an opportunity to be malicious and maybe record people without their consent, this feature can come in handy in a lot of circumstances.
For example, when you are running low on battery but you must record a video either way.
3. Where are the screen recordings usually saved on an iPad?
By default, the videos, even the screen recordings, are usually saved in the Photos app. However, when using screen recording, when you long-press the record button, you will be given additional options, which will include where you would want the complete screen recorded video sent and whether or not you would want the microphone to be turned on for you to narrate the events of the video.
Conclusion
Now knowing how to take screen recordings on iPads as well as where to locate them and even how to edit them, using Filme of course, why not start on a new hobby? Give editing a chance. It may be what you have been looking for all this while anyway.
