PowerPoint recording is best for people who intend to explain or teach things to people who learn differently, and also aids teachers in creating a favorable environment for students to understand and ask questions. It is also a good way for users to create easily understandable and cost-efficient video-based lessons without the stress of using expensive agencies, video producers, or editors. The importance of recording a PowerPoint presentation is enumerable, but how can one effectively record a presentation with video and audio without stress? Below is a concise explanation of how to record a PowerPoint presentation with video in a few steps.
Part 1: How to Record a PowerPoint Presentation with Video Easily
Recording a slideshow isn’t as hard as it seems. However, it is only possible for users of Microsoft PowerPoint 2013 to 2019 and 365 versions alike. Anyone can record their presentation’s audio and video by following the steps below if their version supports the feature.
Step 1: Set up and organize
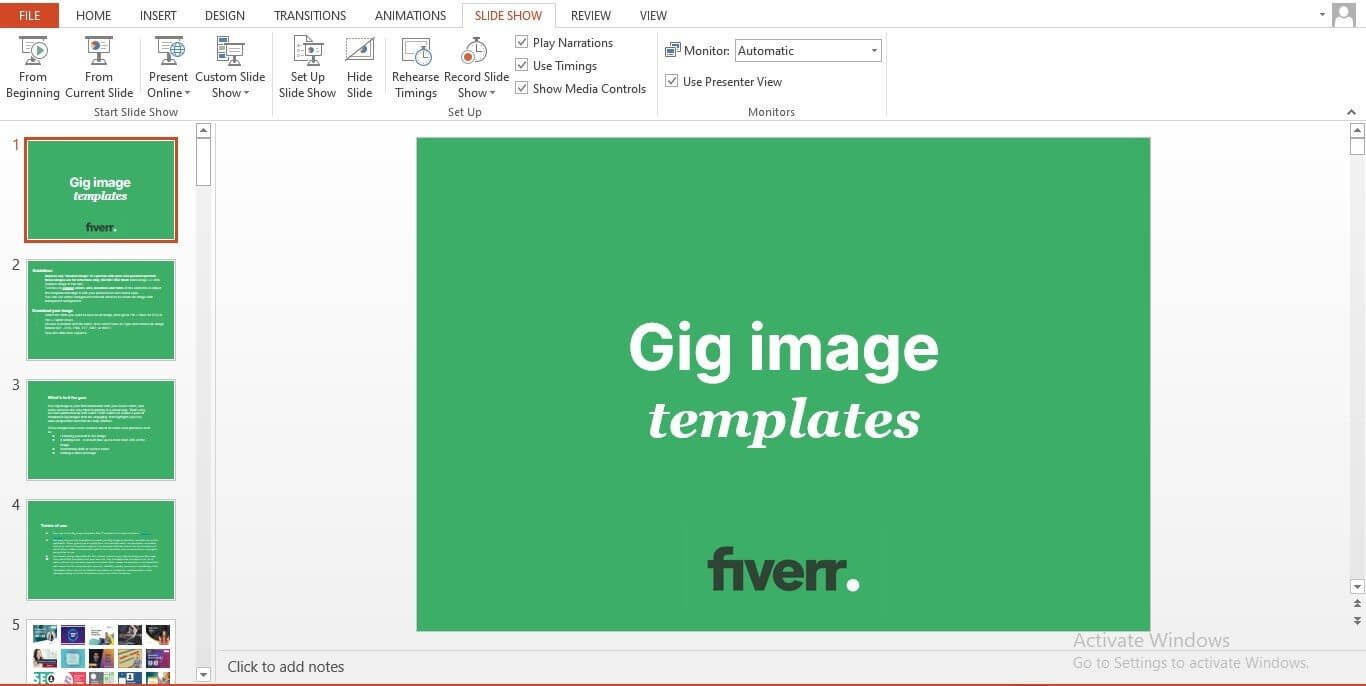
Make sure all slides have been organized and ready for preview. Then on the top right side of the display ribbon, click on the “Slideshow tab,” which opens another panel, then click on “Record Slideshow.”
Step 2: Configure the settings
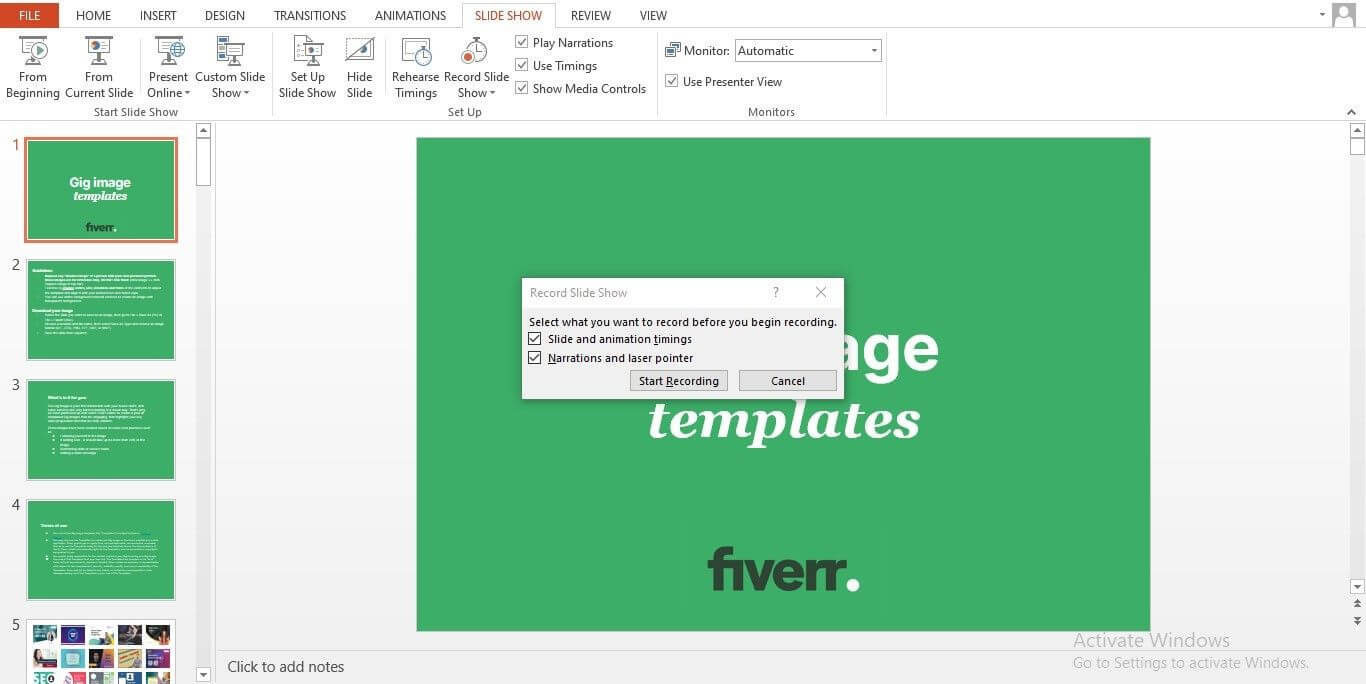
Next, go to the Presenter window, click on the settings menu, check the use Presenter view if unchecked, leave on “Automatic monitor” for the monitor option, and check the play narrations, timing, and show media control.
To record the slideshow, click on “Record Slide Show” to show a drop-down menu and start recording by clicking on the “Start from beginning” option. Once selected, the presentation will begin recording the video and audio.
Step 3: Edit and reorganize the recorded video
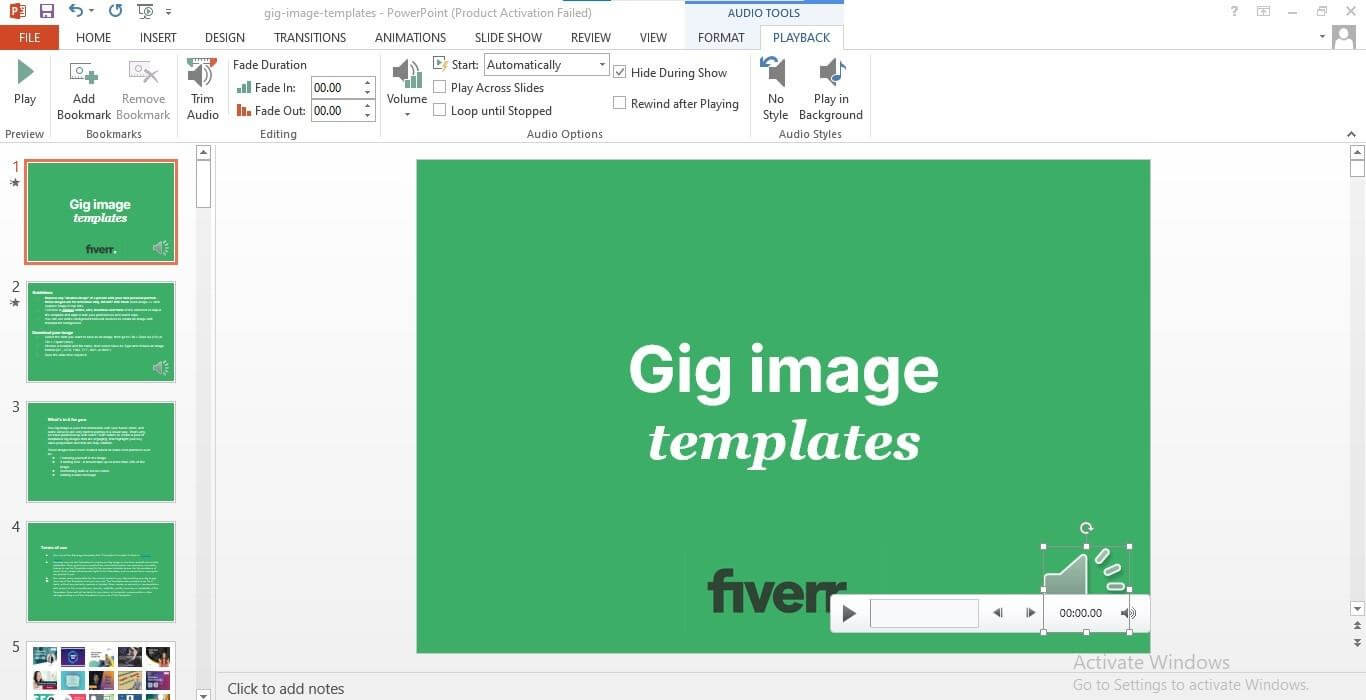
Slides are recorded separately on each slide. Users can change slides by clicking left and right arrows at the end of each slide. To return to the main presentation window, click Stop or press the Esc button.
Users can edit recorded videos by using simple drag and drop features. To delete any portion of the clip, go to the Video Format tab and select the Crop icon, or use the Video Shape features to make the video’s corners rounded. The modifications of the recorded slides can be done via the Format Painter option.
Step 4: Export Recorded Video
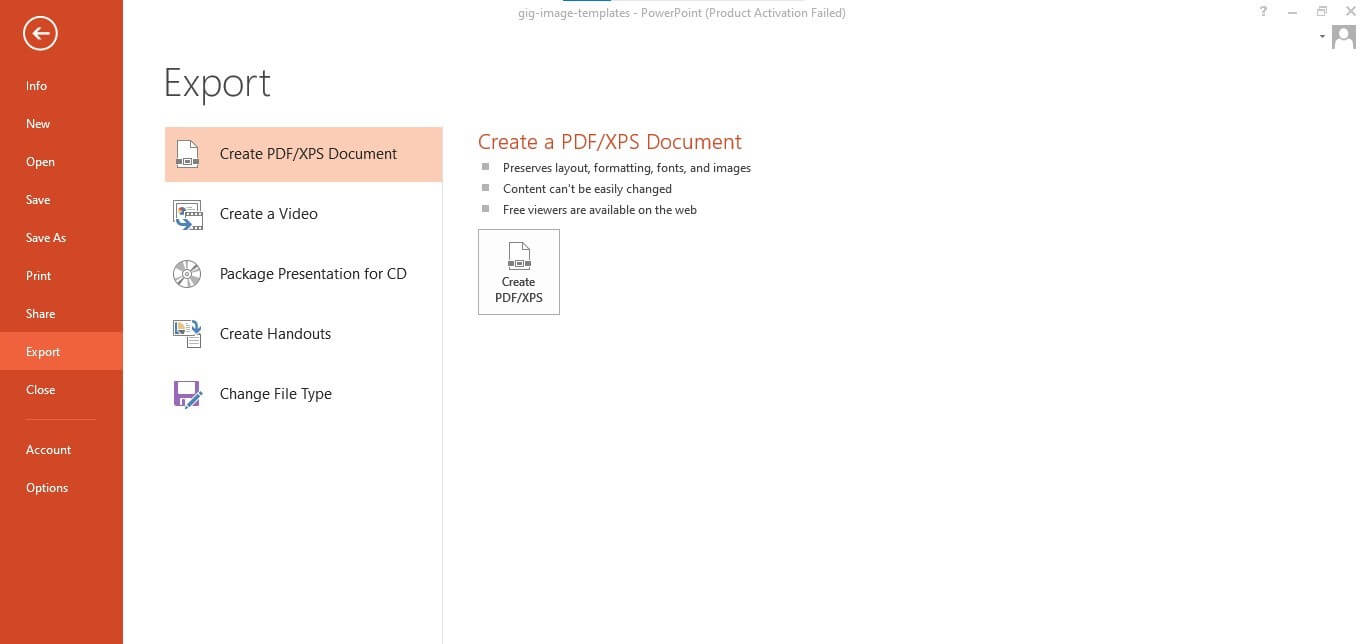
Once all the slides have been recorded, the final stage is exporting the slide. Click on the File menu by the top left section and then click on Create Video to publish the recorded video to any location in the computer or any external device.
Part 2: Filme - Another Way to Know How to Record A Powerpoint Presentation with Audio And Video
Filme is one of the best video editing software. Aside from editing videos, it comes with many unique features that can polish any slide to a professional video presentation standard with total ease. With extensive editing features, it is the perfect alternative for both professional and personal use. Aside from the ability to edit various types of movies, audios, and photographs, anyone can record and edit video presentations in a few steps.
However, recording a PowerPoint presentation is very easy on Filme, and below is a simple step-by-step guide on how to record PowerPoint video and audio on Filme.
Step 1: Filme comes as a desktop app downloaded and installed on Windows or Mac-powered computers. If previously installed, check for any recent updates and run the current version.
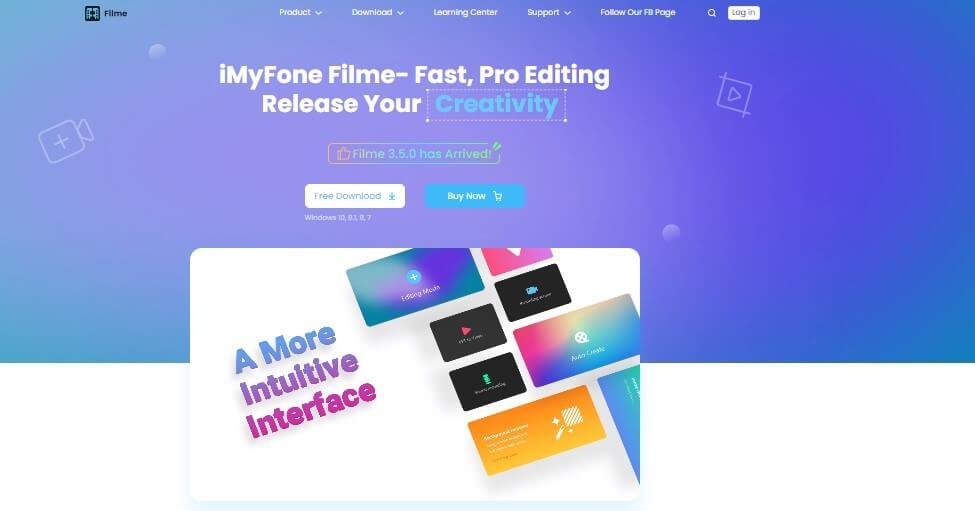
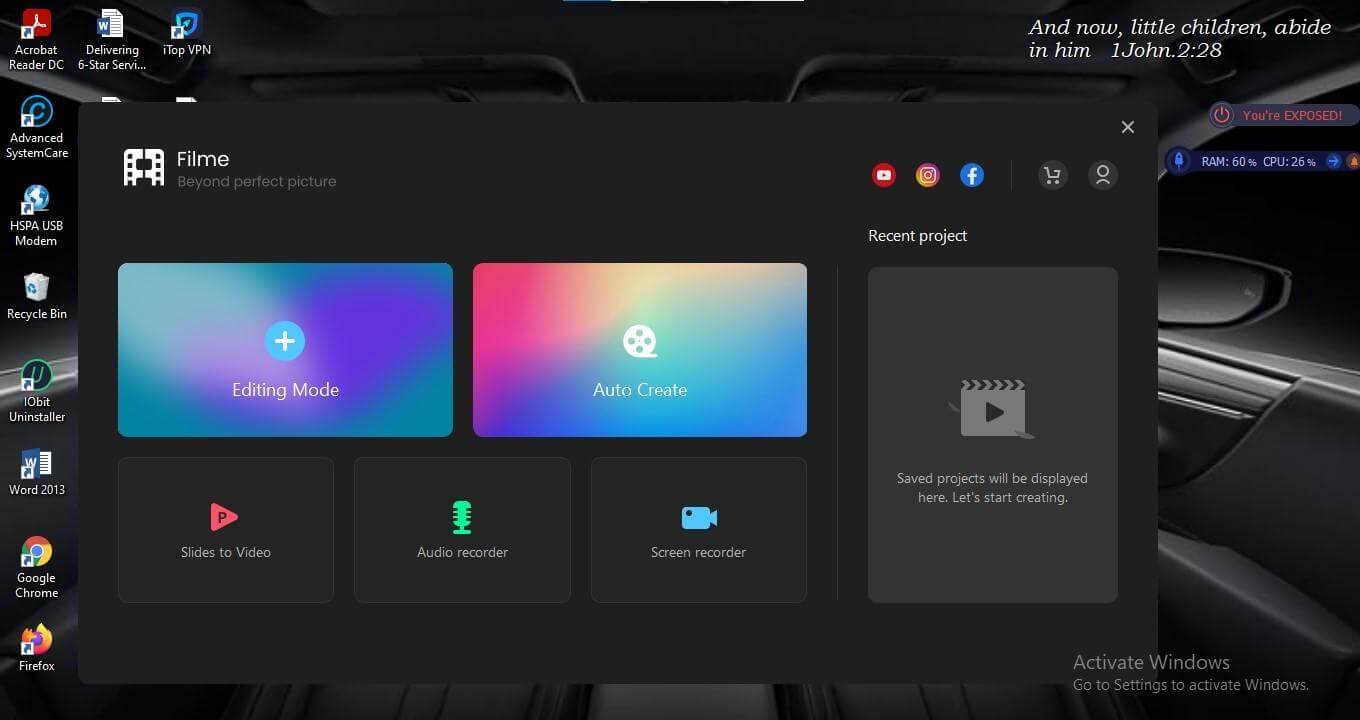
Step 2: Once installed, open Filme on the computer; the slide record is available mainly on the recent Filme 3.5.1. Open the PowerPoint presentation and click on “Screen recorder” on the lower-left section of the Filme interface.
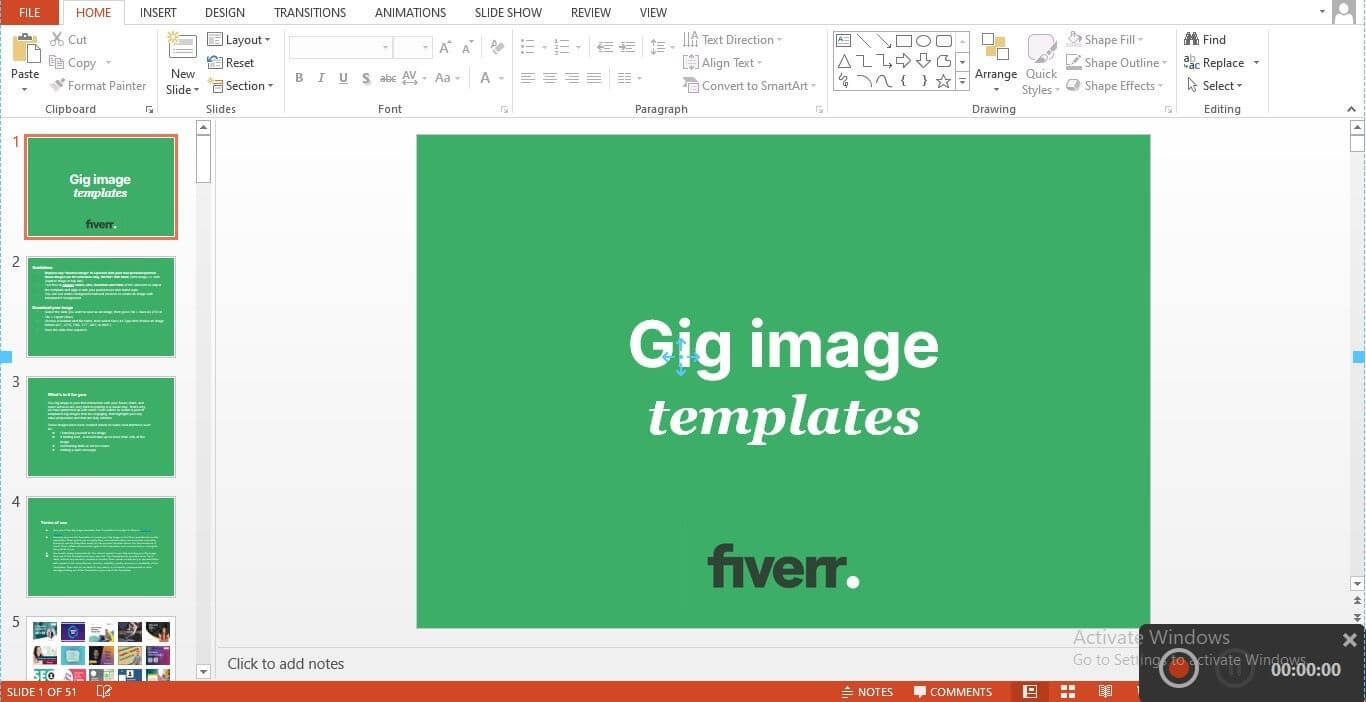
Step 3: Next, the last action prompts a recording interface around the PowerPoint presentation. Start the Presentation and launch the record mode by clicking the red dot on the lower right section to start the timer.
Step 4: Wait for the slide to finish; click on the stop sign next to the pause icon. Once done, the slide is entirely recorded and ready for editing.
Part 3: How to Edit Presentation Video with Filme
There are two basic ways to edit a video presentation on Filme.
1. By editing a presentation recorded via Filme
2. By editing an already recorded video
Filme offers a lot of flexibility to give the desired professional idea to any story or presentation idea. Though some of the complex features are accessed via the paid option, they provide far more free software editing features.
Editing a presentation video can be done in the following steps within the next 5 to 6 minutes. However, even though all the features are highly effective, producing a great video still depends on the user’s creativity and time spent on editing. Below are the steps to editing a presentation recorded via Filme:
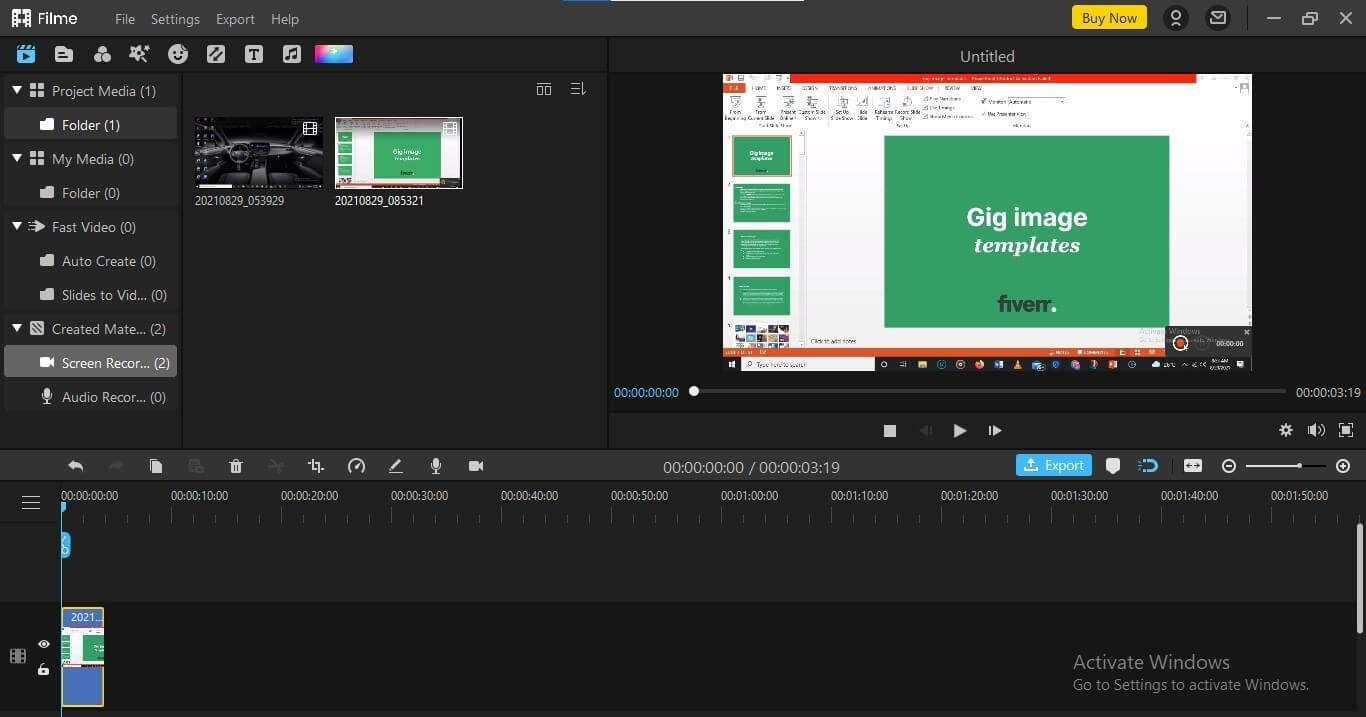
Step 1: Once the screen stops recording, the window will redirect to the editing interface, showing the recorded slide on the top right.
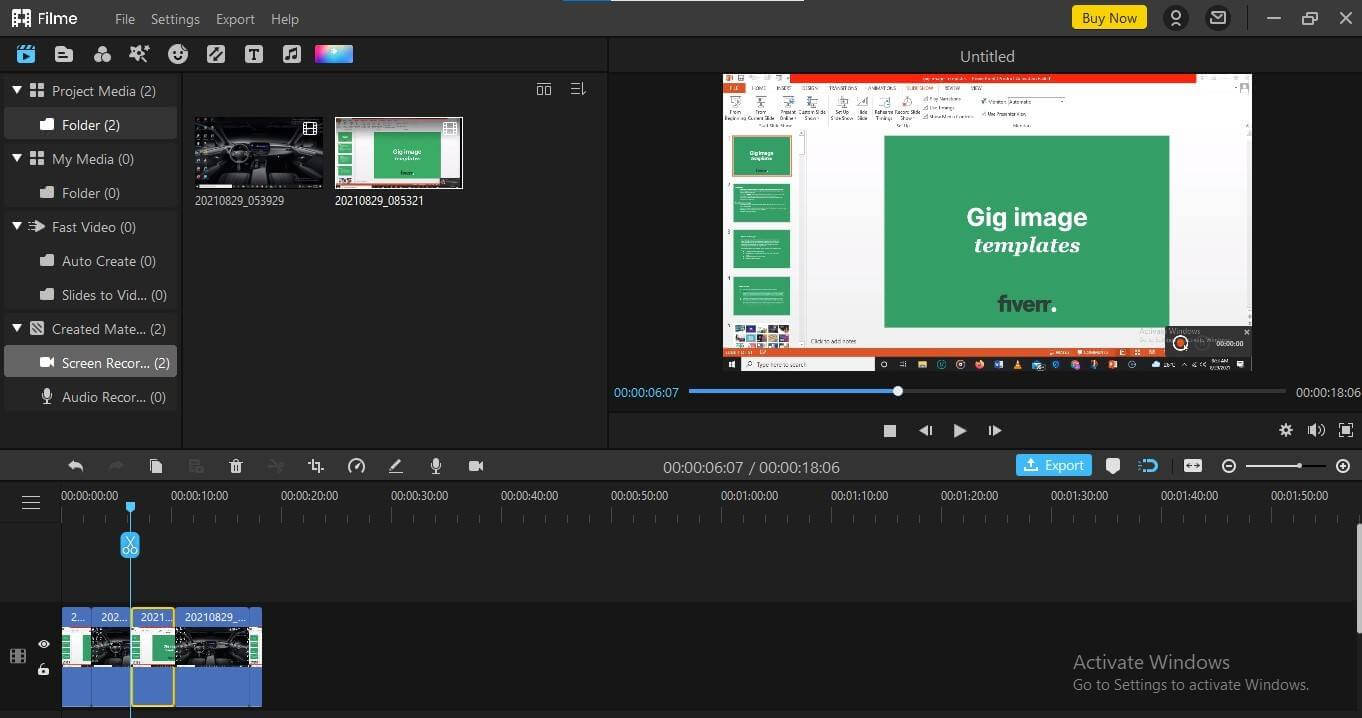
Step 2: Add effects, text, emojis, music, and other effects from the top left section. Additional editing features include cutting, trimming, pasting, cropping, and deleting unnecessary sections of the slides.
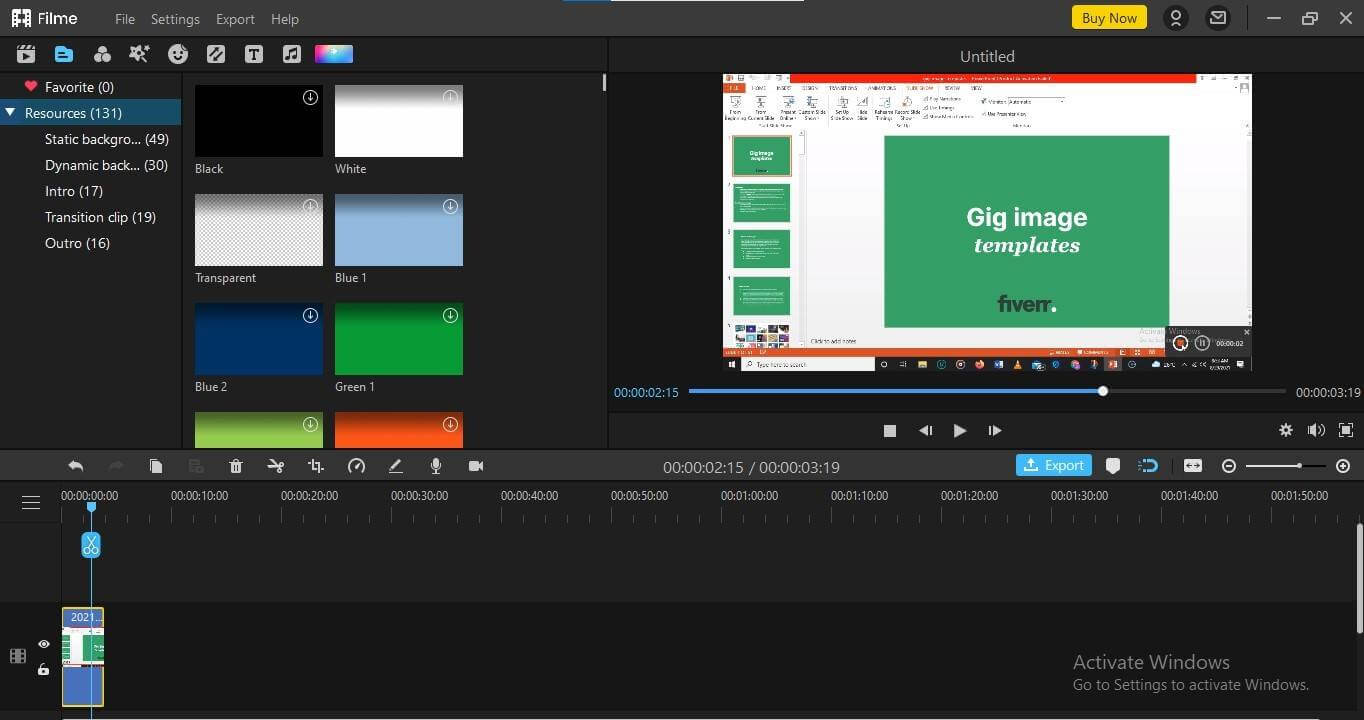
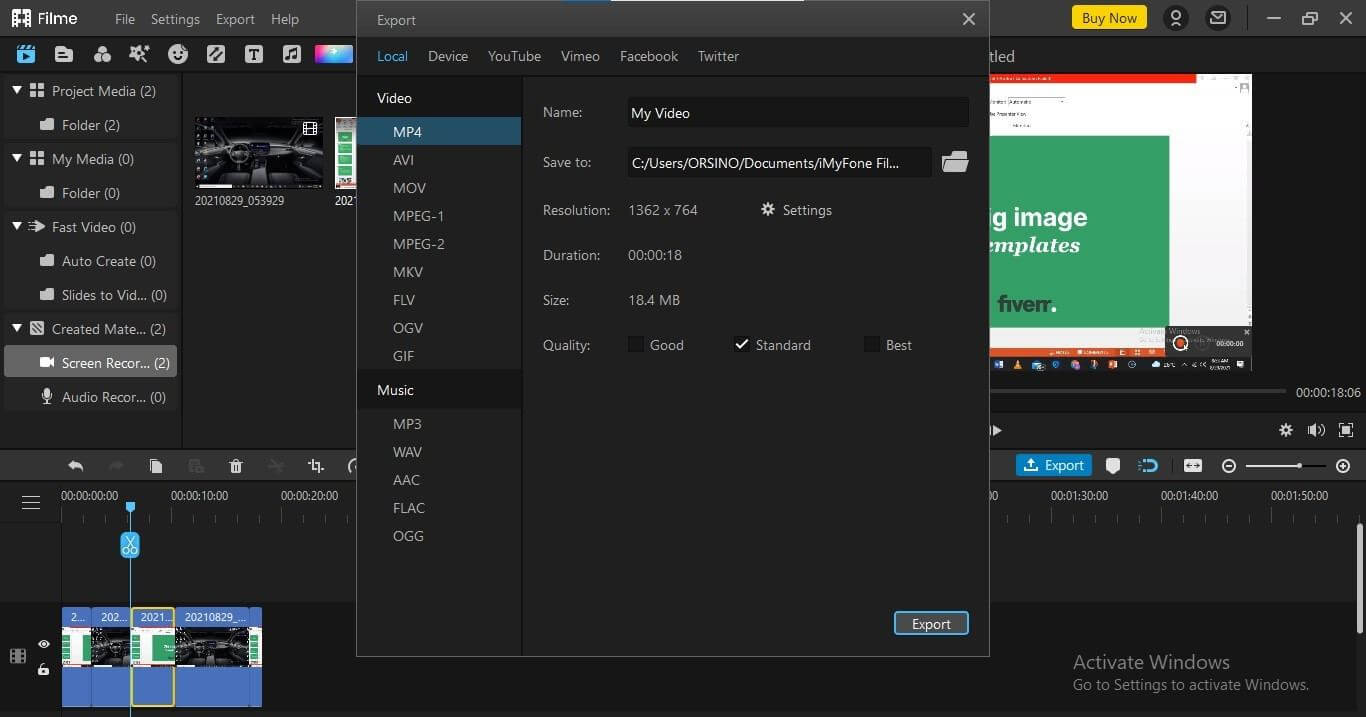
Step 3: Play around with the editing features to match any desired taste and then finally click on “Export” to save the edited video on the hard drive. However, the free version comes with a watermark, so it might not be suited for commercial use but personal videos alone. Choose your preferred file format, then click on “Export” again to save.
Editing an already existing presentation video
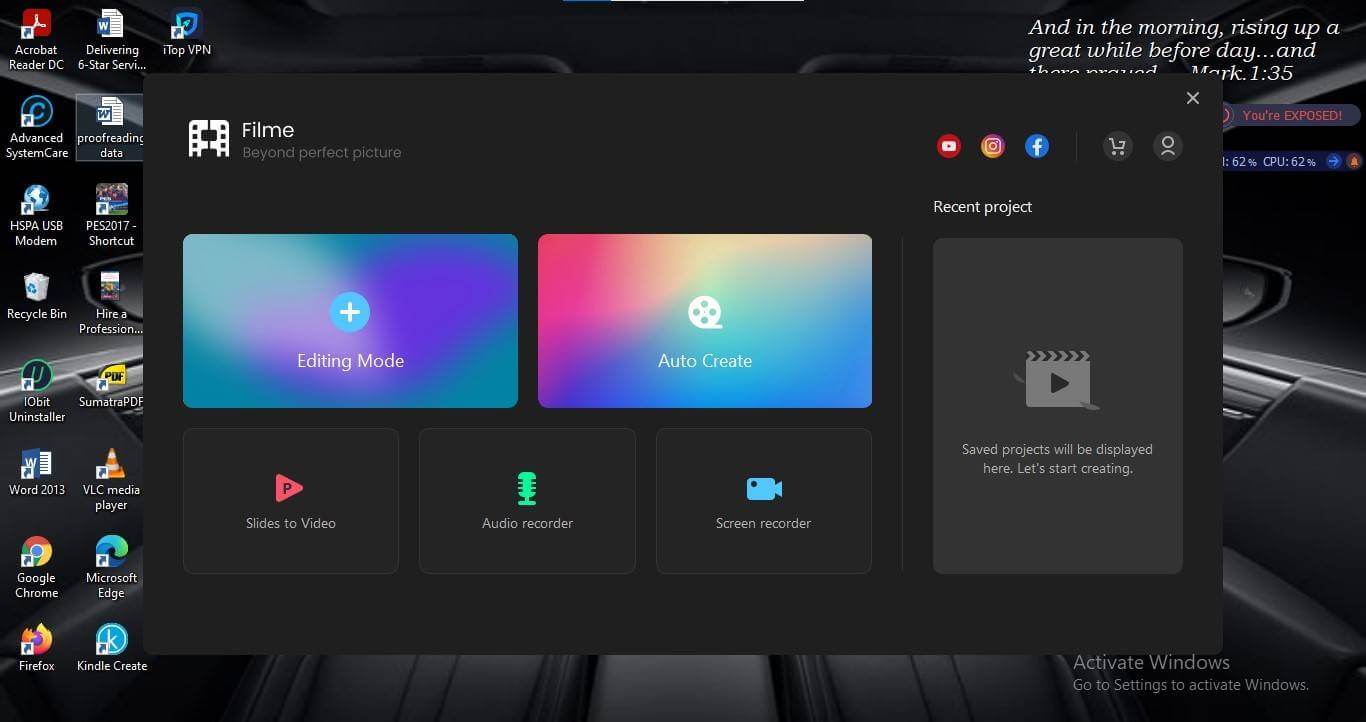
p>Editing a pre-recorded video is as easy as editing a presented recorded video via Filme. It is only different because it takes a slightly different approach.Step 1: Open the Filme software on the computer and click on the “Editing Mode” tab.
Step 2: Filme gives four options of adding media into the interface for editing. Users can add video presentations from their phone, import from the system, add from a folder, import via a wireless source, or import media to add on multiple projects.
Step 3: Once the video is added, the user can play around with the features depending on their creativity and knowledge of Filme.
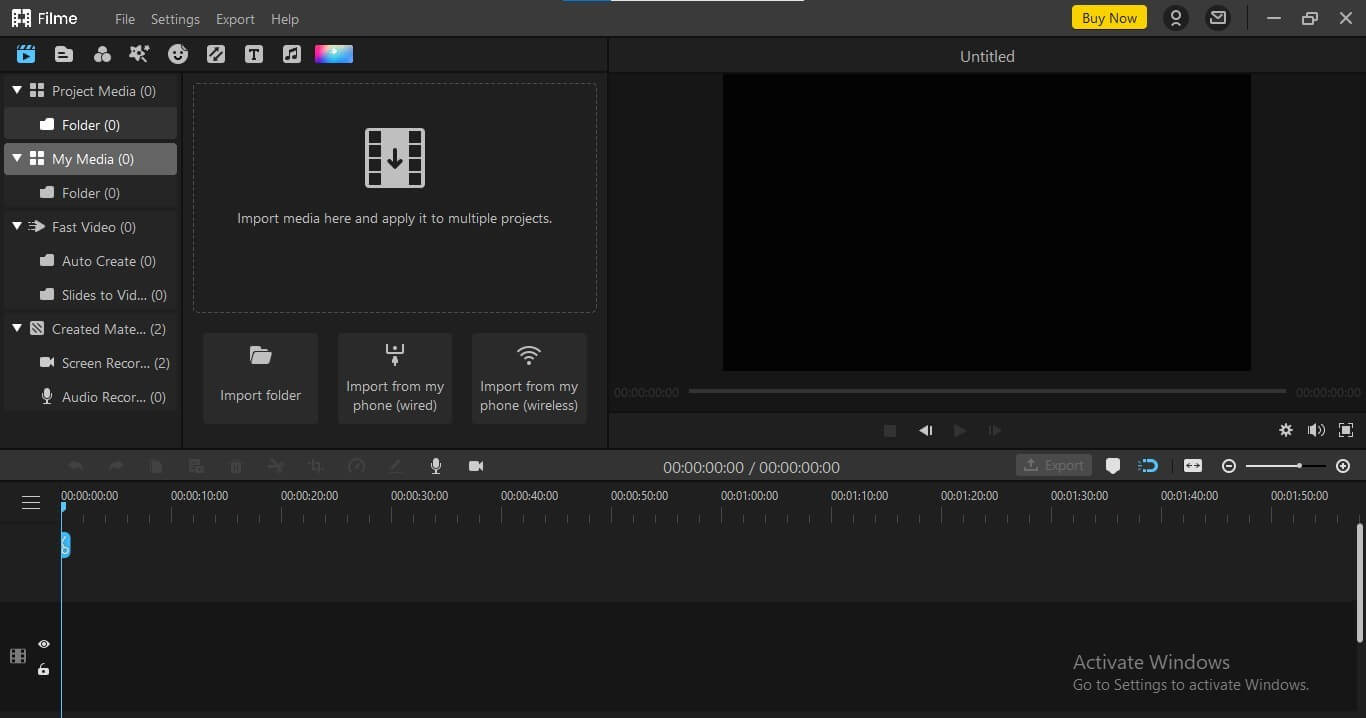
Step 4: Then, export the video to any preferred location on the computer or an external device.
Conclusion
Editing a PowerPoint presentation outside the interface with a more advanced feature is mostly the best when the aim is to get a more professional feel of the idea. There’s no best way to do that than exploring a free video editing software like Filme. Though it might not substitute a highly skilled editor since it is adapted for personal use on the free mode, users will have to pay for the premium features to download the videos without a watermark. However, a good knowledge of Filme can put anyone miles ahead in acing their video presentation. The best part is that users can instantly convert their slide to video by clicking on the “Slide to Video” feature.
iMyFone Filme
Your best video recorder !
Download Now


