Since 2012, there have been lots of changes when it comes to capturing and recording iPhone and iPad screens. Let's face it, Apple's strict security measures have been hindering smooth recording of iPad and iPhone screens. However, thanks to the released Apple's multimedia framework, QuickTime, it is now easy to record and capture screens of IOS devices. QuickTime iPhone and iPad screen recording technology is the top option that you have. However, other companies have equally developed amazing extensions that synchronize with IOS to capture screens of IOS devices.
Here, we'll explore a comprehensive guide of QuickTime and also discuss some of the options that you have for screen recording IOS devices.
Part 1. How To Record iPhone or iPad Using QuickTime on Mac
This is one of the options that you can use to screen record iPhone and iPad. Compared to other options, using QuickTime is pretty simple and straightforward. However, you need to meet the following requirements: IOS 8 or later version device, a Mac running OS X Yosemite or later, and a lightning cable. When you are using QuickTime, you don't need to jailbreak your IOS device, and neither do you need external hardware.
Step 1: Connect the devices
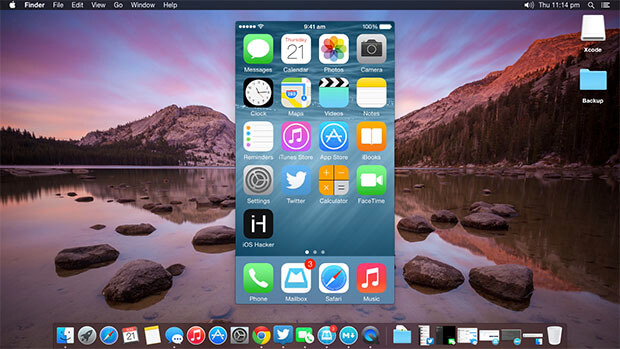
The first step, which is more like a preliminary step is to connect your Apple device (iPhone or iPad) to your Mac. It is important that you use the original lightning cable that comes with Apple devices.
Step 2: Open QuickTime player
The next step after you have connected your Apple devices is to open the QuickTime player, which can be accessed from your Applications folder. While on that page, click on File then choose New Screen Recording from the drop-down menu that appears.
Step 3: Select your device
After you have clicked the recording option, a new window will appear with the recording icon. Within the same window, you'll need to click on the drop-down menu that is in front of the red button (record button). Here, you will find your device (iPhone or iPad). Click on your device to select it.
Step 4: adjust settings
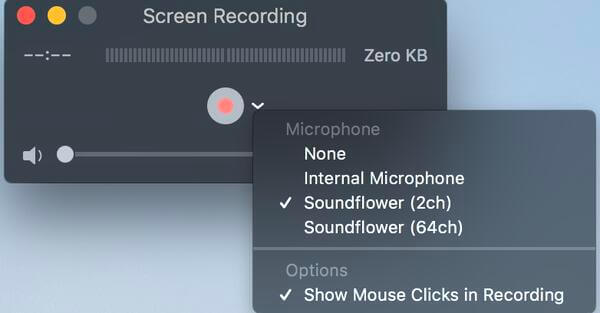
This is one of the most crucial steps that influence the recording that you will make from your IOS device. From how to record iPhone screen QuickTime windows have recording settings. You can adjust the settings by click on an arrow that is next to the red recording button. Adjust the settings to fit your recording desires.
Amongst the most important settings are:
Microphone:choose it if you are recording your voice or using another device that has screen recording.
Headphones:use headphones that have a microphone if you are getting feedback that the audio volume is not clear.
Step 5: Click the record button
The next step after you have adjusted your settings is to click the record button. This function allows you to perform your recording tasks on your IOS device that you are recording. To start recording, you can either:
Click anywhere within the screen to record the whole screen
Drag and click on a selected area to record that specific area.
Step 6: Stop recording
After you are done with the recording, click on the stop recording button or press Command-Control-Escape.Immediately you stop recording, the QuickTime player will open the recording. You can edit, play, or share it.
Part 2. Pros and Cons of
QuickTime is the first choice when it comes to screen recording of iPhone and iPad. Let's have a quick look at the pros and cons of using QuickTime player for recording so that you can make a decision of whether or not to use it.
Pros:

One of the top benefits of using QuickTime player is that it is pretty easy to use. The instructions are precise and you don't need prior knowledge of tech to use this player.

It is compatible with all IOS devices. This means that you can use it conveniently on any of your IOS devices at any time you feel like recording.

If you are not happy with the first recording, QuickTime player allows you to edit the recording. The editing feature is one of the three post-recording features available.
Cons:

There are many settings that you must configure before you start using the player. This makes the process a little bit lengthy.

If your audio is connected to Sound Flower, the users cannot hear sound. This makes it hard to determine if the sound quality for the recording is good.
Part 3. FAQ about screening recording iPhone iPad with QuickTime
1. How do I allow QuickTime to access my iPhone?
To do this, you will need to unlock the preference pane. You should follow the steps below:
System Preferences>Security & Privacy>Microphone. Then click on the padlock symbol to unlock the preference pane.
2. QuickTime Player won't record?
If your QuickTime Player won't record, simply go to System Preferences and Select Security & Privacy and check Camera and Microphone. If you had checked this before, you might need to recheck and start the recording again.
3. QuickTime screen recording won't save and audio only works?
Apple has a preinstalled QuickTime player that allows you to record, play, and share video and audio files. You simply need to find it in Launchpad and use it to record, play, edit and share your files.
You might be interested in:
How to Change Video Speed on Quicktime Player >>
Part 4. Alternative to QuickTime for screen recording iPhone and iPad - iMyFone Filme

If you are looking for a perfect QuickTime alternative for screen recording iPhone and iPad, then iMyFone Filme is the best choice.
Filme is one of the latest and intuitive video editing software. It is an exciting software that is user-friendly and works perfectly for beginners who want to screen record audios and videos on iPhone and iPads.
Main Features of Filme
Here are the top four features that make Filme a perfect alternative to QuickTime player.
1. Rich video templates
One of the top features of Filme is the rich video templates it has on its platform. There are tons of templates that can make exciting slideshows for your screen recording. The great thing about the templates is that they are varied and represent different tastes that different users may have. The templates also make it easy and fast to screen record videos from iPhones and iPads.
2. A variety of video editing utilities
Another amazing feature of Filme is the wide range of video editing utilities that are at your disposal. Some of the utilities that you get include merge, split, trim, change speed, reverse, etc. These utilities give users the power to transform their videos into what they want them to be.
3. Compress videos
With Filme, users can compress videos to make them fit the various demands of the different social media platforms. Whether you are creating videos for business or social engagement, Filme has the ability to compress the videos to fit your specified demands.
4. Add voiceover
Filme makes it possible to add voiceover to your video. You can import music directly from iTunes and use them to edit your video on Filme. There is much royalty-free music on offer in this app.
These are the top features that define Filme. Remember, these are not the only features of Filme; you can still get more when using the application as a replacement for QuickTime.
How to mirror iPhone/iPad to computer?
Here are the steps that you should follow to mirror your iPhone or iPad to a computer:
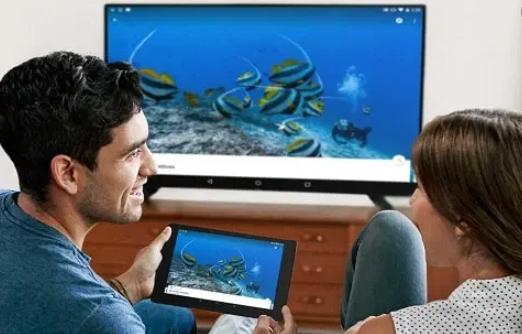
Step 1: Connect your IOS device to the same Wi-Fi network your computer is using. This will initiate the connection between your IOS device and the computer.
Step 2: Locate the video that you want to stream from your IOS device to the computer.
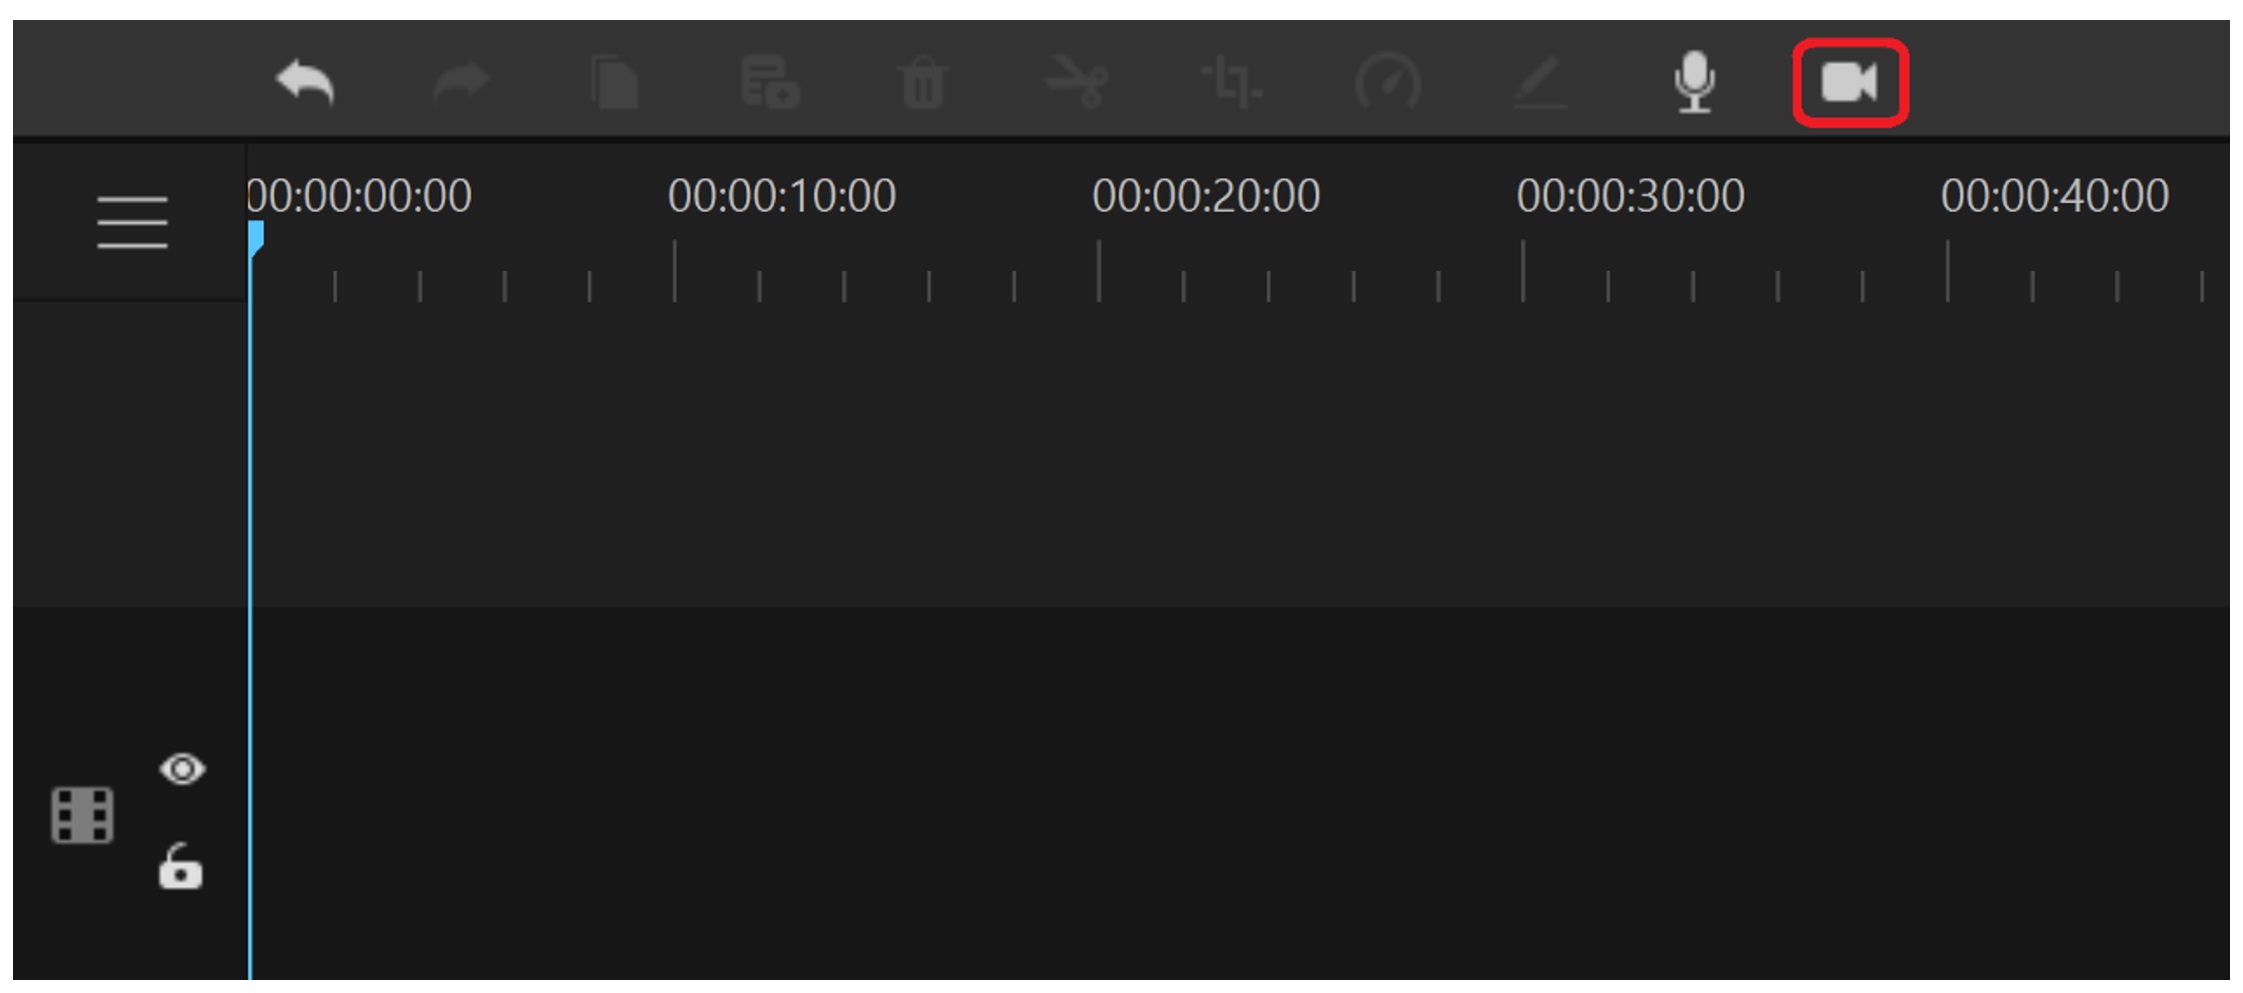
Step 3: Launch Filme and follow the guides given to screen record your IOS device using a computer.
How to screen record iPhone/iPad on a computer using Filme
For this explanation, we'll explore Filme's Fast Video Mode that allows you to create magnificent videos or slideshows in just a few clicks. These are the easy steps that you should follow:
Step 1: Open the media library and choose a template
The first step is to open Filme's media library that has templates for you to use in recording. You will find 7 templates that you can use from the Fast Video mode. You can select and preview the templates n the preview window. Once you are sure which media you want to use, click on add your media.
Step 2: Add your media
The next step is adding your media by importing them to your computer from your device. You can either drag them to the screen or click on the "import" option, which will allow you to import files from your computer.
Step 3: arrange file order
Once you have imported all the files, you can rearrange the order in which they will appear in your recording. You simply need to drag and drop.
Step 4: Preview
After you are done, you can preview the video and adjust its duration. To adjust the duration, simply click the clock icon.
Step 5: Export
If you are happy with the recording, click on the export button to share your file.
Conclusion
Screen recording iPhone and iPad using QuickTime is great. Apple has made it possible to become creative in your recording. However, it is clear that QuickTime might not have all the amazing features and templates that you need for exciting screen recording. Therefore, you can opt for the best alternatives to QuickTime. Of course, Filme is the best option that you have if you are looking for ways of creating amazing videos with great templates from your iPhone or iPad.


