


Are you confused about whether you should use Pitivi on Linux or not? If yes, you are in the right place. We will clear your confusion and doubts. In this article, we will have an in-depth look at Pitivi and discuss everything in detail. Moreover, we will also share some alternatives that you can use instead of Pitivi. Let's start the discussion.

What is Pitivi Linux?

Pitivi is one of the most preferred video editors for Linux. It is specially created for the OS and can help the users edit their videos without any hassle.
It is an amazing video editor that can make video editing easy, simple, and quick. You can transform your imagination into reality, even if you are a beginner. It is suitable for creating personal and simple videos for social media platforms and other purposes.
The best thing about Pitivi is that it is a free and open-source video editor. Although it has all the basic tools and features, you don't need to pay a penny. It has some eye-catching and awe-inspiring transitions and titles. You can add these to your videos to make them catchier.
Basic Usage You May Want to Know

Using Pitivi is quite simple. Even if you are a beginner, follow the steps and use the software without any hassle.
Step 1: Open the Pitivi application on your computer. After opening the application, you will see a small Welcome window. It will have several options. You can reload any old project or create a new one. For now, click on New.
Step 2: On the left, you will see the Media Library tab. There will be the +Import button to import media to the project. Click on the button and select the files that you need to use. You can also drag the files to the Media Library.
Step 3: After importing the videos and other media, you need to add them to the timeline. In Pitivi, you need to wait until your imported files are transcoded completely. After that, drag them directly to the timeline for editing.
Step 4: Now, you are ready to edit your video. You can drag its ends on the timeline to trim it. You will also see the transition and title tabs on the left of the preview screen. Select any transition you like and add it to the video.
Step 5: Pitivi also offers some exciting effects. You will see the Effects Library on the right of the Media Library tab. From here, you can select the desired effects.
Step 6: Make all changes you need to make. After all, check the preview. When you are ready, click on the Render button at the top. Now, you can select all the settings for your video. You can select the file container, frame rate, codec, sample rate, channels, and advanced settings. Finally, click on Render.
Pros and Cons of Pitivi
Pros of Pitivi:
 Pitivi is free to use. You can use it for personal as well as professional use. It is completely free.
It is easy to use. You can use it for basic editing. You will also find tutorials, manuals, and other guides on the website.
It shows audio waveforms on the timeline, which helps you to control the sound level and edit the audio precisely.
It backs up your project automatically. Even if the application crashes or the power goes out, you can resume your project later.
There are many native transitions, effects, and text styles.
You can see the changes in your video in real-time. There is no need to render the video to see the edits.
Cons of Pitivi:
![]() It has basic tools only. It is suitable for basic editing.
It has basic tools only. It is suitable for basic editing.
![]() The user interface is like a vintage video editor.
The user interface is like a vintage video editor.
![]() There is no proxy editing in Pitivi, so it lags and creates various issues as it does not use the low-quality versions of the videos while editing.
There is no proxy editing in Pitivi, so it lags and creates various issues as it does not use the low-quality versions of the videos while editing.
Technical Requirements You Should Know
If you want Pitivi to run smoothly on your PC without lagging, you need to use the recommended system.
It is recommended to use a suitable quad-core CPU to ensure better performance of the software. It will work smoothly without lagging. You must try to use a solid-state drive (SSD) to use the application. It can reduce the loading time and improve the performance of the software. As far as the graphics cards are concerned, you can use any Intel graphics card. The recommended display resolution is 1920 x 1080.
Pitivi can work on PCs that are below the recommended requirements, but you will face various issues. The software will lag a lot, and you won't be able to use it properly.
Other Alternatives You Might Want to Try
1) Kdenlive
Kdenlive is an excellent video editor for Linux. You can use it for personal as well as professional purposes. It is an open-source and free video editor, so you have access to all the tools for free. The features of Kdenlive make it suitable for any purpose, and you can edit your videos like a pro.

Pros:
It offers various audio and video scopes that can be used to visualize various metrics and properties.
The backup of your progress is automatically created after every few minutes. You don't need to worry about losing your effort.
It has dozens of transitions and effects that you can use in your videos to make them catchier.
The keyframing feature enables you to adjust your effects as you like. You can create a curve of your needs.
You can have multiple audio and video tracks on the timeline. It helps mix different objects (audio, video, images, and GIFs) to create something exceptional.
Cons:
![]() It is suitable for basic editing. You cannot expect it to be like a professional video editor.
It is suitable for basic editing. You cannot expect it to be like a professional video editor.
![]() It requires too much memory to run on your PC. Thus, it will crash if you have a slow computer.
It requires too much memory to run on your PC. Thus, it will crash if you have a slow computer.
2) OpenShot
OpenShot is a video editor for Windows, Linux, macOS, and ChromeOS; thus, it is available on almost all popular operating systems. It is suitable for basic editing.

Pros:
OpenShot has all the basic tools, including cutting and trimming.
It has a wide range of effects and transitions. You can use them to create an attractive video.
You can add titles and annotations. It is perfect for adding captions, subtitles, and end titles.
There are tutorials available on the official website. Beginners can easily use this tool.
Cons:
![]() The tools are limited. It is only suitable for basic editing.
The tools are limited. It is only suitable for basic editing.
![]() The user interface is a bit old-fashioned and unattractive.
The user interface is a bit old-fashioned and unattractive.
![]() It lags a lot, and there are some glitches that must be addressed.
It lags a lot, and there are some glitches that must be addressed.
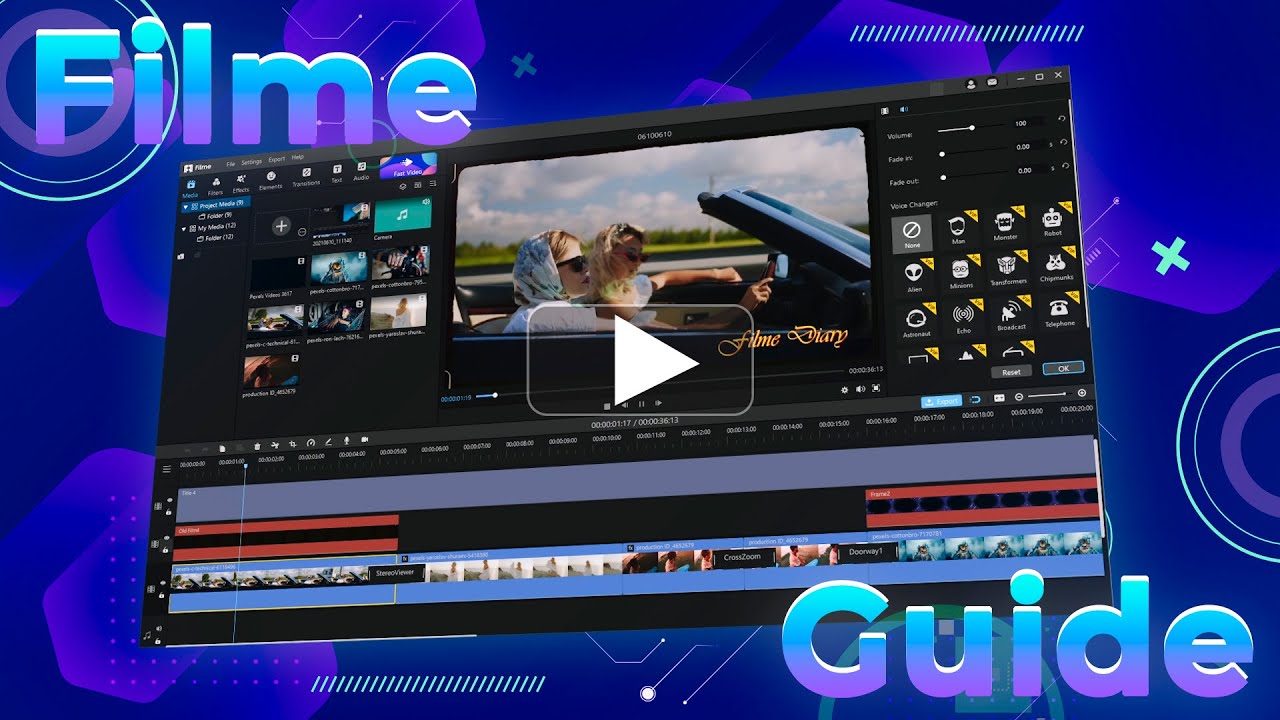
3) Filme
Filme is a professional and versatile video editor. It is available on Windows and macOS. If you want a simple video editor that you can use to create stunning videos, then Filme is an excellent choice. It is beginner-friendly and offers tons of tools for professional video editing.

Pros:
You can create awesome slideshowsusing Filme. It has dozens of templates for different purposes. Add images and create eye-catching slideshows in a few seconds.
You can add transitions, effects, filters, stickers, images, GIFs, and other things to your videos.
Filme offers a music library of royalty-free tracks. You can select any music you like.
It has all the basic and advanced tools that enable you to create a perfect video.
The interface is attractive and user-friendly. It is perfect for beginners.
The output file can be exported in any format. You can also use Filme for file conversion.
You can use the voice changer to change your voice in real-time, and you can also record the screen.
Cons:
![]() It is a paid tool. You will have a watermark in the edited video if you are using the free version.
It is a paid tool. You will have a watermark in the edited video if you are using the free version.
![]() It is not available on Linux at the moment.
It is not available on Linux at the moment.
Watch this video to see how to use Filme to make a stunning video:
Final Words:
We have discussed everything about Pitivi. It is an excellent video editor for beginners, and it cannot be used for professional video editing. We have shared some alternatives that you can use. We recommend Filme as it is an advanced video editing tool with tons of features. Anyone can use it as it is user-friendly and simple. You can use it to create awesome videos like a pro.


