Navigation of Filme
Interface of iMyFone Filme
Here's the interface of iMyFone Filme when you launch it:
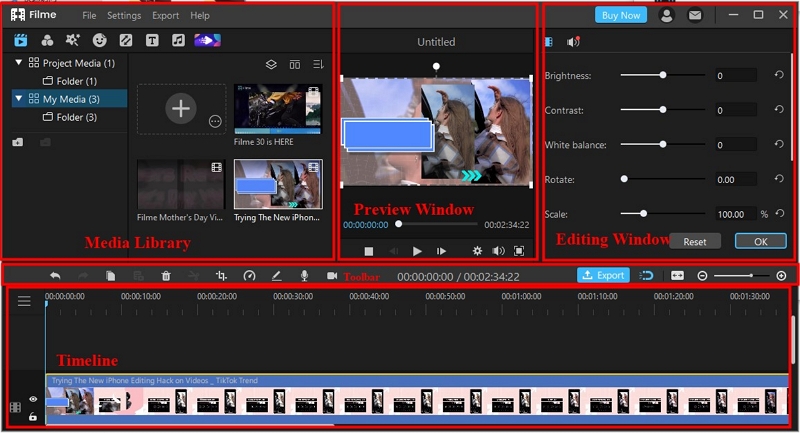
1. Media Library: the Media Library is in the upper left corner of the interface. Here, you can import media such as video, image, and audio. There are also sample effects available for you to use including filters, animations, text (captions, credits, etc.), and audio clips. You can also use the Fast Video Mode here to apply one of the templates and have a high-quality video made in no time.
2. Preview Window: the Preview Window enables an instant preview of the project in the timeline. You can also complete basic editing here and set up preview settings such as ratio, resolution and play speed.
3. Toolbar: here, you can find the tools to delete, split, and crop any media clip in your timeline, or change its speed, adjust its atmosphere, rotate/scale/offset it). When you're finished editing, click "Export" to export your video to your computer or other device of your choice.
4. Timeline: the Timeline is where you assemble the media files and effects for your video project. You can arrange and edit the clips here.
5. Editing Window: the Editing Window is the panel with a gear icon. The editing window does not automatically open when you launch the software. You are required to upload a clip first, drag it in the Timeline and double click on it, and then an editing window pops up and enables you to adjust the atmosphere, speed, position, etc.
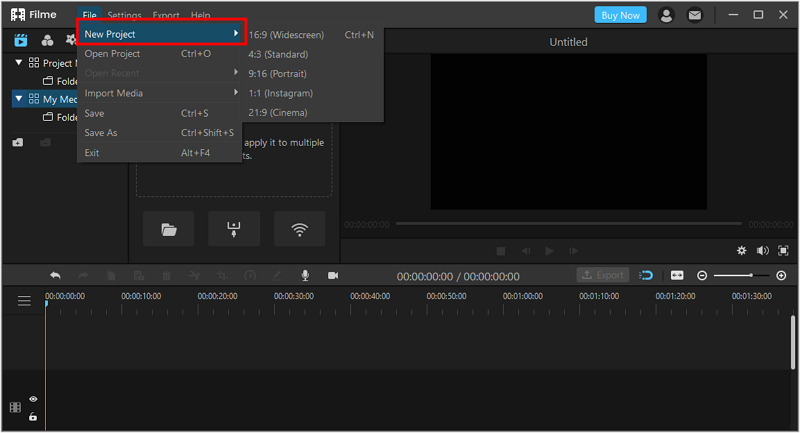
Create New Project
Click "New Project" under "File" to create a new project. You can select the aspect ratio for your project here.
Open Project
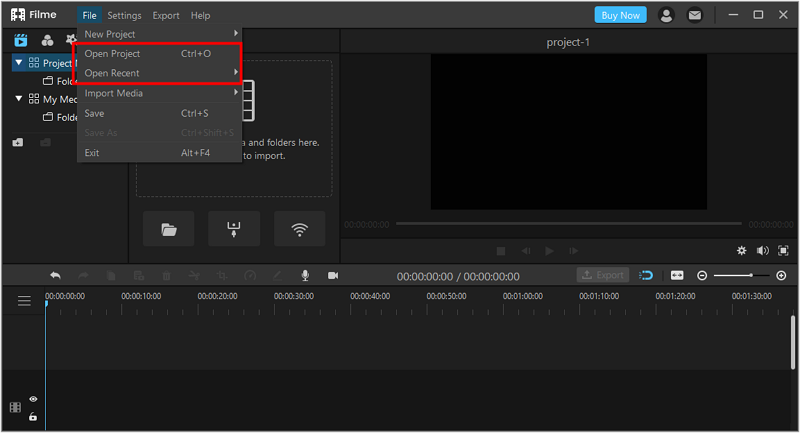
You can select "Open Recent" to open a recently edited project, or click "Open Project" to open an existing project on your computer.
Save Project
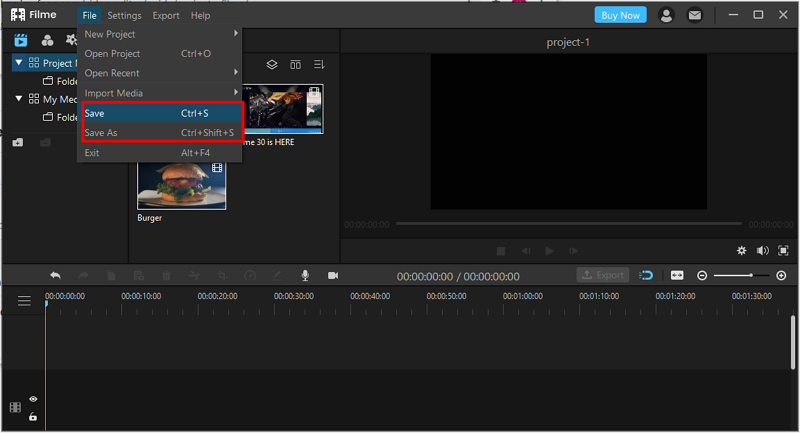
Click "Save" or "Save As" under "File" to save the project in the Filme folder in your computer.
Import Media
Here are four ways to import media files (videos, images, folders and audio) on Filme:
Way 1: Click "Import Media" under "File" option. There will be four options. To import files, choose "Import Files", to import a whole folder choose "Import File Folder", to import files from iPhone or Android devices, choose "Import from my phone", you can choose to import from phone wired or wireless.
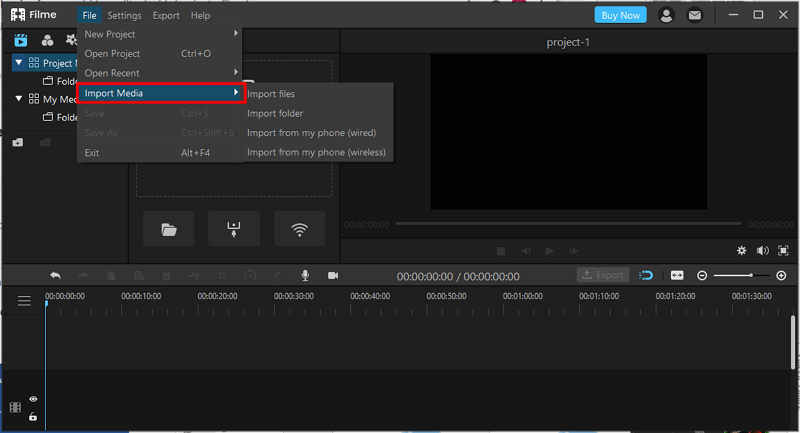
Way 2: Click the Media Library panel. There are also four options as mentioned above.
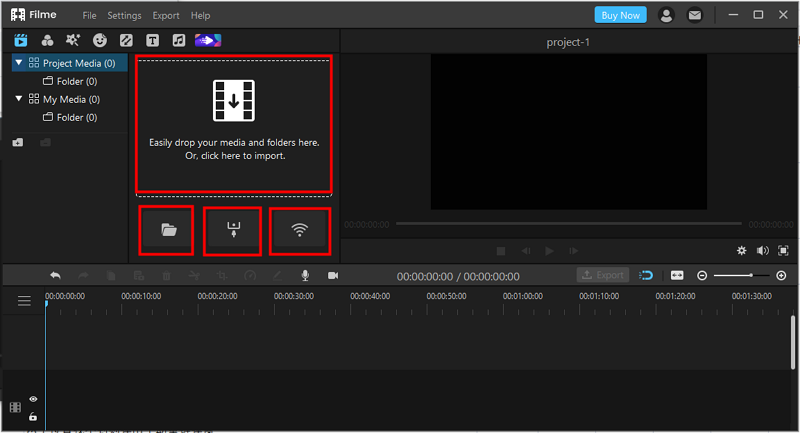
Way 3: Drag and drop files or a file folder to the Media Library.
Way 4:Click the "My Media" below Media Library panel and click "+" button to import Files.
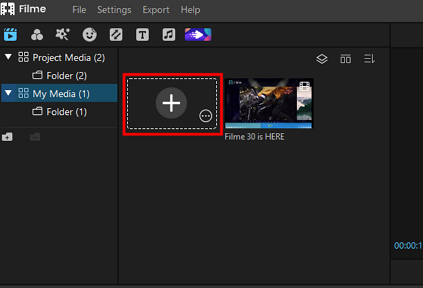
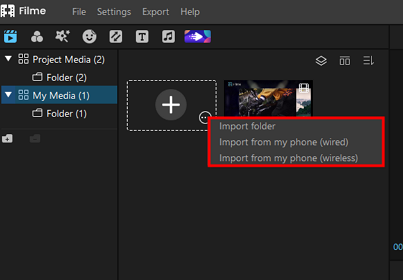
You can also click "More options" by choosing the right button below to see other three alternative options.
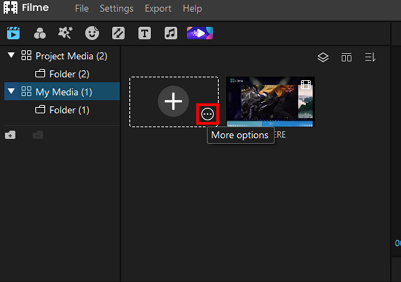
Choose from "Import File Folder" or "Import from my phone (wired)" or "Import from my phone (wireless)".
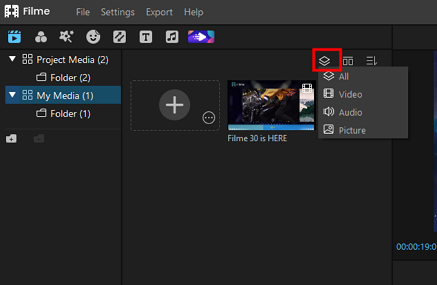
1. Filter Media by Video, Audio, and Image
You can filter the imported media files according to the file type here:
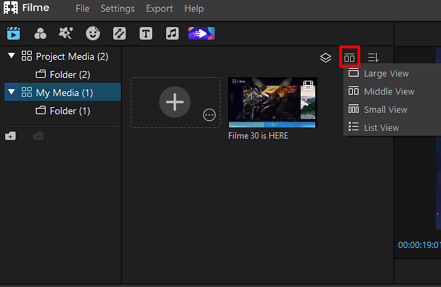
2. Organize Media in Media Library
You can organize the imported media files displayed in the Media Library:
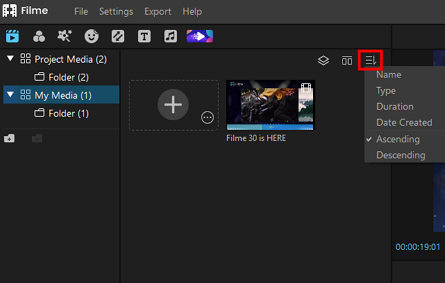
3. Filter Media by File Name, Type, Duration and Date Created
You can filter the imported media files according to the file name, type, duration and date created in either ascending or descending order.
Manage Media & Folder
The Project Media is the media of the project that you're editing in Filme. When you build a new project or open a recent/existing project, the number of the media files it contains will appear here.
My Media is your library of all media that you can use in any project. Once files are added here, they will be available on Filme every time you launch it.
To manage the media here, click the little triangle to the left to expand the folders. If you want to add a new folder under the Project/My Media option, click the plus icon. To delete a folder, click on it and then click the minus icon. You can rename a folder by double-clicking on it.

Snap to Items in the Timeline
If you enable the Snap feature, then items you move in the timeline appear to jump, or "snap," directly to certain points, including clip boundaries and playhead.

You can disable the Snap feature, so that the clip doesn't snap to any of these points.
View Sound Wave in Audio and Video Track
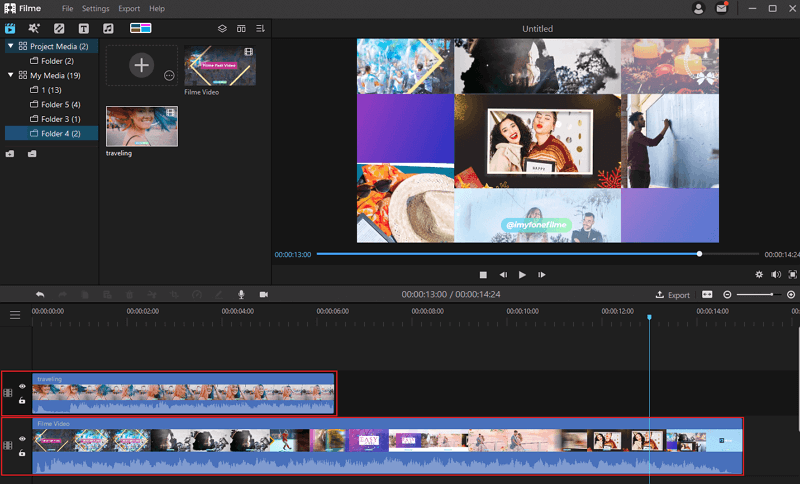
You can view sound waves of your videos below the preview images in the Video Track. Therefore, it is easy for you to have an overview of the volume and rhythm of your videos, which will help you adjust your videos and find the parts to do transitions.
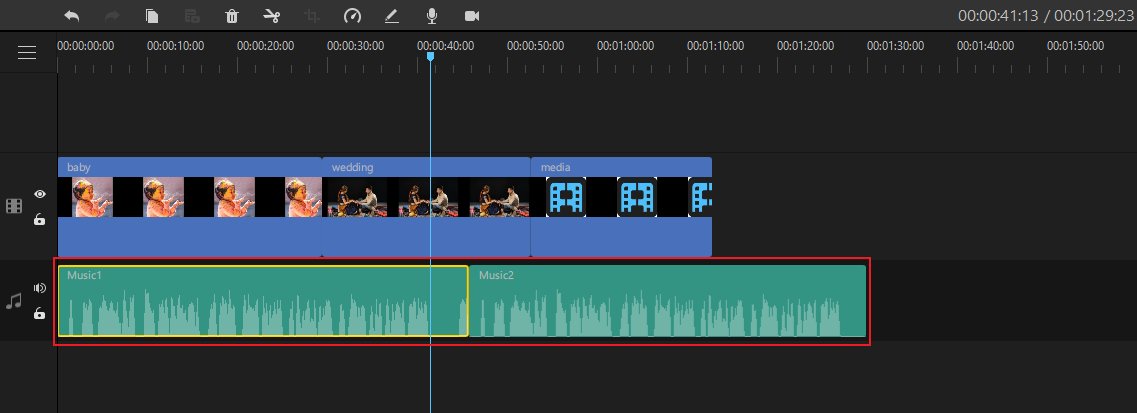
You can also view sound waves of your music in the Audio Track. Hence you can have an overview of the volume and rhythm of your songs, which will help you find the beat of songs and the parts to do transitions.
Relink Clips to Media Files
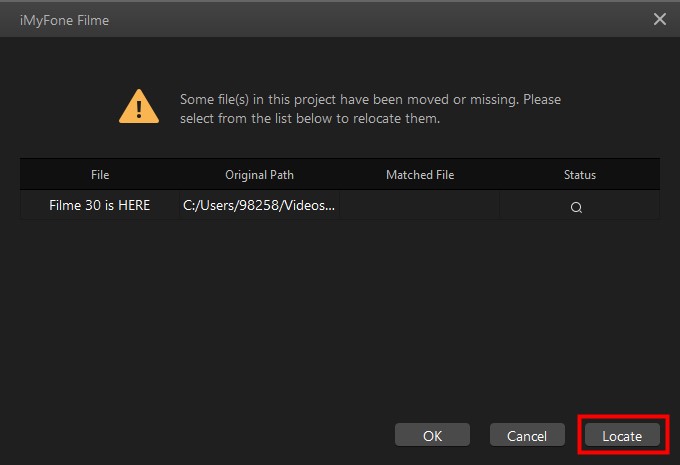
Any files imported to Filme library can be relinked. When the media files and projects have been moved or missing, Filme will scan the desktop and the original location of the files. If failed to relink, there will pop up a windows for manual relinking and you can click on "Locate" button to relink the files at the lower-left of the window.
