This is one of the most exciting new features Adobe did add to its creative cloud video apps is the Morph cut. We can tell you for free that this app is one of a kind and it is set to make those who shoot interviews regularly very happy. It has been integrated with premiere pro, and it makes jump cuts more seamless, using an interpolation and face tracking. In this article, we will take a deeper look at this exciting new Morph cut feature on premiere pro, by looking at what it is, and how you can apply it in your editing, and we will also tell you if there are any alternatives.
Part 1. How to Use Morph Cut Transition Plugin in Premiere Pro
Premiere Pro is an excellent video editor, but i would recommend iMyFone Filme, Filme is more cheaper than Premiere Pro. Filme can add Morph transition easily. you can upload edited video to facebook,vimeo,youtube with single click. Filme has the best 4k HD support. Download iMyFone Filme below.
For starters, we can agree that there is nothing that wreaks havoc on a smooth-flowing edit like jump cuts. You see, if you are editing something such as an action sequence, you can just use cutaways to avoid jump cuts. However, the problem comes in when you are editing interviews, and say, probably you want to remove a couple of unwanted words or a long pause that you need to be shorted.In this kind of situation, you will need something that's much better, which is why Adobe introduced the Morph cut transition. It deals with those pesky jump cuts, ensuring continuity that keeps the viewers engaged.
Steps to Apply Morph Cut Transition in Premiere Pro
Step one – of course, the very first step is to ensure that you have premiere pro on your device. If you don't, download and install it.
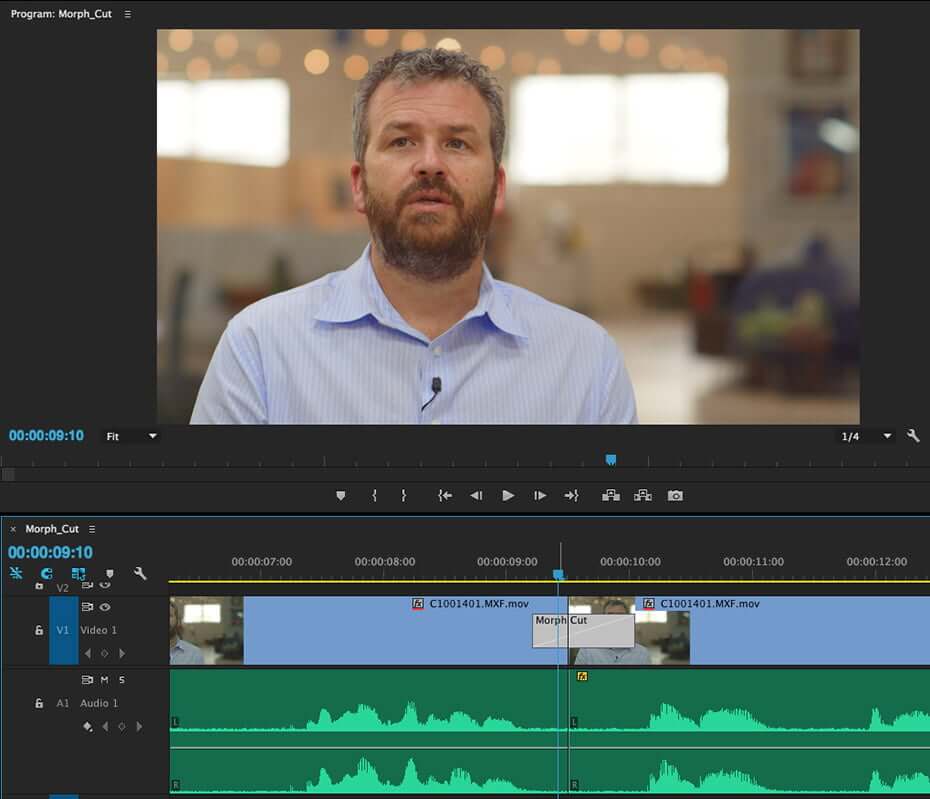
Step two – upload the file that you want to edit and make sure that you drag and drop it on the tool's timeline. Then, Set In and Out points on the timeline and mark the section of the file that you want to remove.
Step three – go to the Effects panel and select Video Transitions, then Dissolve, and then Morph Cut. After that, drag the effect to the section you selected on the timeline.
Step four – once you do that, an analysis of the clip will start immediately in the background, but of course, you will be notified of the 'analysis' going on. You can continue doing your editing as the analysis occurs in the background.

Step five – once the analysis is complete, then there will be a symmetrical transition that would be created and will be centered at the endpoint. What's more, the transition duration is already set, but you can also change it if you want. Also, fine-tune everything, until the whole video looks and sounds perfect.
See, here is the thing whenever you apply the Morph Cut, a transition is created on default settings, meaning that if you don't like the settings, you can always fine-tune them either on the timeline or on the Effects Controls panel. If you decide to do it on the latter, ensure that the duration and the alignment controls are properly set
Part 2. Best Alternative Video Editor to Morph Transition - iMyFone Filme
While premiere pro might be one of the best video editors for video transitioning, you know, thanks to the morph cut feature, it might not do everything that you want. For that matter, you may also want to try another video editor that we believe will go a long way in ensuring that you get what you want. iMyFone Filme is, without a doubt – one of the best video editors today and it is actually very easy to navigate. So, whether you are a beginner or a professional editor looking to add transitions to your video, well, you have something with this editor.
Features
It has all the basic as well as advanced features that make it possible for you to carry out any kind of edits without any hassle. Video transition is one of the many features you will find on the platform, together with several others such as trimming, speed adjustment, cropping, and scaling.
Has a multi-layering feature that enables you to create layers of videos, tracks, and images, thereby making your videos even more appealing.
It has an in-built transitions library with all the types of transitions that you would need.
When it comes to adding transitions on the platform, it only takes a few steps, which pretty much takes only a few seconds to complete.
Steps on Add Morph Cut Transition in Filme
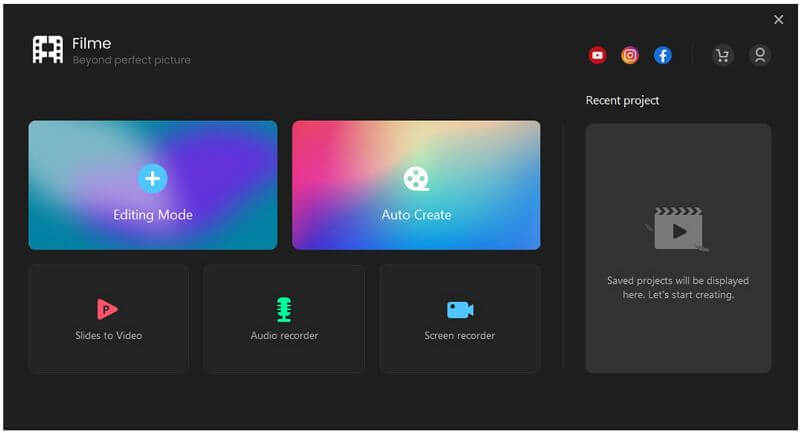
Step one – download and install Filme on your device. Then launch it
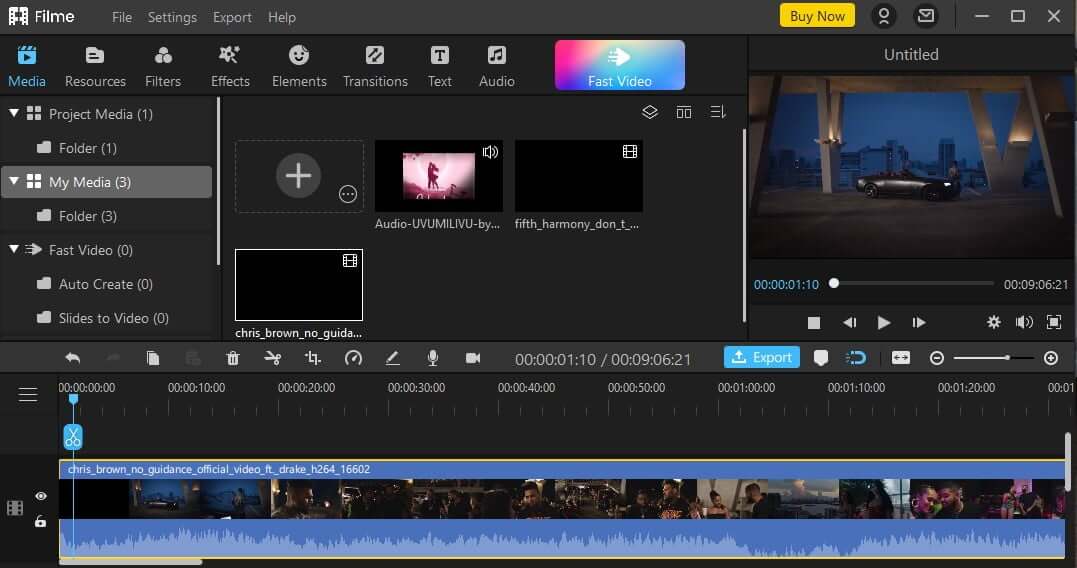
Step two – go to the File menu and select new project. Then click the Import Media option and choose the video file that you want to edit. Once the file is on the platform, drag it to the timeline.
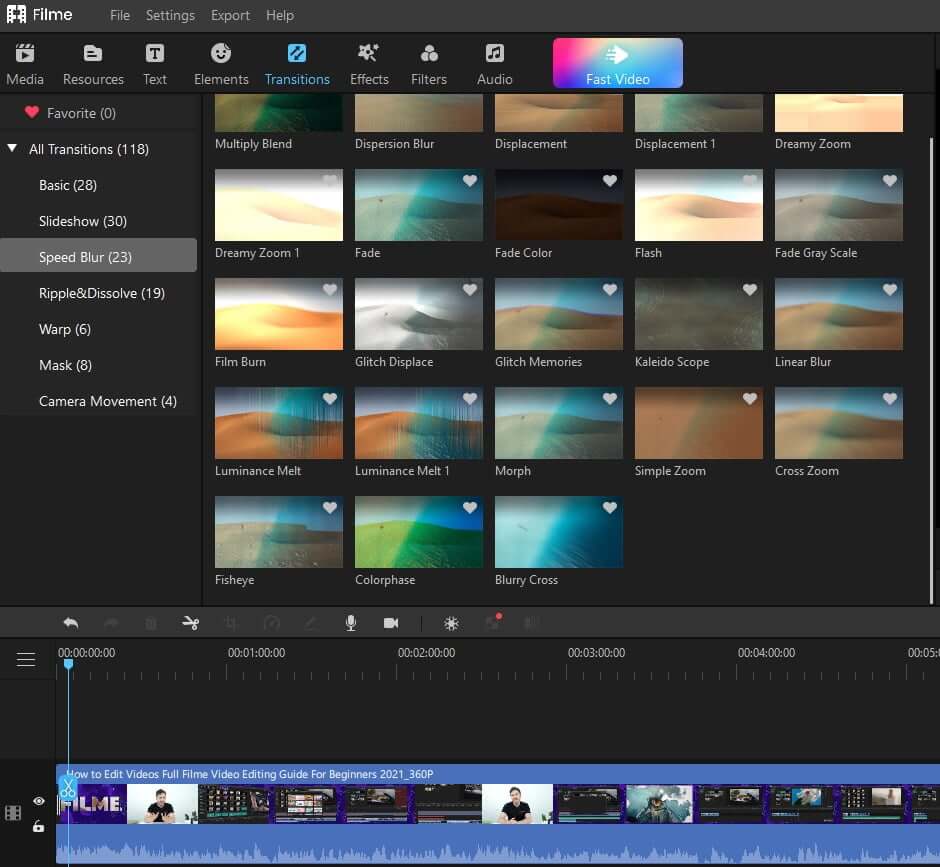
Step three – at the top of your screen, or the menu bar, you will find the Transition option, which when you click, will open the library of transitions.
Step four – select the part of the video that you want to add the transition, and then right-click on the transition and click Apply, which will apply if on both ends of the video, but of course, you can delete it on one end.
Step five – once everything is done, just click Export, and your video will be saved on your device.
Part 3. What is Morph Cut?
In very simple words, morph cut is basically a video transition found on premiere pro, and it helps video editors to come up with more polished videos by smoothing out any available jump cuts between your sound bites. The thing is when recording, say an interview, very often you will find a lot of "umms" "uhs", stutters, or even unwanted pauses from the individuals, and when editing, it might give you quite a number of problems. And trust me, with all these unwanted sections on your video, then it hinders you from having a clean, and continuous sequence. And that the only way around it is by using jump cuts or cross dissolves.
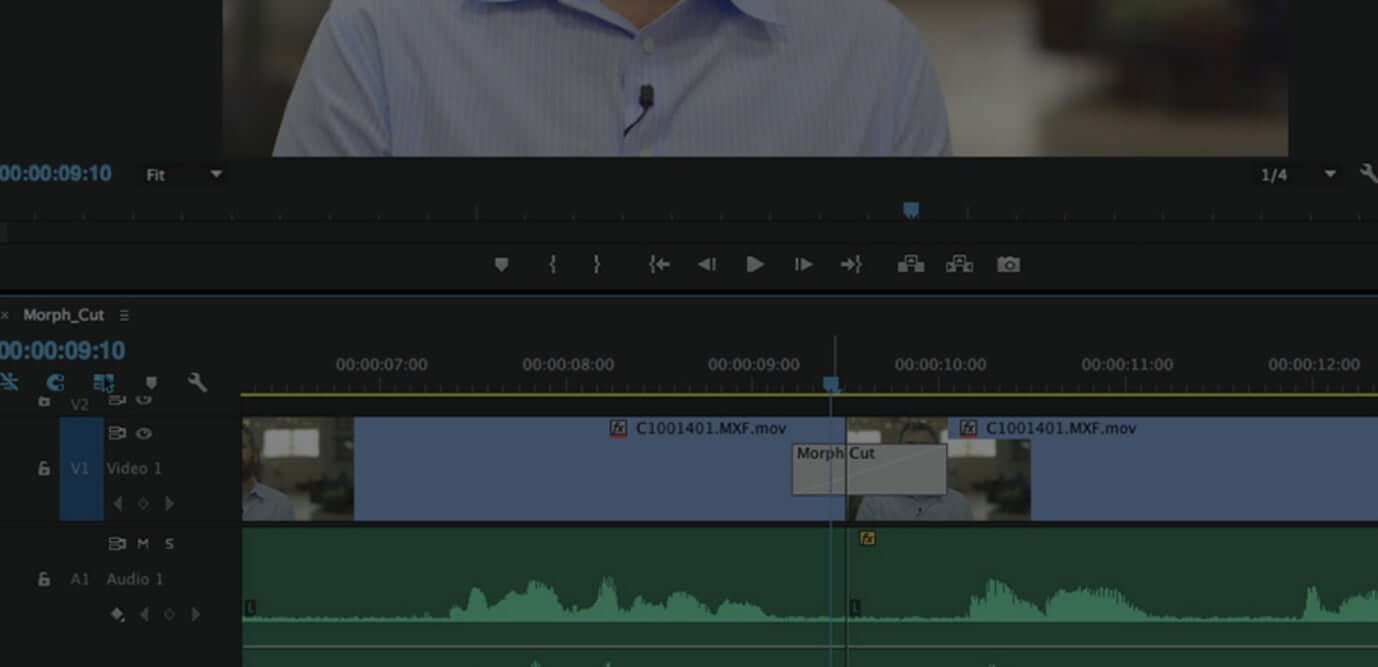
But with morph cuts, the unwanted potions will be a thing of the past, as it will help you to smoothen out the distracting jump cuts. The feature also helps you to rearrange the video clips effectively thereby ensuring smooth flow in visual continuity. Morph cut utilizes an advanced combination of optical flow interpolation and faces tracking to create a seamless transition between clips.
Part 4. Tips Using Morph Cut Transition
We can't deny the fact that morph cut is a powerful video transition tool that enables users to come up with polished videos with distracting jump cuts.
Now, in order to get the most out of it, here are a number of tips on how you can use it:
First, you need to understand when it may not be ideal to use the morph cut. For instance, a 'talking head' interview in one subject individual, a fixed shot where there is minimal camera movement, and in a static background.
Secondly, consider relatively short and logical gaps with similar head placement. You can use the waveform to finger-point areas with natural pauses, and base the edit around that is possible.
Thirdly, ensure that you adjust the duration and symmetry of the morph cut as needed. In doing this, ensure that it starts and ends at the peak of the very first and last word around the morph. This will help in avoiding the ever-difficult lip-synching problems.
Fourthly, you can also consider using Adjustment Layers to add effects to the video clip. You see, effects can go a long way in helping you avoid some potential display issues.
Lastly, you may also consider framing the individual tightly so as to limit hand or upper body movement. However, be sure not to frame it super tight to the extent that you crop out some of the head or face details, as the morph cut face detection may really struggle to recognize it.
Final Word
When it comes to video transitioning, you certainly need the best tools that will do a good job, right? Well, with the addition of the Morph Cut feature by Adobe on premier pro, we can assure you that you will be getting the best. It has a lot to offer, in terms of facial recognition and more, but it also has a few limitations. This is why we have recommended iMyFone Filme as the best alternative just in case you find that premiere pro lacks what you want. Filme's easiness to use, plus the availability of quite a number of effects, this tool will certainly make your video smooth and appealing to your viewers. Save yourself from the embarrassment of poorly edited videos!


