Sometimes, we feel like the shadow is ruining the beauty, and it needs to be removed. In this article, we will show you how you can remove shadows from photos using different desktop tools and mobile applications. Let's start.
Click to Remove Shadow from Photo – MarkGo
iMyFone MarkGo is a desktop tool that allows you to add and remove watermarks from photos. Not only photos, but it can also add and remove watermarks from any video. The best thing about it is that it is user-friendly, so anyone can use it without any hassle.
iMyFone MarkGo can also be used for many other features if you know how to use it. Although it is watermark software, we will tell you how you can use this tool to remove the shadow from any photo. With one click, the shadow can easily be removed.

Step 1: Download and install iMyFone MarkGo on your computer. Open it, and it will show you about four options. Now, as we want to remove the shadow from the photo, click on "Remove Image Watermark".
Step 2: The next step is to browse the image you want to remove the shadow from. After selecting the photo, you will see the option of "Selection Tool" on the right side of your screen. This tool will allow you to select the area that you want to remove from the photo.
Step 3: You can use this selection tool as you like. Select the whole shadow area with this tool and click on "Remove Now". The whole selected area will be removed and blended into the background. No one will be able to notice it.
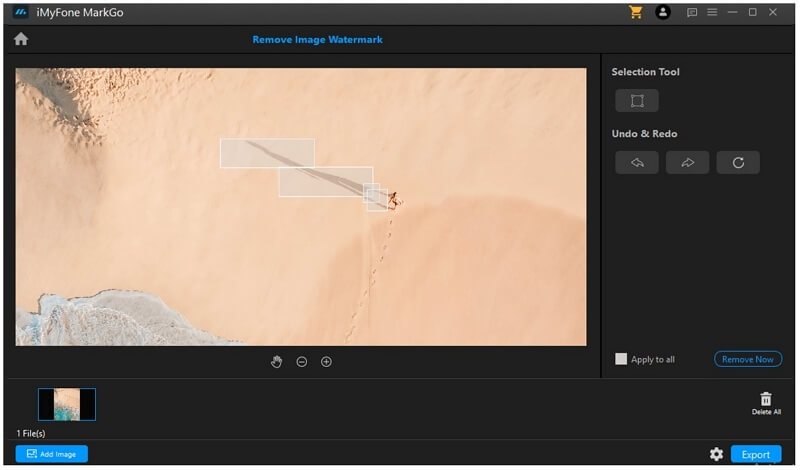
Step 4: After the removal of shadow, it will be your final image. If you are satisfied with it, you can download the photo by clicking on "Export".
You might also be interested in:
Remove Object from Photo with Photoshop >>
Remove Watermark from Camtasia Video >>
Watch the video tutorial to learn more about MarkGo
Remove Shadow from Photo via GIMP
GIMP is another desktop editing tool that allows you to edit photos. Here we will illustrate how you can use it to remove shadows from any photo. It is a little more complex than MarkGo but does wonders.
Step 1: Download and open the GIMP application. After opening the tool, browse or import the image from which you want to remove the shadow.
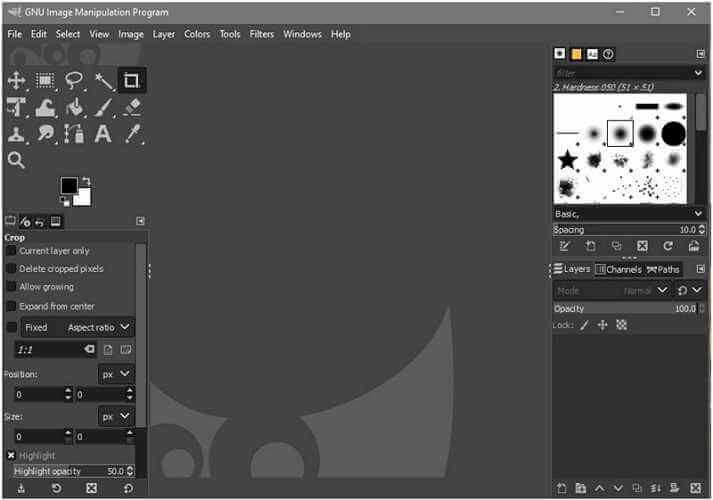
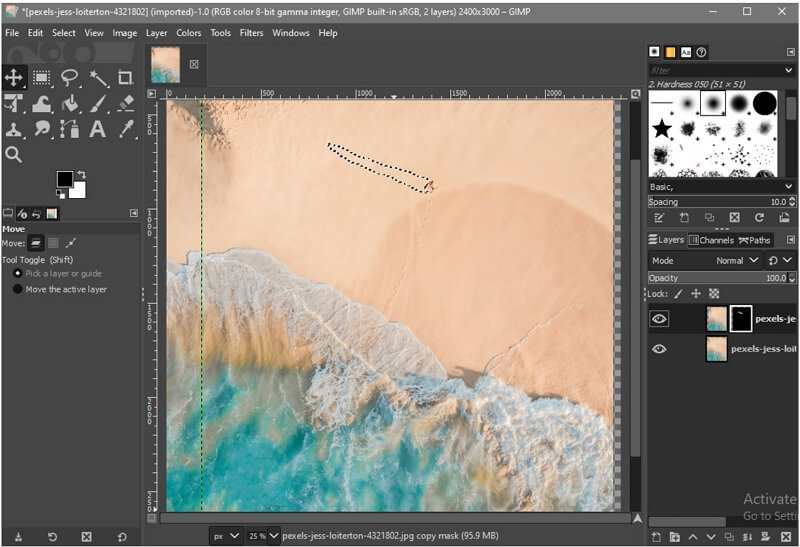
Step 2: On the left side of your screen, you will see many editing options. Click on "Free Select" and mark the whole area of the shadow precisely.
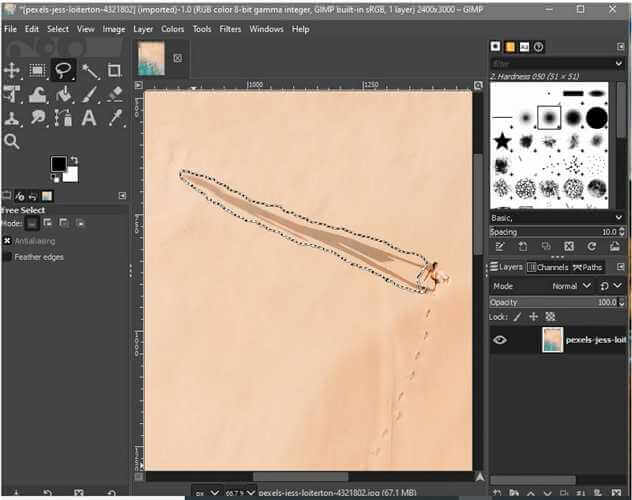
Step 3: Shadow can easily be removed from the photo using GIMP's layer method. After selecting the shadow area, click on "Duplicate Layer" on the bottom right side of your screen. It will create a similar layer of your photos.
Step 4: After creating the duplicate layer, click on the "Move" tool on the left side of your screen and select the shadow area such that the shadow is not under the selected area.
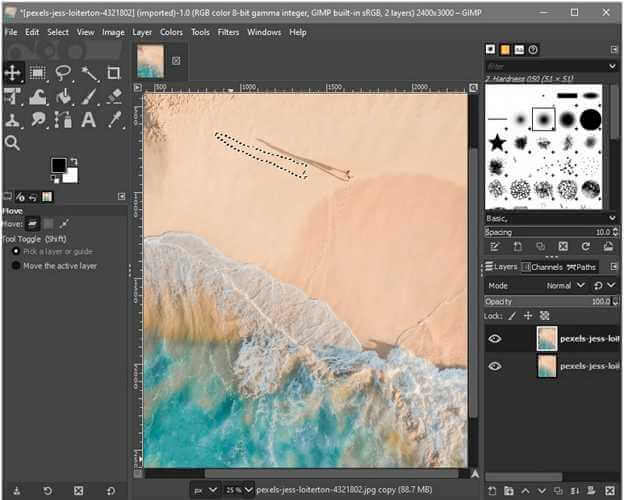
Step 5: Now that the selected area is away from the shadow, right-click on the first layer and click on "Add Layer Mask". It will remove the shadow from the photo. If you want more precision, then you can use the clone tool to blend in the background.
Remove Shadow from Photo Using Snapseed
Snapseed is a mobile application that allows you to remove shadows without any hassle. You can just use your phone to remove any type of shadow from the photo. Among many software and applications, Snapseed is the best because it is free. Let's see how we can remove shadows from photos using Snapseed.
Step 1: Go to your Play Store and download Snapseed. Open the application, and at the center of your screen, you will see a "+" button. Tap on it to import the image you want to remove the shadow from.

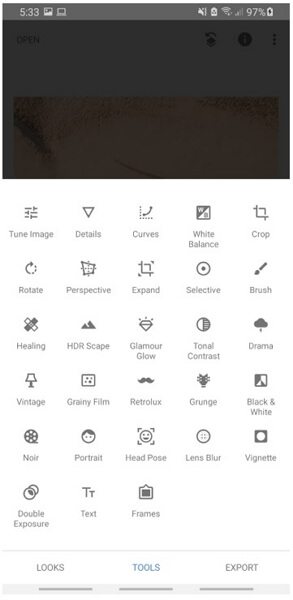
Step 2: After importing the image, at the bottom of your screen, you will see the option of "Tools". Click on it, and it will give you many tools that you can use to edit your photo. However, we want to remove shadows from photos, so we need the "Healing" tool. Click on the healing tool.
Step 3: After clicking on the healing tool, select and mark the area of shadow that you want to remove from the photo. The tool blends the background that surrounds the selected area. In this way, the shadow will be removed and blended with the background with just one tap.
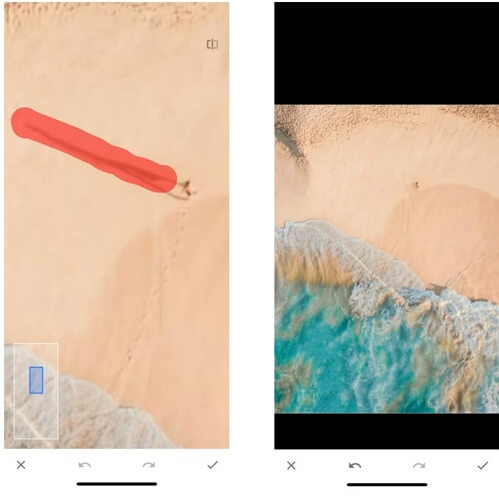
Step 4: After removing the shadow, you can use other tools as well. But if not, then you can easily save your photo from which shadow is removed successfully.
Remove Shadow from Photo Using Lightroom
Lightroom is a professional editing tool that is preferred by professionals. It is a product of Adobe and is not available for free. It is a paid tool and expensive as well.
Removing shadow with Lightroom is easy, but only if you know how to use it. It is a little complex tool that can confuse beginners. We will tell you how you can remove shadows from a photo with simple steps using Lightroom.
Step 1: Download and install Lightroom on your PC. Open it and select the image from which you want to remove the shadow.
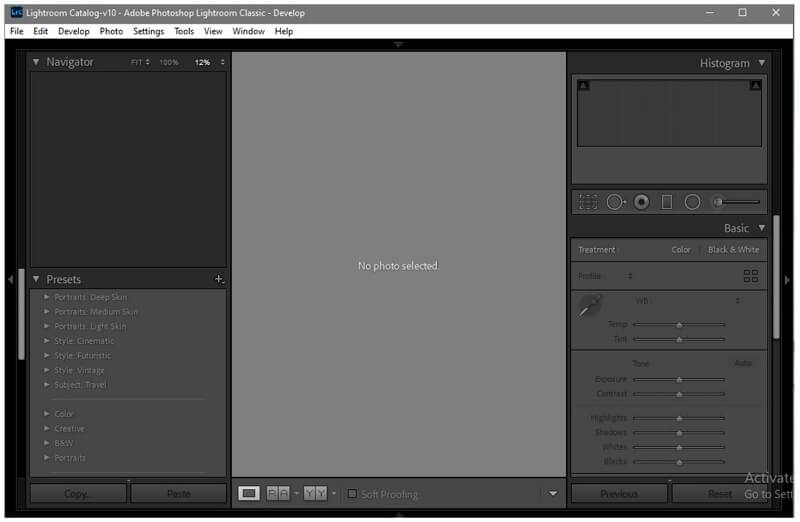
Step 2: On the right side of your screen, you will see the option of "Develop". Click on Develop, and it will open a list of different editing tools. As we want to remove the shadow, we need the "Spot Removal" tool.
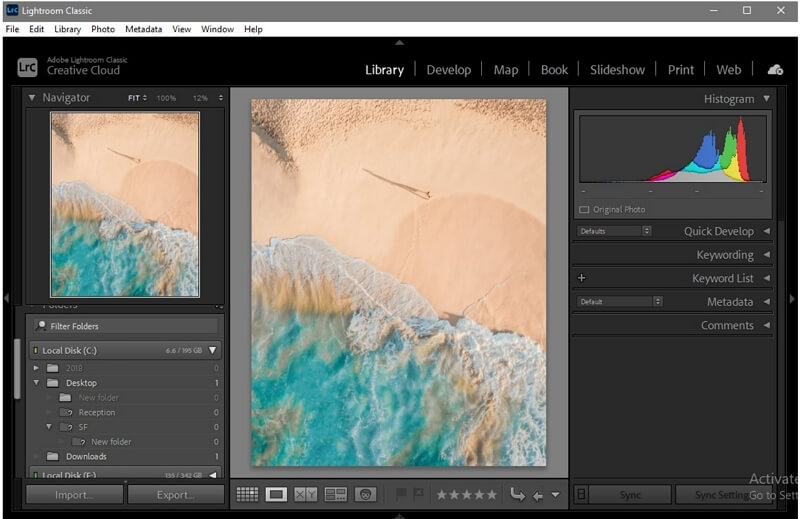
Step 3: With the help of spot removal, select the area of the shadow. Spot removal will automatically detect the area similar to the marked one and replace the shadow with a similar background.
Conclusion
Shadows can ruin the beauty of your photos. But you can remove them easily. We have discussed simple tools and techniques that one can use to remove shadows from any object. Among all these, we can clearly see that iMyFone MarkGo is the simplest tool that one can use to remove the shadow from a photo. With one click, you can remove shadow, watermark, or any object in a photo or video. It offers optimal results that professionals love. It also support to remove watermark from videos easily.


