


Learning to use an Open Source editor like OpenShot can be the solution for your content if you have a tight budget. Therefore, it is useful to learn with an OpenShot tutorial all the basic features you could use to create your own content.
On this article you will learn how to use install and use all the basic editing features that OpenShot can offer. We will go step by step with detailed screenshots of the program to help you learn each feature.

Installation
If you want to install the latest version of OpenShot, then you need to download it from the OpenShot official website. There are different versions for each respecting operating system.
The installation process is rather simple, since all the versions include an executable. You only need to double click it and the application will be installed quickly and shortly after will be available to use.
How to Import/Export Media Files
OpenShot has the useful feature that it is compatible with the project or EDL (Edit Decision List) of a wide variety of other video editors programs (Adobe Premier, Final Cut Pro, among other editors).
That means that at any moment you can save your OpenShot project and keep editing your video using another editor. This works the other way around too; you can save a project on another editor and keep working with it on OpenShot.
To export your project from OpenShot, click on the "File" tab. Among all the options that will unfold, you need to click on "Save project" to save your EDL and use it with another tool. To import a EDL to edit it with OpenShot, on the "File" tab click on the Import Files option and search for the desired EDL.

How to Use the Trim/Crop Feature
You can adjust the duration of each video clip you use on your videos. Here is an OpenShot tutorial to trim a video: To do so, place the video clip on the timeline. You will see the duration of the actual video clip. Now, place the time player indicator right where you would like to trim or crop your video.
Once you place your time indicator at the right moment, left click on the upper part of this indicator. You will see the option to "Slice" the video clip. You can crop the video clip by deleting one of the portions of the video clip or keep both parts.
You might as well resize the edge of the timeline of the clip if you click and drag the edge of it. You can also click the razor tool at the Edit Toolbar to trim the video clip at the moment of your time lapse indicator is in that moment.

How to Add Music
You can add any track of music of narration to your videos using OpenShot. Here is an OpenShot tutorial on how to add music to your videos. First, you can mute the video clip you currently have. To achieve this, open the options over the video clip with a left click and click on the option "Separate audio" and then mute the audio separated. You can also delete the original audio if you are not going to use it anymore.
Now, on your media library you can select the music tab. There, you can import any audio file you want to add to your video. Once it is imported into the program, simple double click it or drag and drop it into your timeline of the video. You can control at any moment of the video the volume of the music, this is excellent to merge the music with narration or to keep the music only on certain durations of the video.

People Who Liked this Content Also Liked
Kdenlive vs OpenShot: An Objective Comparison >>
How to Add Text
You can include any tittle or text to your video. It is really easy and here is an OpenShot tutorial to add text that will not take more than 5 minutes. First, on the menu tab, click on the Tittle tab. On the menu that will unfold, click on the Add tittle option and a menu will open up.
On the Tittle menu, you can choose the font and stile of the text you want to use. Then, type the text you want and adjust the time duration of the text during the video. Proceed by clicking on accept.
On your media assets, the tittle text will appear. Add it to your video by just doing double click over it or by dragging and dropping to your timeline. You then can trim your text duration or add effects for when the text appears or disappear smoothly. You can also change the color of the text or the transparency of the text.

How to Apply Effects
You can achieve professional outcomes with the cinematic effects that are available on OpenShot. To use these effects, follow this OpenShot tutorial:
Open your effects asset on your library. There you will see all the cinematic effect available to add to your video. You can preview each effect before deciding which one you would like to add into your video. Once you choose one, you can add it by simply making double click on the effect or by drag and dropping it into the video.
The effect will appear like a small circle with a letter over the video clip that has the effect. If you left click on this circle that represents the effect, you can adjust the intensity and duration of the effect. You can also animate the effects depending on the one you choose. You are free to add multiple cinematic effects to a single video clip.

How to Add Transitions
Another functionality that this editor offers is to add custom transitions between video clips. Here is an OpenShot tutorial for transitions.
First, you need to click on the View tab of the main menu. There, click on views and then on advance views. That way you will see all the transitions available. You can add custom made transitions to your folder and increase the variety. Once you decide which transition you want to use, you need to apply it.
You can apply the transition by just dragging it to your timeline and dropping it between the two video clips you want to use. The standard duration of the transition will be around 10 seconds. You can edit all the features of the transition by just left clicking over it and adjusting all the options available. You can also adjust the duration by trimming it just as it was a video clip, since it will appear like one on the timeline.

How to Make Animation
An interesting feature is the animation feature you can use with OpenShot. The interface is friendly and easy to use, which makes it a great alternative if you are just starting to use and create with this kind of editor.
To use the transitions, you can add images with transparency as background. That way, they will appear without covering the background. You can add the image with the import option on the main menu. Now, add the image to your timeline and it will appear with duration.
Left click on the picture and among the options that will unfold, click on the "Animation" tab. There you will see an arrange of options you can use to move that element during the video, creating an animation and allowing you to create all the content you want. You can choose the position of the image for each moment and the duration of each placement. You can remove the animations by selecting the option "No animation".

How to Use Greenscreen or Chroma Key Filter
With OpenShot you can use the Chroma key filter, also known as the greenscreen effect where you record an object or person with an intense green background and then change that color with another background.
Here is a OpenShot tutorial on how to achieve this effect. First, you will need to record your video with the green background. It can be another color like cyan but green works the best. Now, import that video and add the video or image that will work as background. Overlap both videos and go to your filter tab on the asset library, there you will add the Chroma key filter and adjust the color you want to go transparent (The green background). It will be done and your background will disappear.

Also Read:
A Good Alternaitve to Openshot -iMyFone Filme
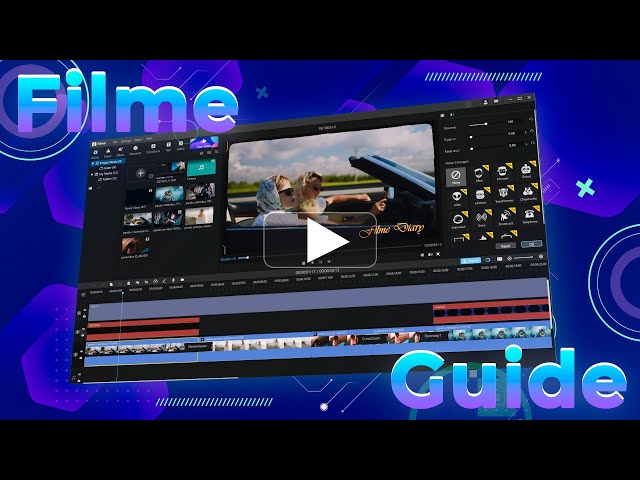
As you learned through this entire OpenShot tutorial, you can use different effects and features for free with an Open source. However, if you are not sure if that editor will work for you, we want to introduce you to one of the best options of video editors available nowadays: iMyFone Filme.
It is a user-friendly editor that is more complete and easy to use. It is compatible with multiple operating systems and can be downloaded for free from their official website.
Features
-
You can add text and subtitles to your videos to enhance the content you share
-
You can add face cam recording to capture your impression and emotions
-
Use it as a screen recorder tool
-
Modify your voice with fun voice effects and filters
-
Use the broad variety of media available on the asset library
-
Add effects and smooth transitions to your video
-
You can use Chroma Key filter and many other different filters to adjust the emotion of a video clip.
Pros:
 It is compatible with multiple operating systems, including mobile devices (Windows, Mac, Linux, Android, iOS, among others)
It has a friendly-user interface
It has multiple functionalities that other video editors don't offer
It is compatible with social media sharing

iMyFone Filme
Make Digital Storytelling Easy with iMyFone Filme!
Download Now


